


Table of contents
- Prerequisites
- Install Clarinet
- Install on macOS (Homebrew)
- Install on Windows
- Install from a pre-built binary
- Install from source using Cargo
- Step 1: Create a Stacks project
- Step 2: Write a contract
- Step 3: How to check and optimize our contract
- Step 4: Deploy
- Additional Resources
 Stacks is a network of open-source decentralized apps and smart contracts that are built on Bitcoin.
In this tutorial, you will learn:
- How to create a simple Smart Contract using Clarity
- How to run a local devnet to test your smart contract offline
- How to deploy on the testnet and mainnet
Additionally, you can use some of the prerequisite guides to learn:
- How to create a Hiro wallet and swap to the testnet
- How to get Stacks testnet funds
- How to deploy multiple contracts
- How to add requirements to your project
Prerequisites
The following general prerequisites are recommended:
- Install the Clarinet CLI. Installation steps are down below.
- (Optional) Clarity extension for VSCode (helps with syntax highlighting and auto-completion.) Install here.
- A wallet. You can create one here. Additionally, there will be a tutorial below!
Depending on what method of deployment you plan to do later, additional prerequisites may be required. If there are any additional prerequisites, you will be provided with a list and information about the requirements.
Install Clarinet
Clarinet is a CLI tool that helps you develop and test smart contracts on the Stacks blockchain.
Install on macOS (Homebrew)
brew install clarinet
Install on Windows
bash
winget install clarinet
Install from a pre-built binary
# note: you can change the v1.0.5 with version that are available in the releases page.
wget -nv https://github.com/hirosystems/clarinet/releases/download/v1.0.5/clarinet-linux-x64-glibc.tar.gz -O clarinet-linux-x64.tar.gz
tar -xf clarinet-linux-x64.tar.gz
chmod +x ./clarinet
mv ./clarinet /usr/local/bin
If you run into any security errors on MacOS when trying to run the pre-compiled binary, resolve it with this command:
xattr -d com.apple.quarantine /path/to/downloaded/clarinet/binary
Install from source using Cargo
If you decide to go through with this method, you will need to install both Rust and Cargo for access to cargo, the Rust package manager.
On Debian and Ubuntu-based distributions, please install the following packages before building Clarinet.
sudo apt install build-essential pkg-config libssl-dev
Next, build Clarinet from source using Cargo with the following commands:
git clone https://github.com/hirosystems/clarinet.git
cd clarinet
cargo clarinet-install
Now that we have Clarinet installed, it's time to create a Stacks project!
Step 1: Create a Stacks project
Now it's time to create a new Stacks project using the Clarinet CLI.
Open your terminal and run the following command to create a new contract then navigate to the new directory:
clarinet new clarity-tutorial && cd clarity-tutorial
You will then see the following message:
Send usage data to Hiro.
Help Hiro improve its products and services by automatically sending diagnostics and usage data.
Only high level usage information, and no information identifying you or your project are collected.
Enable [Y/n]?
You can enter Y or n and press enter to continue.
If your project was created successfully, you will see the message below:
Created directory clarity-tutorial
Created directory clarity-tutorial/contracts
Created directory clarity-tutorial/settings
Created directory clarity-tutorial/tests
Created file clarity-tutorial/Clarinet.toml
Created file clarity-tutorial/settings/Mainnet.toml
Created file clarity-tutorial/settings/Testnet.toml
Created file clarity-tutorial/settings/Devnet.toml
Created directory clarity-tutorial/.vscode
Created file clarity-tutorial/.vscode/settings.json
Created file clarity-tutorial/.vscode/tasks.json
Created file clarity-tutorial/.gitignore

----------------------------
Hint: what's next?
Once you are ready to write TypeScript unit tests for your contract, run the following command:

  $ clarinet test
    Run all run tests in the ./tests folder.

Find more information on testing with Clarinet here: https://docs.hiro.so/smart-contracts/clarinet#testing-with-the-test-harness
Disable these hints with the env var CLARINET_DISABLE_HINTS=1
----------------------------
Creating a new contract via Clarinet CLI
After this, we will create a Clarity contract file using the CLI. Enter the command clarinet contract new hello-world. Running this command will create the hello-worldl.clar file within the contracts directory of our project. Additionally, it will create a hello-world_test.ts in the tests directory. More information on this in a later section!
At this point, our project's structure looks like this:
clarity-tutorial
├── clarinet.toml
├── contracts
│   └── hello-world.clar
├── tests
│   └── hello-world_test.ts
└── workflows
    └── sample.workflow.ts
Next, we will look at writing the code for our first Clarity contract.
Step 2: Write a contract
Open the contracts/hello-world.clar file in your favorite editor and delete the starter code. If you don't have a file under the contracts directory, you can use the Clarinet CLI to create a new contract using the clarinet contract command: clarinet contract new hello-world. Creating contracts through the Clarinet CLI will update your project's Clarinet.toml file.
copy/paste this code into hello-world.clar:
;; HelloWorld contract

;; define the contract
(define-public (say-hello)
  (ok "hello world"))
It may throw an error at first. If it does, just save the file and it should go away.
Step 3: How to check and optimize our contract
Checking a contract
Although this is a basic Clarity contract, it is always good practice to check our contract.
Clarinet allows us to check our project's syntax and semantics. You can check if your project's contract(s) contains valid code by running:
clarinet check
After running the clarinet check command, you should receive the following response in your terminal:
✔ 1 contract checked.
Note: The clarinet check command is an easy way to check multiple contracts at once. We only have one contract at the moment. So, this is useful information to keep in mind when creating multiple contracts within a project.
Additionally, if you ever want to just check a single contract file, you can do so by running the following command:
clarinet check <path/to/file.clar>
An example for our current project would be clarinet check contracts/hello-world.clar. We would receive the following response:
✔ Syntax of contract successfully checked
There are more methods of checking your contract such as the Check-Checker, which you can read more about here.
Testing a contract
Now that we learned about checking, let's look at how to test and further optimize our contract.
To start testing our contract, we must first spin up a Clarinet Test Suite by executing the following command:
clarinet test
Running the clarinet test command in our project's root will actually test any and all contracts within your project.
If you wanted to know how to test an individual contract, you can do so by first changing directory to the tests folder by running the following command:
cd tests
After you are inside the tests directory, run the following command to test your hello-world contract:
clarinet test hello-world_test.ts
You should see a response similar to the one below:
./hello-world_test.ts => Ensure that <...> ... ok (5ms)

ok | 1 passed | 0 failed (16ms)
As long as you see '1 passed', your contract is okay and ready for deployment.
If you want to maximize test coverage, you can test your contract's coverage by running the following command:
clarinet test --coverage
You should see a response similar to the one below:
./tests/hello-world_test.ts => Ensure that <...> ... ok (3ms)

ok | 1 passed | 0 failed (14ms)
If you want to dive even further into reviewing your coverage, you can check out how to generate an HTML file for your data using lcov.
Optimizing contract cost
While in a test suite, you can use Clarinet to help optimize costs. Clarinet will keep track of all the costs being executed from contract calls. It will also generate a table to display the most expensive costs.
Run the following command:
clarinet test --cost
You can also add the --watch flag to watch the contract test files for any changes. Using the two commands together will allow you to continuously keep an eye on the costs after the file receives an update!
Load our contract
Now that we have checked and tested our contract, it's time to load it up to prepare for future deployment! We can do this by using Clarinet to launch the console.
Run the following command in your terminal:
clarinet console
This will launch a clarity-repl. You should receive output similar to the one listed below:
clarity-repl v1.0.5
Enter "::help" for usage hints.
Connected to a transient in-memory database.
+-------------------------------------------------------+------------------+
| Contract identifier                                   | Public functions |
+-------------------------------------------------------+------------------+
| ST1PQHQKV0RJXZFY1DGX8MNSNYVE3VGZJSRTPGZGM.hello-world | (say-hello)      |
+-------------------------------------------------------+------------------+

+-------------------------------------------+-----------------+
| Address                                   | STX             |
+-------------------------------------------+-----------------+
| ST1PQHQKV0RJXZFY1DGX8MNSNYVE3VGZJSRTPGZGM | 100000000000000 |
+-------------------------------------------+-----------------+
| ST1SJ3DTE5DN7X54YDH5D64R3BCB6A2AG2ZQ8YPD5 | 100000000000000 |
+-------------------------------------------+-----------------+
| ST2CY5V39NHDPWSXMW9QDT3HC3GD6Q6XX4CFRK9AG | 100000000000000 |
+-------------------------------------------+-----------------+
| ST2JHG361ZXG51QTKY2NQCVBPPRRE2KZB1HR05NNC | 100000000000000 |
+-------------------------------------------+-----------------+
| ST2NEB84ASENDXKYGJPQW86YXQCEFEX2ZQPG87ND  | 100000000000000 |
+-------------------------------------------+-----------------+
| ST2REHHS5J3CERCRBEPMGH7921Q6PYKAADT7JP2VB | 100000000000000 |
+-------------------------------------------+-----------------+
| ST3AM1A56AK2C1XAFJ4115ZSV26EB49BVQ10MGCS0 | 100000000000000 |
+-------------------------------------------+-----------------+
| ST3NBRSFKX28FQ2ZJ1MAKX58HKHSDGNV5N7R21XCP | 100000000000000 |
+-------------------------------------------+-----------------+
| ST3PF13W7Z0RRM42A8VZRVFQ75SV1K26RXEP8YGKJ | 100000000000000 |
+-------------------------------------------+-----------------+
| STNHKEPYEPJ8ET55ZZ0M5A34J0R3N5FM2CMMMAZ6  | 100000000000000 |
+-------------------------------------------+-----------------+
Looking at the response, let's break down the pieces of information we've been given.
- Contract identifier: This is the address of your contract. Based on the example above, this would be:
ST1PQHQKV0RJXZFY1DGX8MNSNYVE3VGZJSRTPGZGM.hello-world
Notice how it takes the address of the first address listed in the table.
Public functions: This will show a list of the names for each public function in our contract. In the example above, this would be the
say-hellofunction.Address: A list of local wallets with test funds to test with.
Make sure to copy the contract identifier from your terminal's output and save it. We will be viewing it on the Devnet in the next section! Additionally, this is important to add as in the requirements section of your Clarinet.toml file. We will go over this more in the On the Mainnet section.
Step 4: Deploy
Using the Devnet
Clarinet makes deploying and testing contracts to the Devnet a breeze! Note: You will need to have Docker installed.
To create your own local, offline environment, run the following command:
clarinet integrate
You should be able to see information in your terminal like the example pictured below:
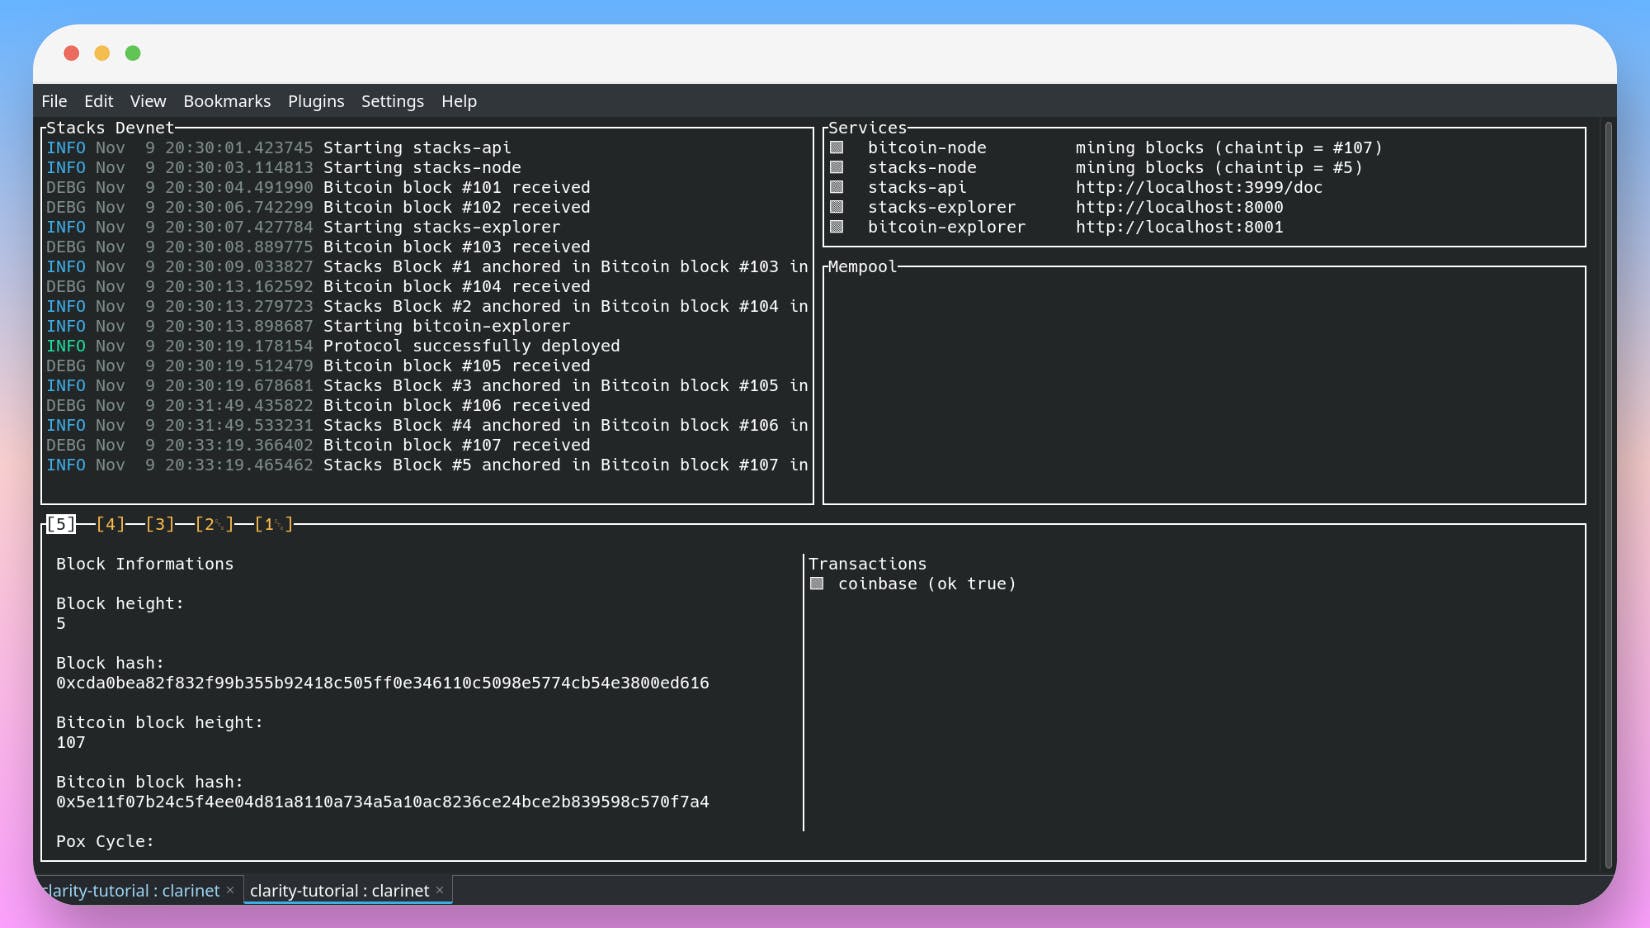
In the above example, you will notice local links to the stacks-explorer & the bitcoin-explorer. You can take a look at the example of the stacks-explorer below:
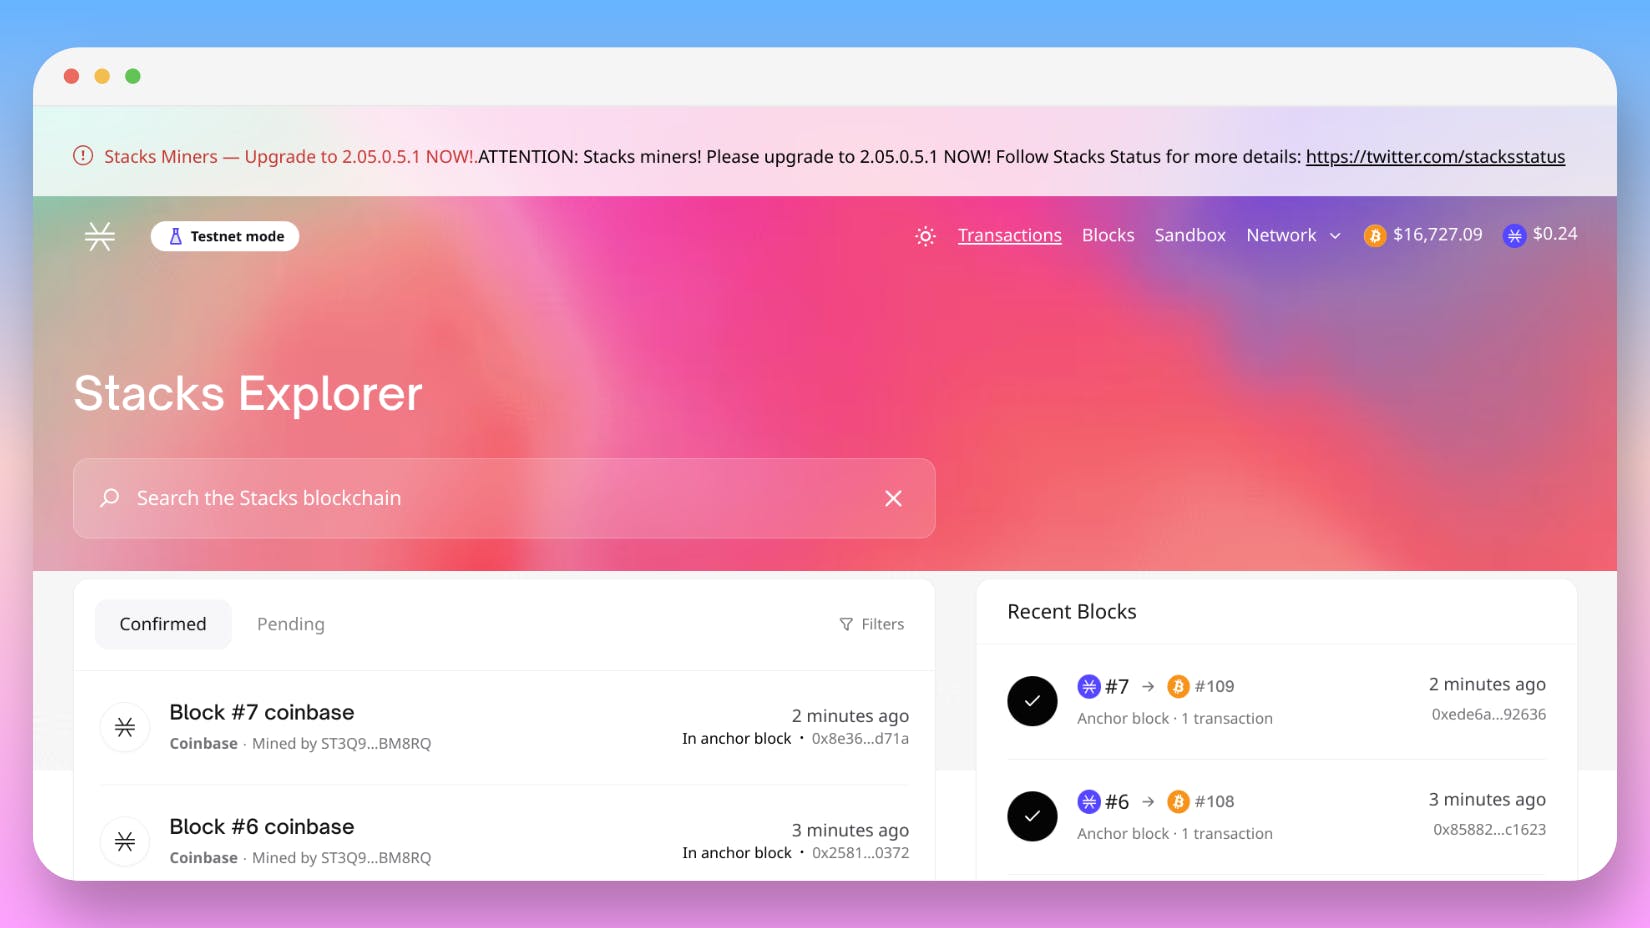
In the search box, paste the contract address that you copied from the "Contract Identifier" earlier.

You can click on the "hello-world" result that pops up to view more information about the contract. We will be going over this in our View and Interact section!
Using the testnet
You can deploy your contract on the testnet using the Clarinet CLI. However, you will need to setup a few additional things before deploying to the testnet.
In order to deploy to the testnet, you will need:
- A wallet like Hiro (walkthrough below)
- Your private testnet mnemonic (wallet seed phrase)
We will be going over each of these prerequisites below.
Setting up a wallet
We will need to install a wallet in order to create, deploy, and interact with our smart contract. We will be using Hiro wallet for this.
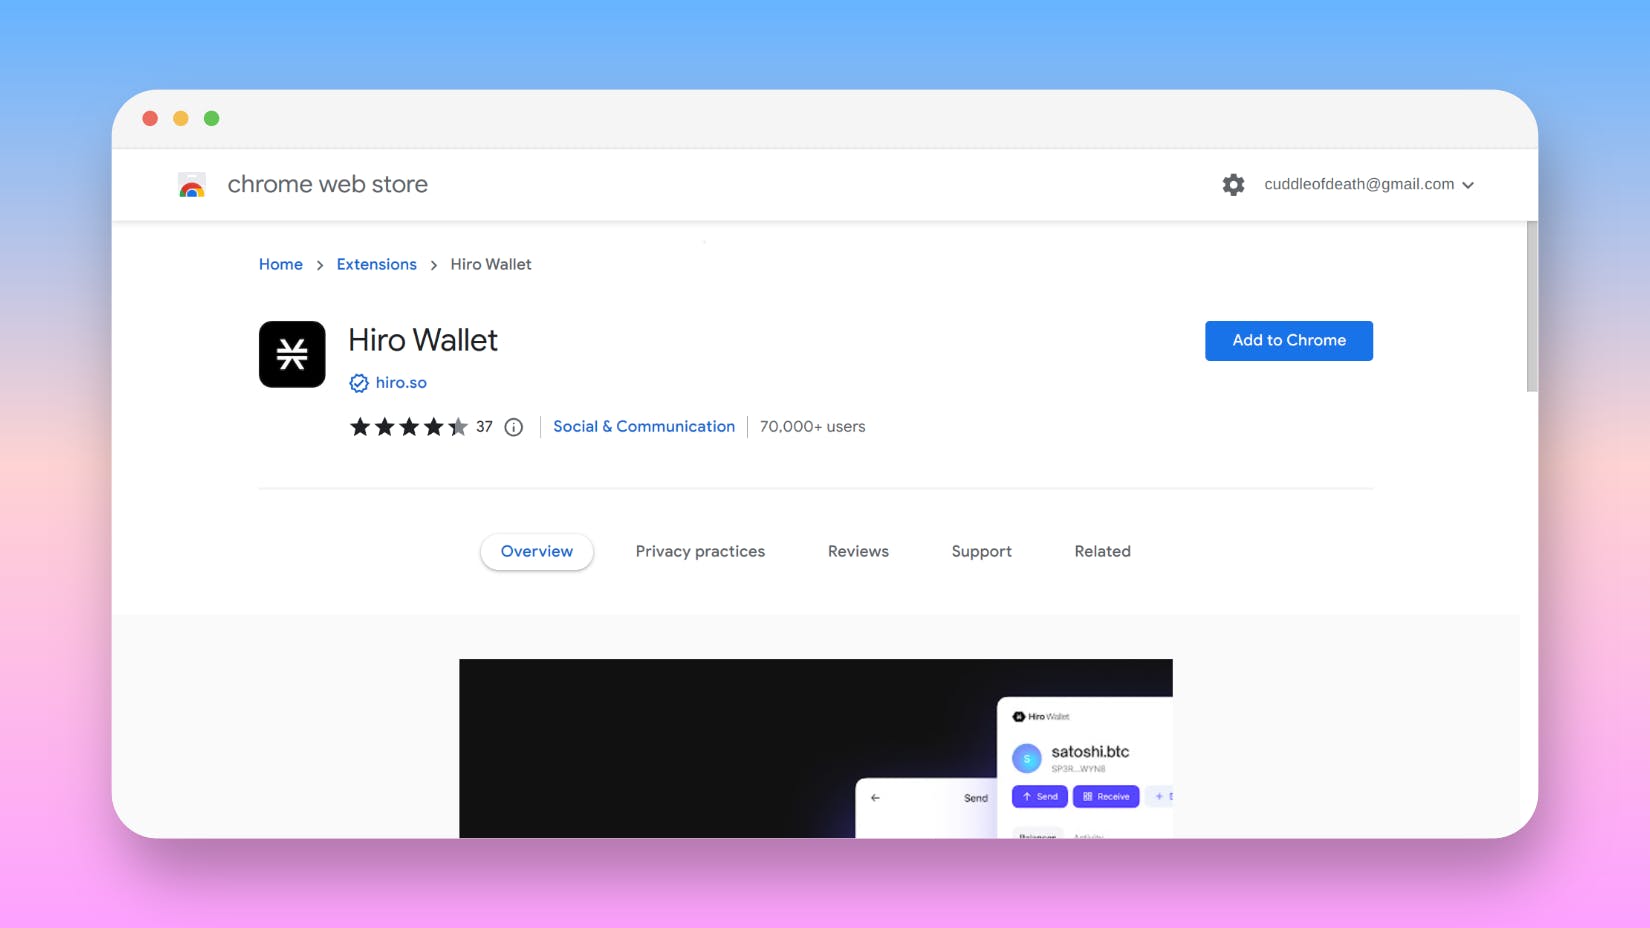
Click the Install button to launch the Chrome Web store. Once on the web store, click Add to Chrome to install the wallet.
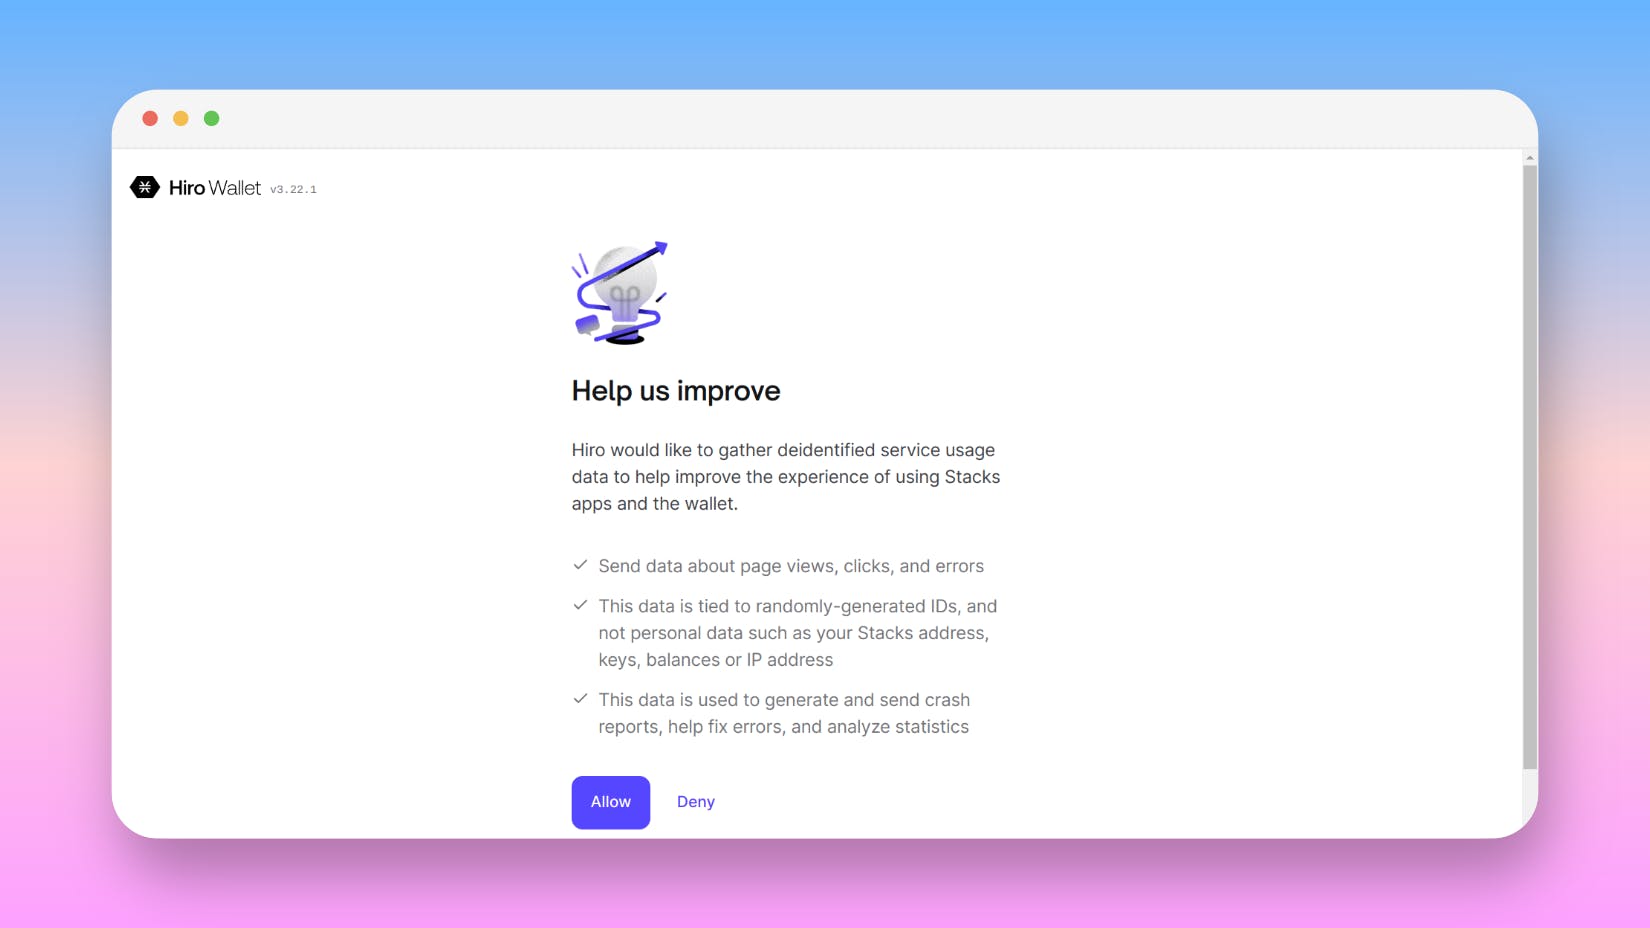
A new tab will open with the "Help us improve" page. Click allow or deny to continue.
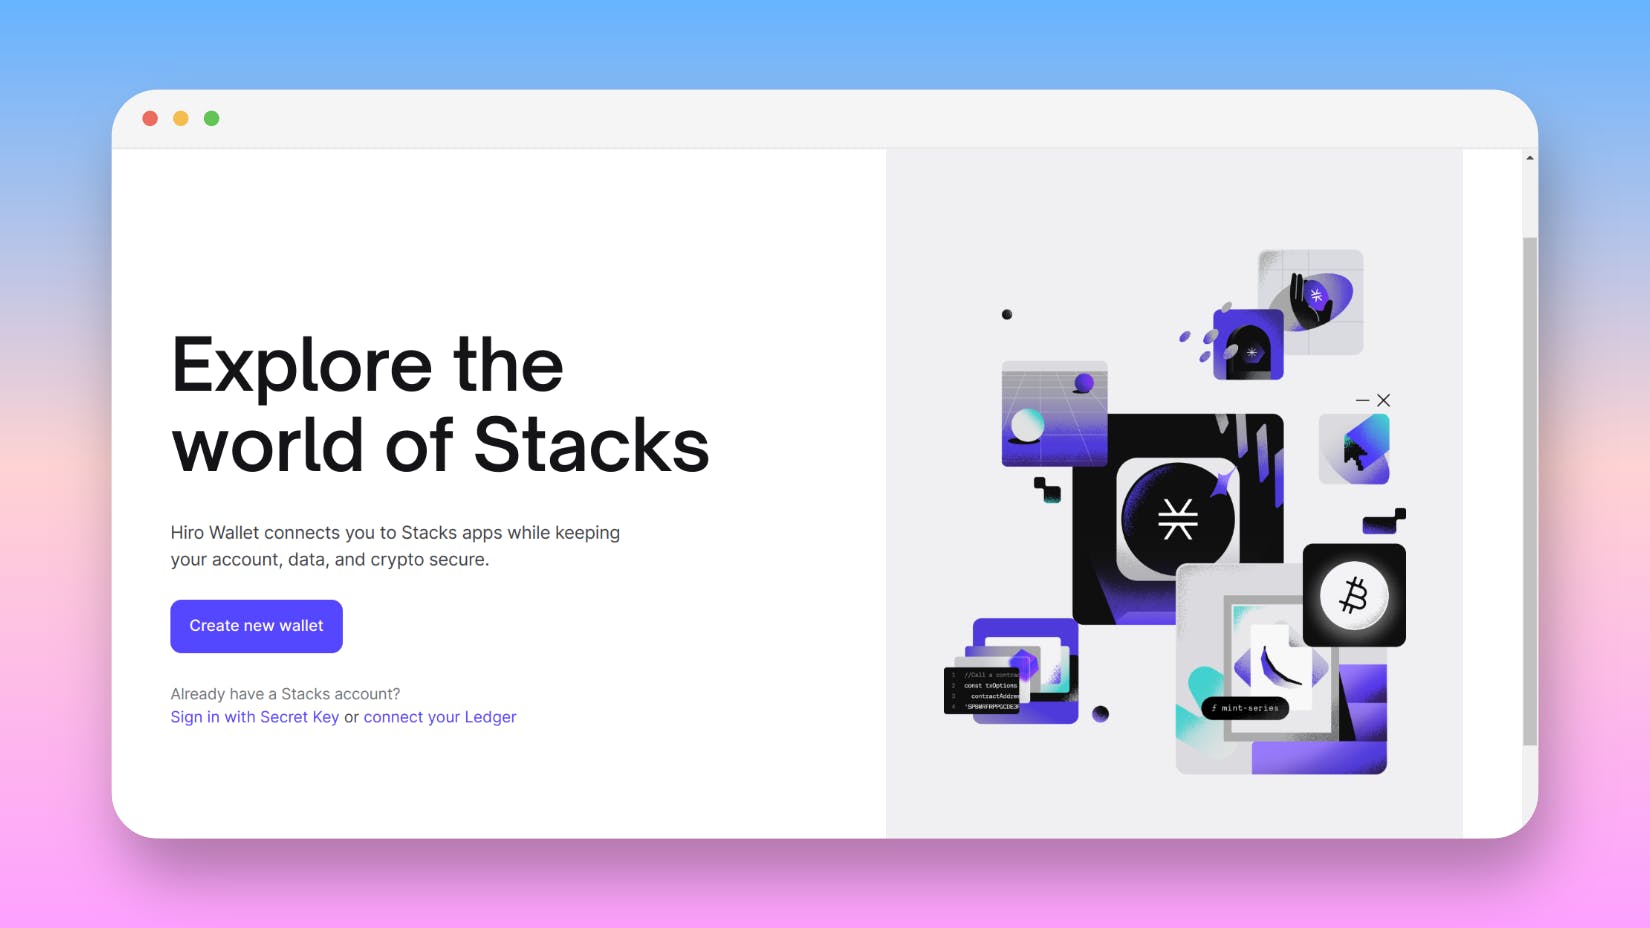
Now we will be redirected to a new page that says "Explore the world of Stacks". Click the Create new wallet button to continue.
You will now see a page that has your 24-word secret key. You will need to save this key in a safe place. If you lose this key, you will lose access to your wallet and any STX that you have in it.
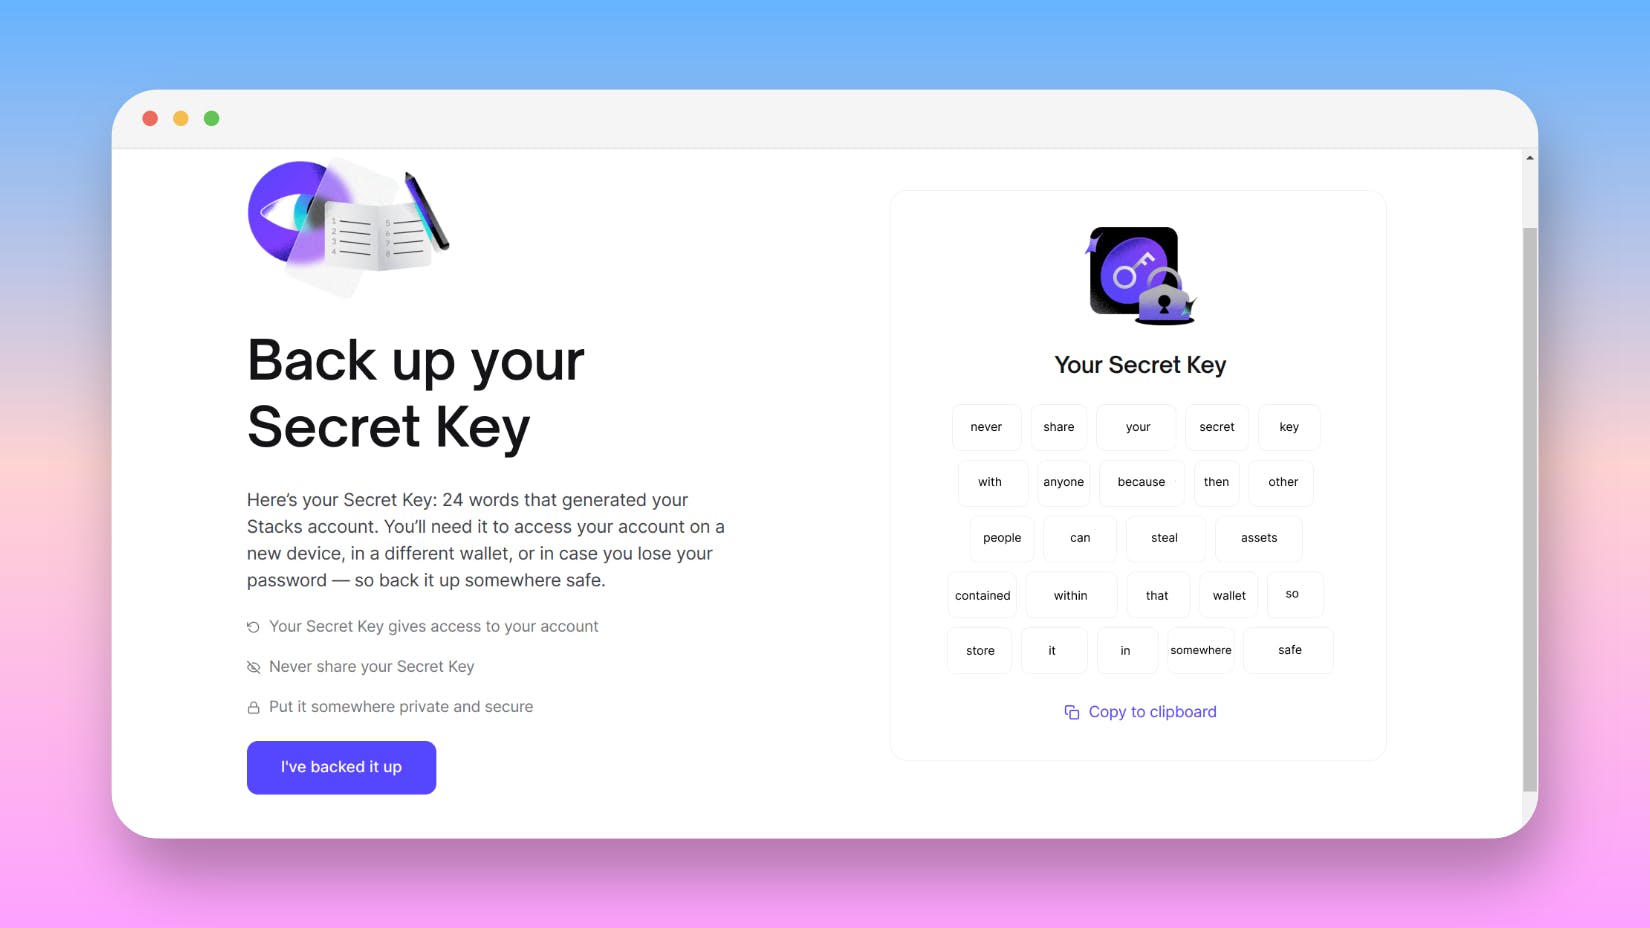
Once you have saved your secret key, click the I've backed it up button.
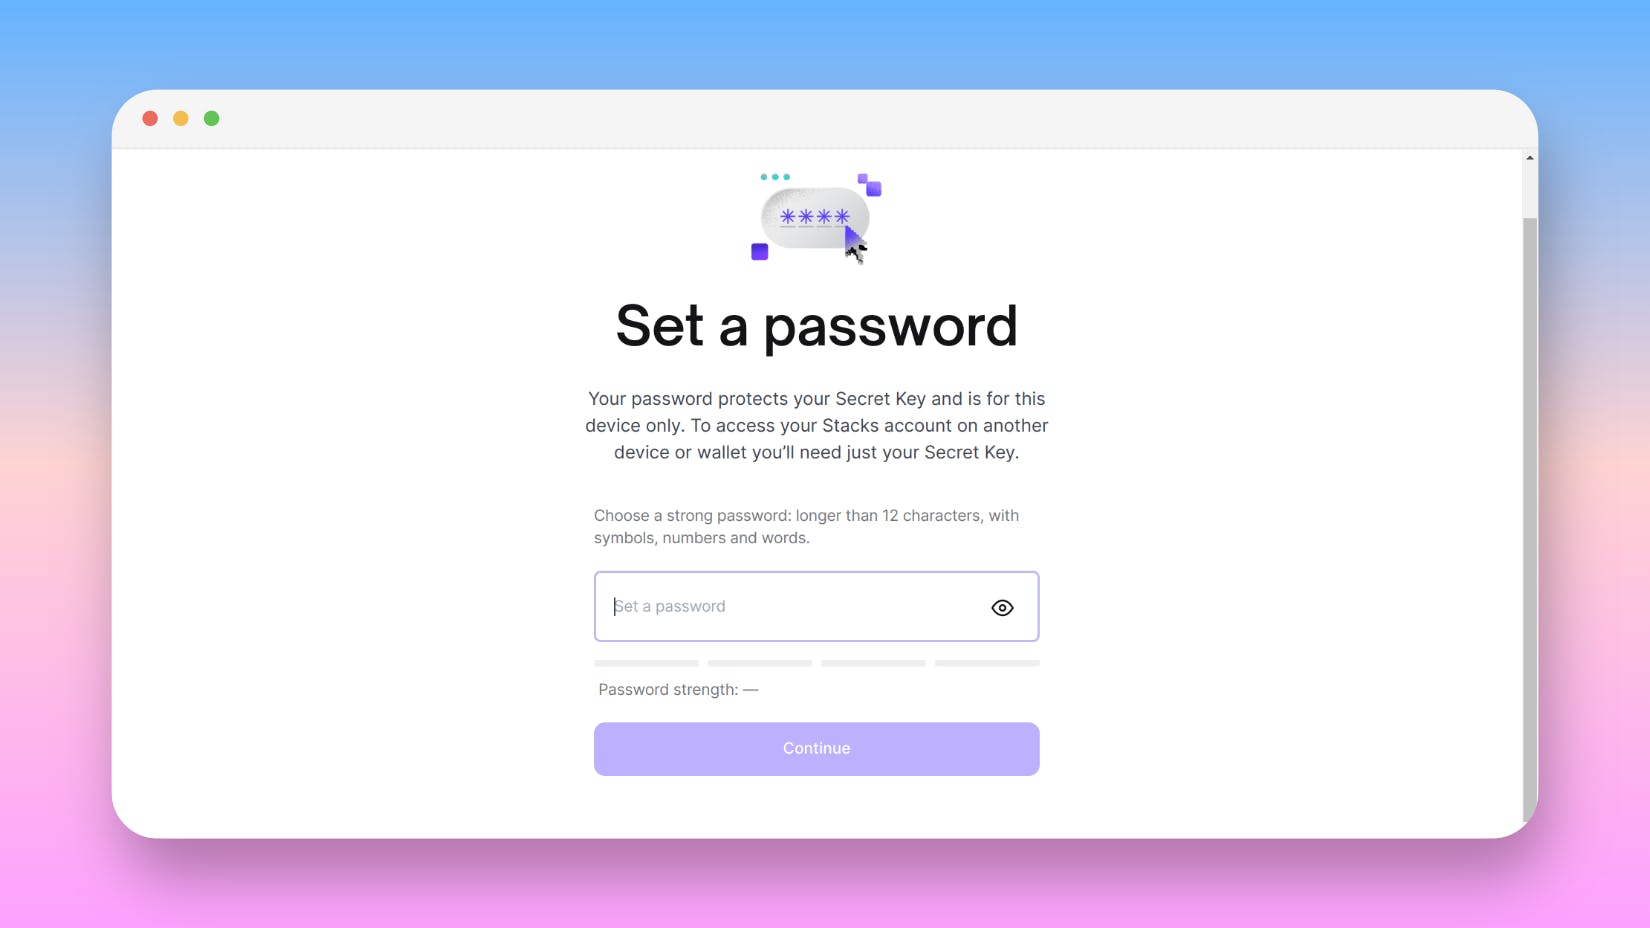
Next, it's time to set a password. You will need this to unlock your wallet. Once you have set a password, click the Continue button.
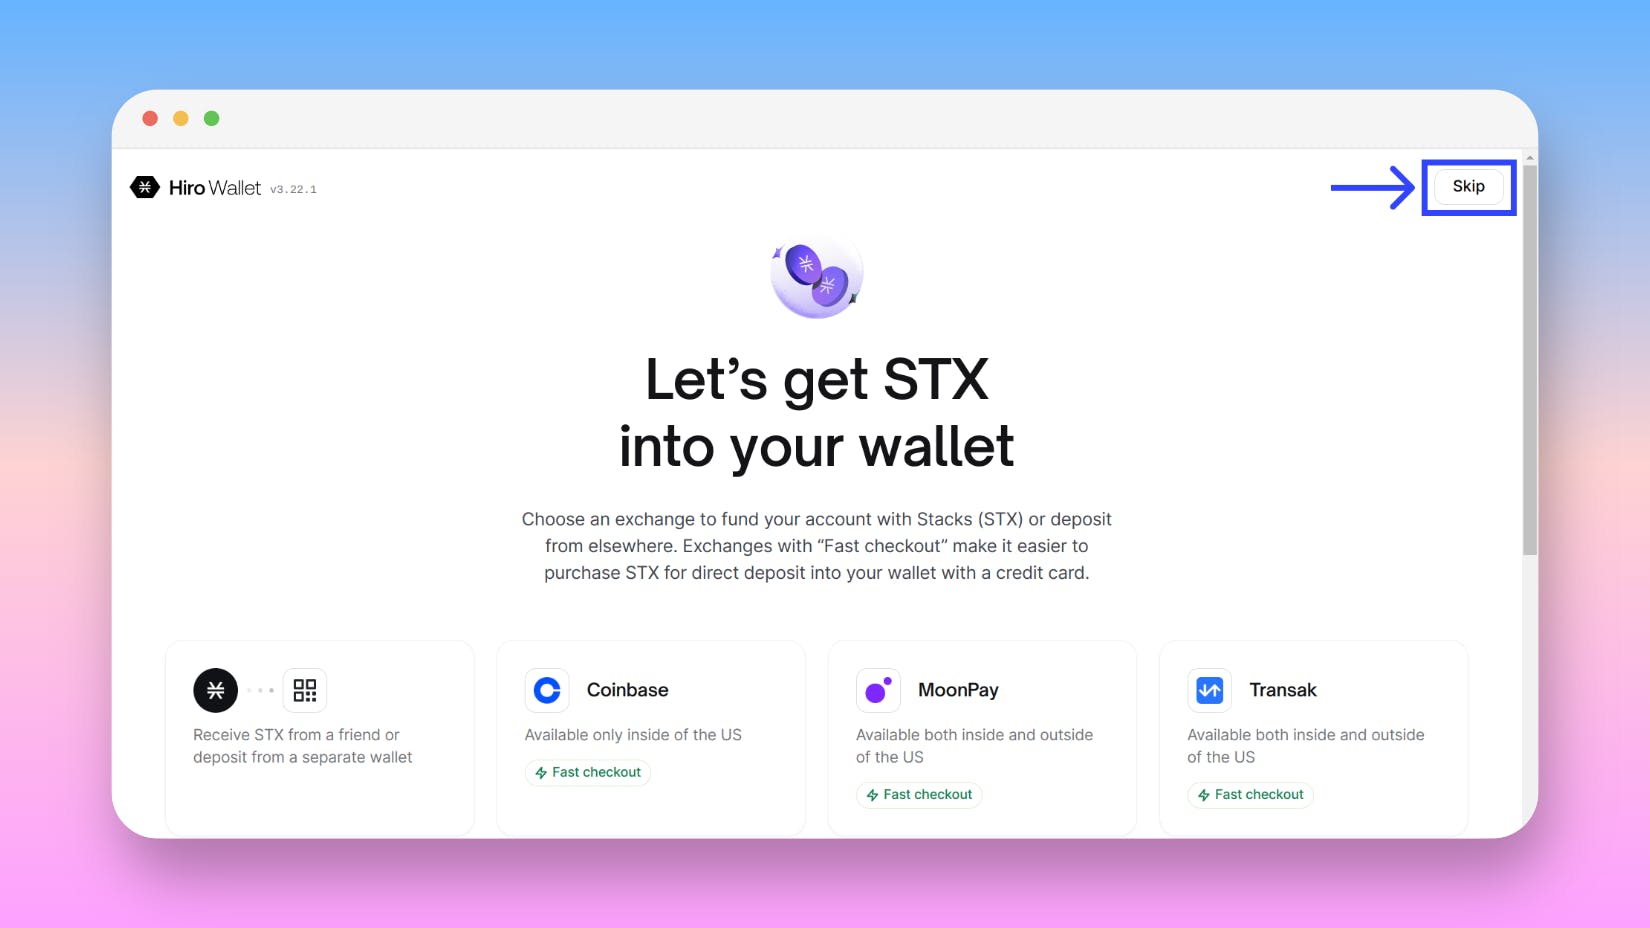
Now you should see a page that asks you to deposit some STX into your wallet. We will be skipping this by clicking the Skip button located in the upper right corner of the app.
Now you should see your wallet. There may be a "Next steps for you" module at the top with a few links. You can click on x in the upper right of the module to close it. Now we swap to the testnet and get some testnet funds!
Swap wallet to testnet
Launch the Hiro wallet app. In the upper right-hand portion of the app, click the three dots ('...') and select "Change network". Select "Testnet" to swap your wallet to the testnet.
Get testnet STX
Now that we have a wallet, we need to get some testnet STX. We can do this by visiting the STX Faucet.
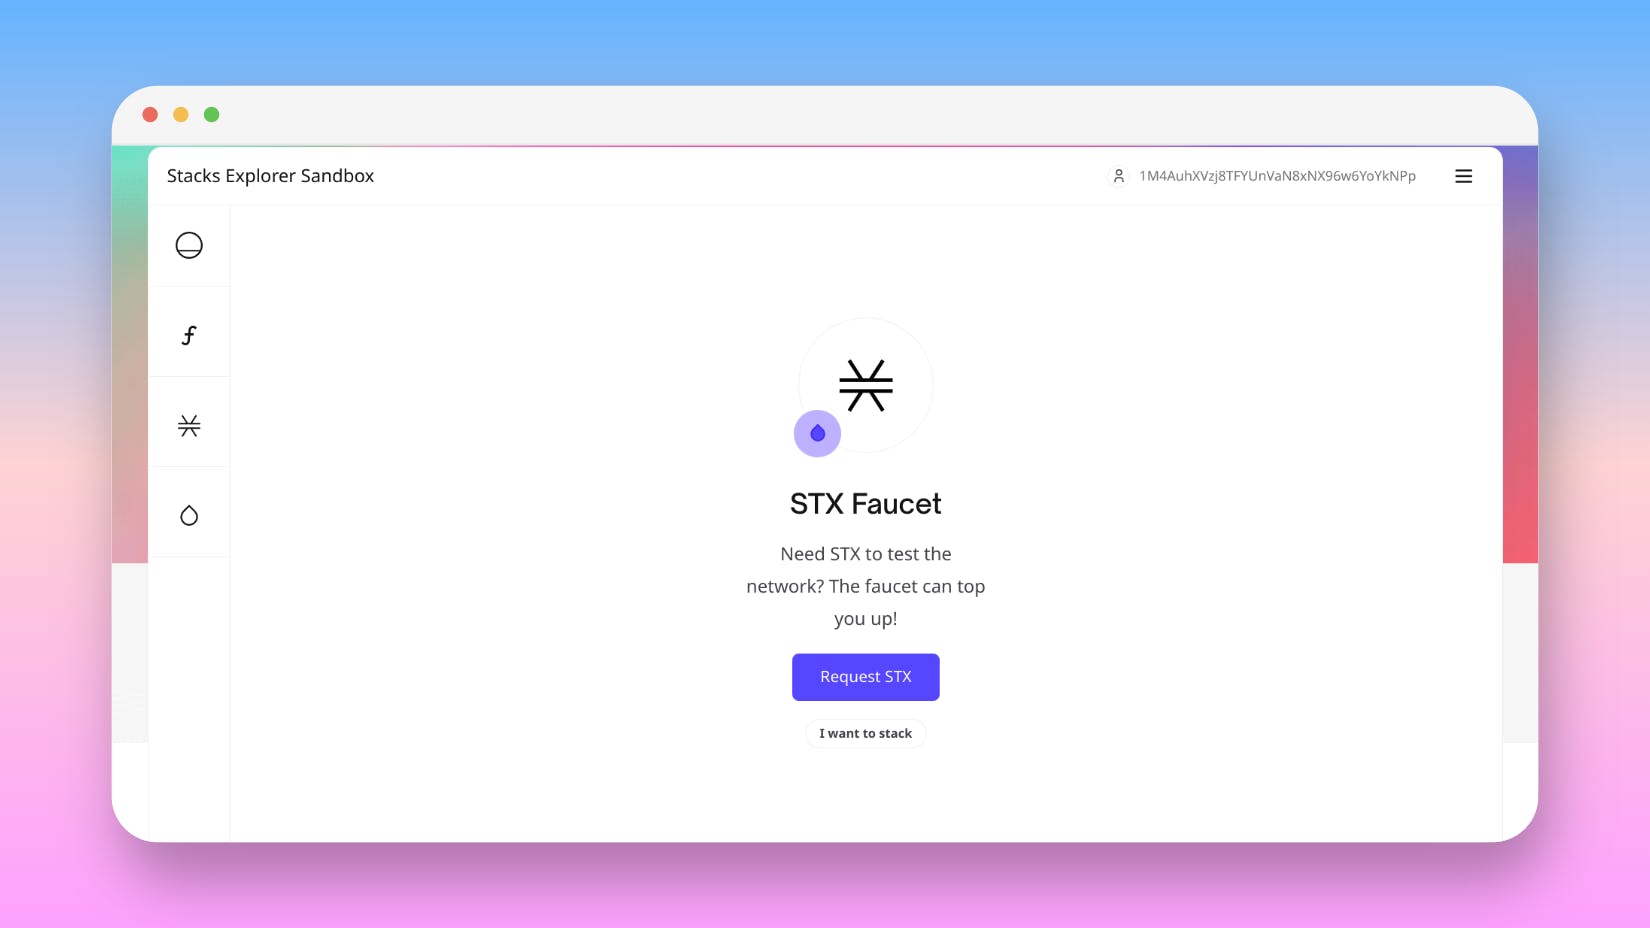
Click the Connect Stacks Wallet button. This will allow access to the STX Faucet.
Once you have connected your wallet, you can press the Request STX button to get some testnet STX. This will send 500 STX to your wallet address. Please note that while this usually only takes a few minutes, it can take as long as 15 minutes for the funds to appear.
If done successfully, you will see a message that says "STX coming your way shortly!"
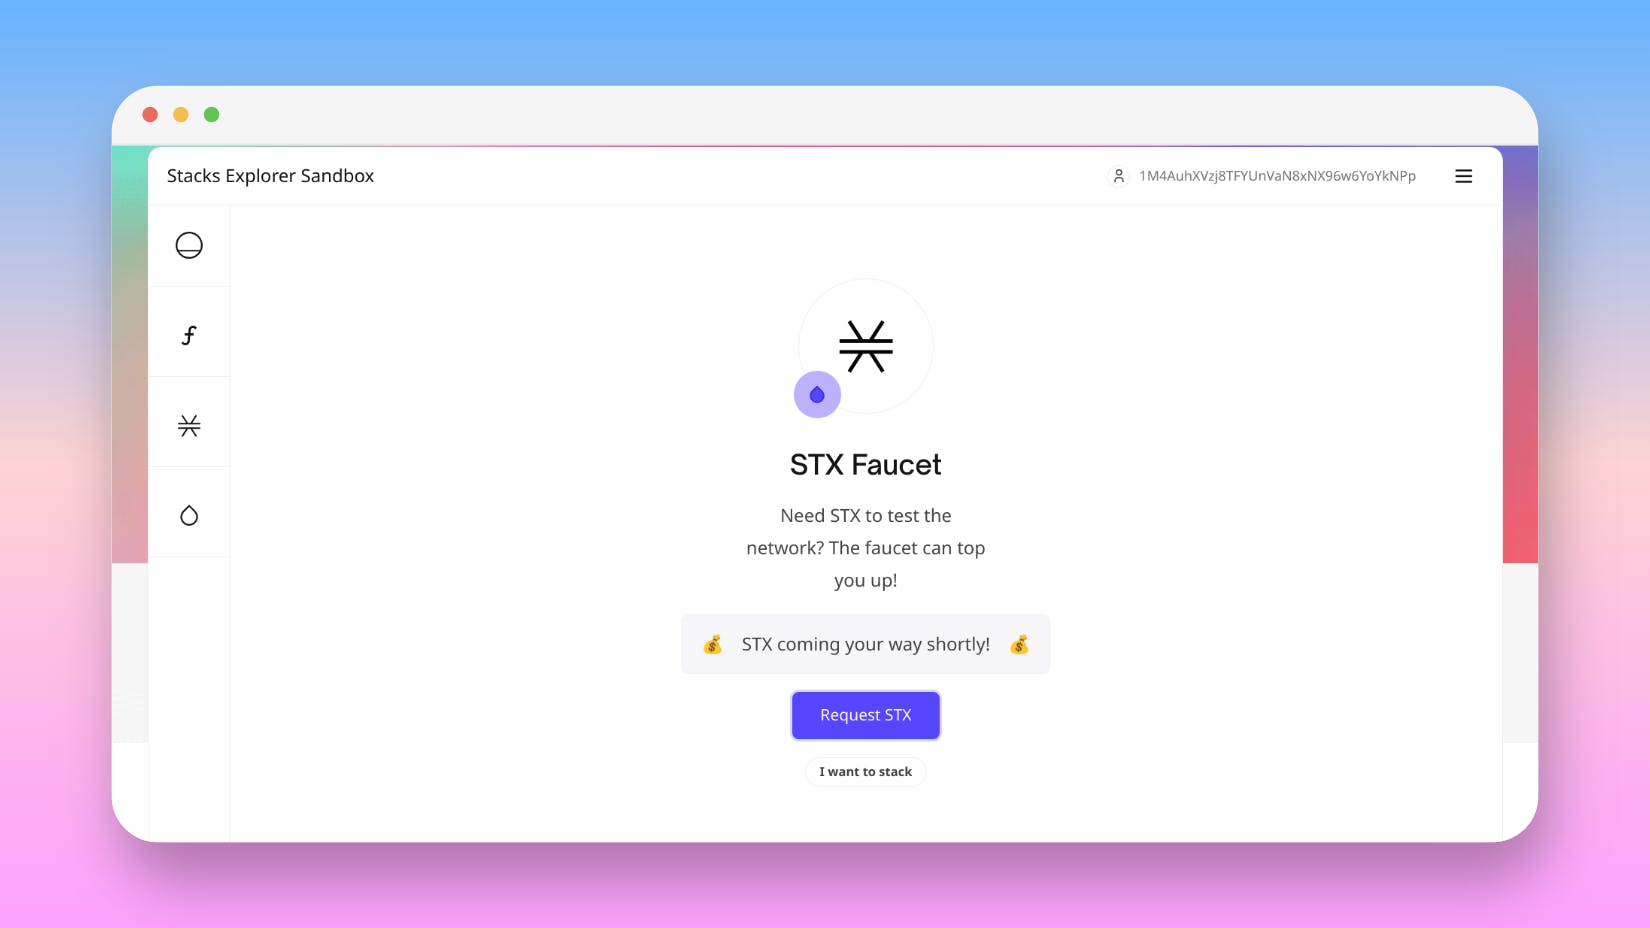
You can open your Hiro wallet extension to see that you have the testnet STX.
Configure your project settings
In order to deploy to the testnet, the next thing we will need to do is to configure out projects settings. These settings were generated when we created our first contract earlier, you can find the files located in the /clarity-tutorial/settings/ directory.
Open the Testnet.toml file in your favorite IDE. We will need to add the mnemonic phrase of our testnet wallet. You should have saved this earlier, but if not, you can open your Hiro Wallet extension, then click the three dots '...' in the upper right corner of the app. Click "view secret key" then input your password to view it. Copy and paste your secret key in the Testnet.toml file.
Run the following command clarinet deployment generate --testnet --low-cost. Running this command will generate default.testnet-plan.yaml under your project's "deployments" folder. This file contains the configuration for your testnet contract.
Useful deployment flags
There are additional flags that you can add to your clarinet deployment generate command:
- --testnet: Generates the default.testnet-plan.yaml in the deployments folder.
- --mainnet: Generates the default.mainnet-plan.yaml in the deployments folder
- --low-cost: Computes and sets the cost of the contract using low-priority contract calls.
- --medium-cost: Computes and sets the cost of the contract using medium-prior contract calls.
- --high-cost: Computes and sets the cost of the contract using high-priority contract calls.
You can view more information about all of the available flags by typing in the clarinet deployment generate --help command into your terminal.
After you have reviewed the generated file, it's time to deploy!
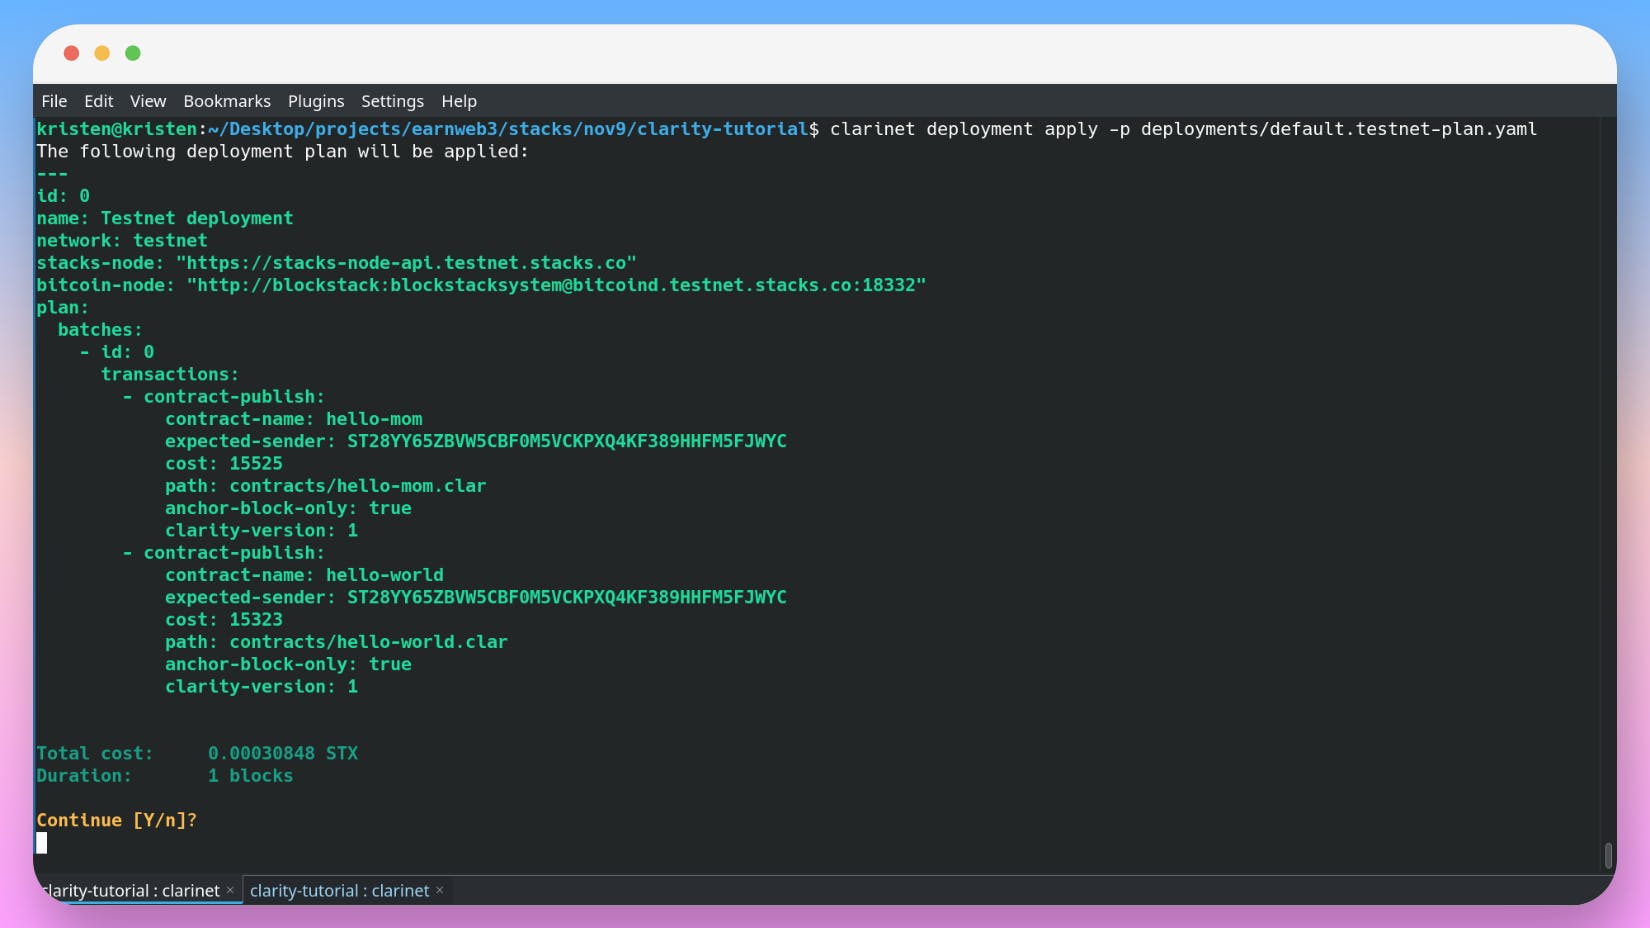
Use the following command to deploy your contract to the testnet:
clarinet deployment apply -p deployments/default.testnet-plan.yaml
You should see a message that says something similar to the output below:
The following deployment plan will be applied:
---
id: 0
name: Testnet deployment
network: testnet
stacks-node: "https://stacks-node-api.testnet.stacks.co"
bitcoin-node: "http://blockstack:blockstacksystem@bitcoind.testnet.stacks.co:18332"
plan:
  batches:
    - id: 0
      transactions:
        - contract-publish:
            contract-name: hello-world
            expected-sender: ST28YY65ZBVW5CBF0M5VCKPXQ4KF389HHFM5FJWYC
            cost: 17212
            path: contracts/hello-world.clar
            anchor-block-only: true
            clarity-version: 1


Total cost:     0.00017212 STX
Duration:       1 blocks

Continue [Y/n]?
Enter Y and press enter to continue.
After some time has passed, you should see a message that says:
✔ Transactions successfully confirmed on Testnet
Let's go into what each field of the deployment plan means:
- id: The id of the first deployment plan. The first id always starts at 0.
- name: the type of deployment will be displayed here. (ie: Testnet deployment)
- network: the network the contract(s) will be deployed on.
- stacks-node: the route to the stacks node.
- bitcoin-node: the route to the bitcoin node.
Under "plan", there is more information as well. Let's take a look:
- id: The id of the first plan in the batch. The first id always starts at 0.
- transactions: Displays the transactions deployed with the plan. In the above example, this includes one contract-publish transaction.
- contract-publish: Displays the type of transaction that this was. In the example's case, it was a transaction that published a contract.
- expected-sender: The creator of the contract.
- cost: The estimated cost for the deployment.
- path: The path to the contract will be displayed here.
- clarity-version: The version of the clarity used by the contract.
What if I wanted to deploy more than one contract?
For the purpose of the tutorial, we will be continuing on as if we are only working on one contract. However, I feel it's important to cover how to update our deployment plan with multiple contracts.
Create another contract called hello-mom by running the following command:
clarinet contract new hello-mom
Open the hello-mom.clar contract under the contracts directory. Delete the starter code and paste the below code:
(define-public (say-hello-to-my-mom)
  (ok "hi mom"))
Save hello-mom.clar. After this, we need to update our Clarinet.toml.
Add the following code to the hello-mom.clar file located in the contracts folder:
[contracts.hello-mom]
path = 'contracts/hello-mom.clar'
Next, if you have already deployed your hello-world.clar project previously, you can remove the [contracts.hello-world] and 2 lines below it from your Clarinet.toml and then save it. If this is the case, you will need to create another contract to test deploying multiple new contracts.
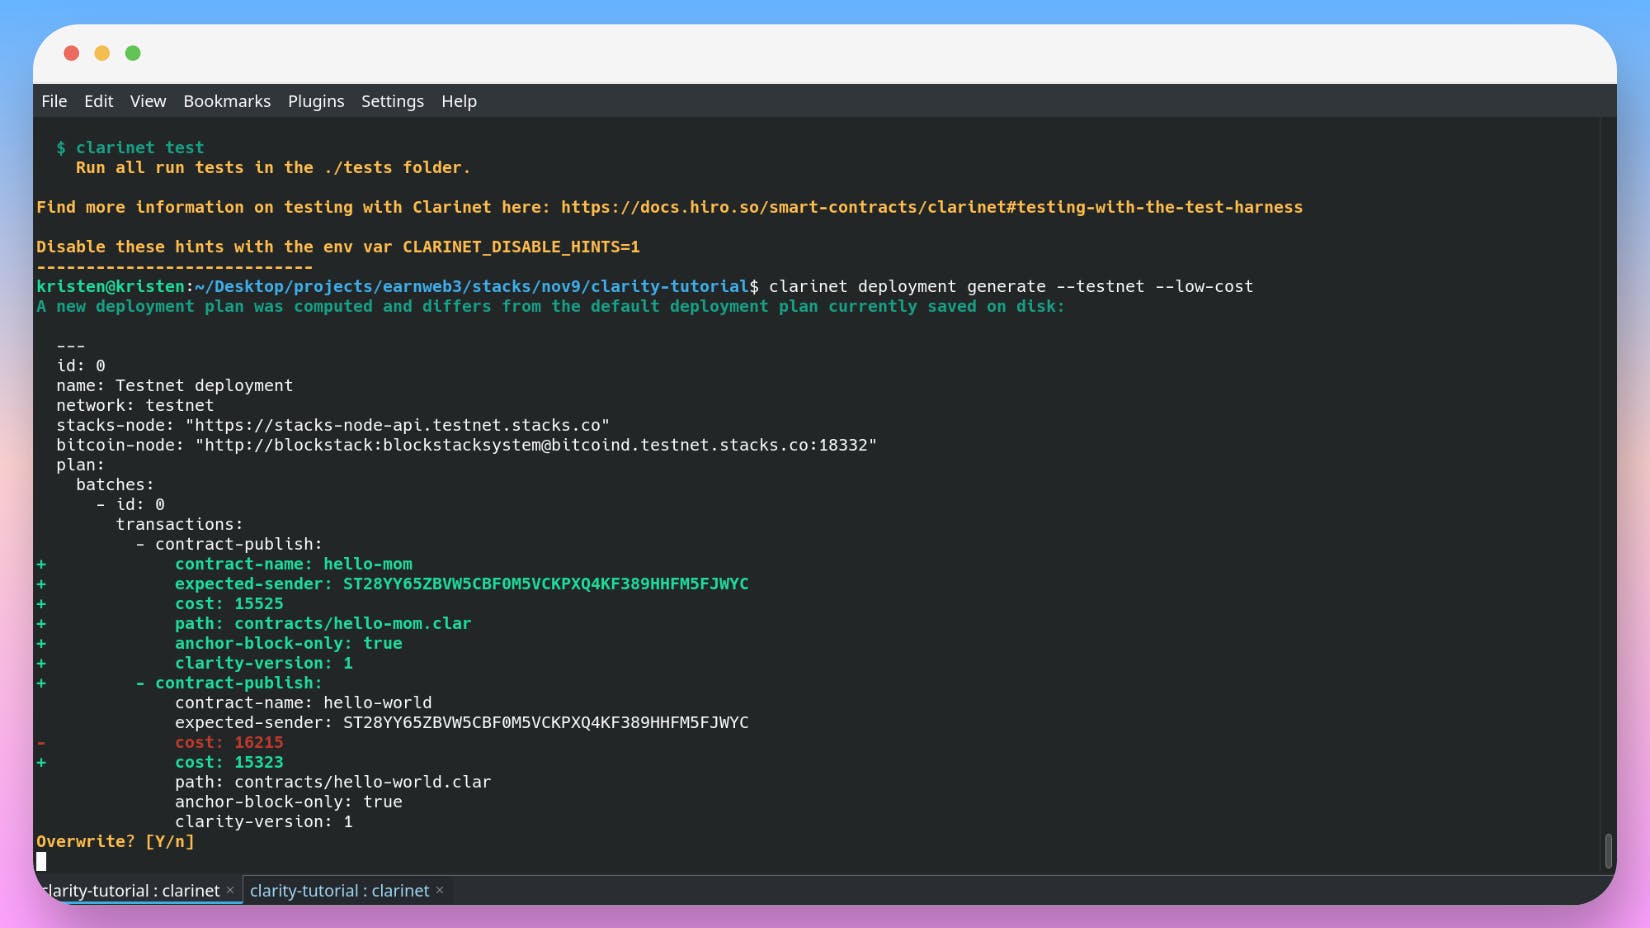
Now, we will need to regenerate our low-cost testnet project by running the below command in the terminal:
clarinet deployment generate --testnet --low-cost
You should see an output similar to the one below:
A new deployment plan was computed and differs from the default deployment plan currently saved on disk:
  ---
  id: 0
  name: Testnet deployment
  network: testnet
  stacks-node: "https://stacks-node-api.testnet.stacks.co"
  bitcoin-node: "http://blockstack:blockstacksystem@bitcoind.testnet.stacks.co:18332"
  plan:
    batches:
      - id: 0
        transactions:
          - contract-publish:
+             contract-name: hello-mom
+             expected-sender: ST28YY65ZBVW5CBF0M5VCKPXQ4KF389HHFM5FJWYC
+             cost: 15525
+             path: contracts/hello-mom.clar
+             anchor-block-only: true
+             clarity-version: 1
+         - contract-publish:
              contract-name: second-contract
              expected-sender: ST28YY65ZBVW5CBF0M5VCKPXQ4KF389HHFM5FJWYC
-             cost: 16215
+             cost: 15323
              path: contracts/second-contract.clar
              anchor-block-only: true
              clarity-version: 1
Overwrite? [Y/n]
Type Y and press enter to overwrite your existing testnet deployment plan. You may get a second prompt for this, just type Y and press enter again. This new plan will have both the hello-mom.clar and second-contract.clar (whatever your second contract is named) contracts deployed!
Now, we just need to deploy our contracts once more with the following command:
clarinet deployment apply -p deployments/default.testnet-plan.yaml
This should generate a message similar to the one below:
The following deployment plan will be applied:
---
id: 0
name: Testnet deployment
network: testnet
stacks-node: "https://stacks-node-api.testnet.stacks.co"
bitcoin-node: "http://blockstack:blockstacksystem@bitcoind.testnet.stacks.co:18332"
plan:
  batches:
    - id: 0
      transactions:
        - contract-publish:
            contract-name: hello-mario
            expected-sender: ST28YY65ZBVW5CBF0M5VCKPXQ4KF389HHFM5FJWYC
            cost: 16787
            path: contracts/hello-mario.clar
            anchor-block-only: true
            clarity-version: 1
        - contract-publish:
            contract-name: hello-luigi
            expected-sender: ST28YY65ZBVW5CBF0M5VCKPXQ4KF389HHFM5FJWYC
            cost: 14758
            path: contracts/hello-luigi.clar
            anchor-block-only: true
            clarity-version: 1


Total cost:     0.00031545 STX
Duration:       1 blocks

Continue [Y/n]?
Type Y and press enter.
After some time has passed, you should see a message that says:
✔ Transactions successfully confirmed on Testnet
Step 5: View and interact with the contract
Now that our contract has been deployed, it's time to view it. We will be viewing the contract on the testnet since that is where we deployed it. However, instructions on how to view contracts deployed on the mainnet will be provided as well.
On the Testnet
Get your contract address
Copy the 'expected-sender' address and contract-name from your default.testnet-plan.yaml file located in the deployments folder of your project.
Your contract address will be the concatenation (combination) of the expected-sender and contract-name separated by a period. For example, if your expected-sender is ST28YY65ZBVW5CBF0M5VCKPXQ4KF389HHFM5FJWYC and your contract-name is hello-world, your contract address will be ST28YY65ZBVW5CBF0M5VCKPXQ4KF389HHFM5FJWYC.hello-world.
Copy your contract address and then go to the Stacks Explorer for Testnet and paste your contract address in the search bar.
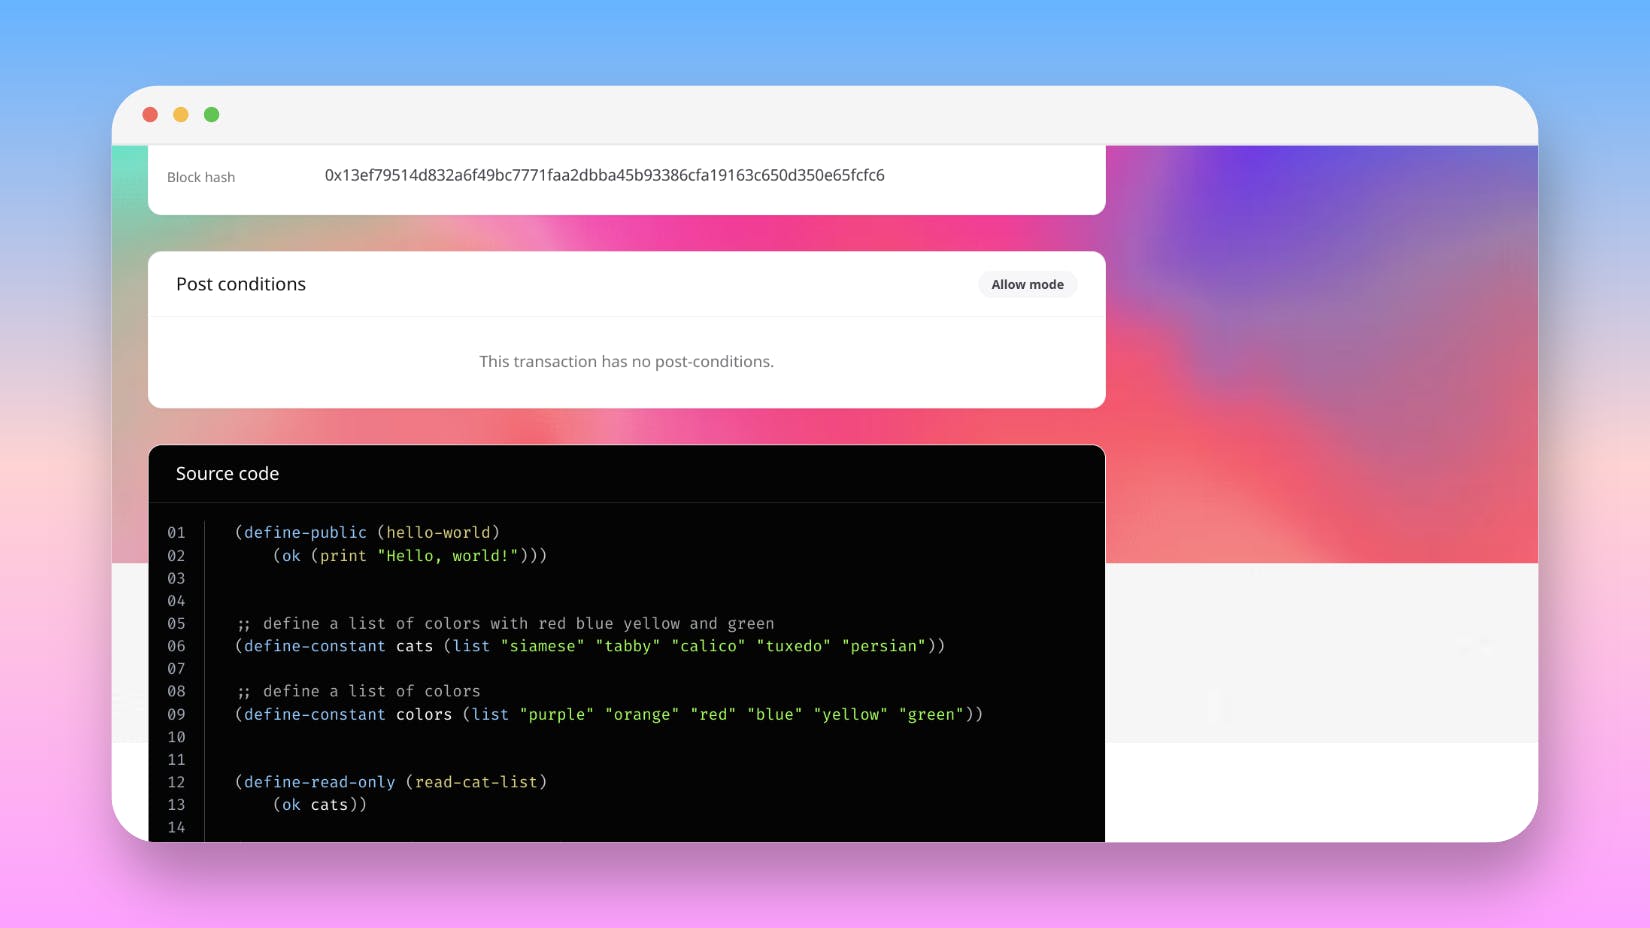
You should see something like this:
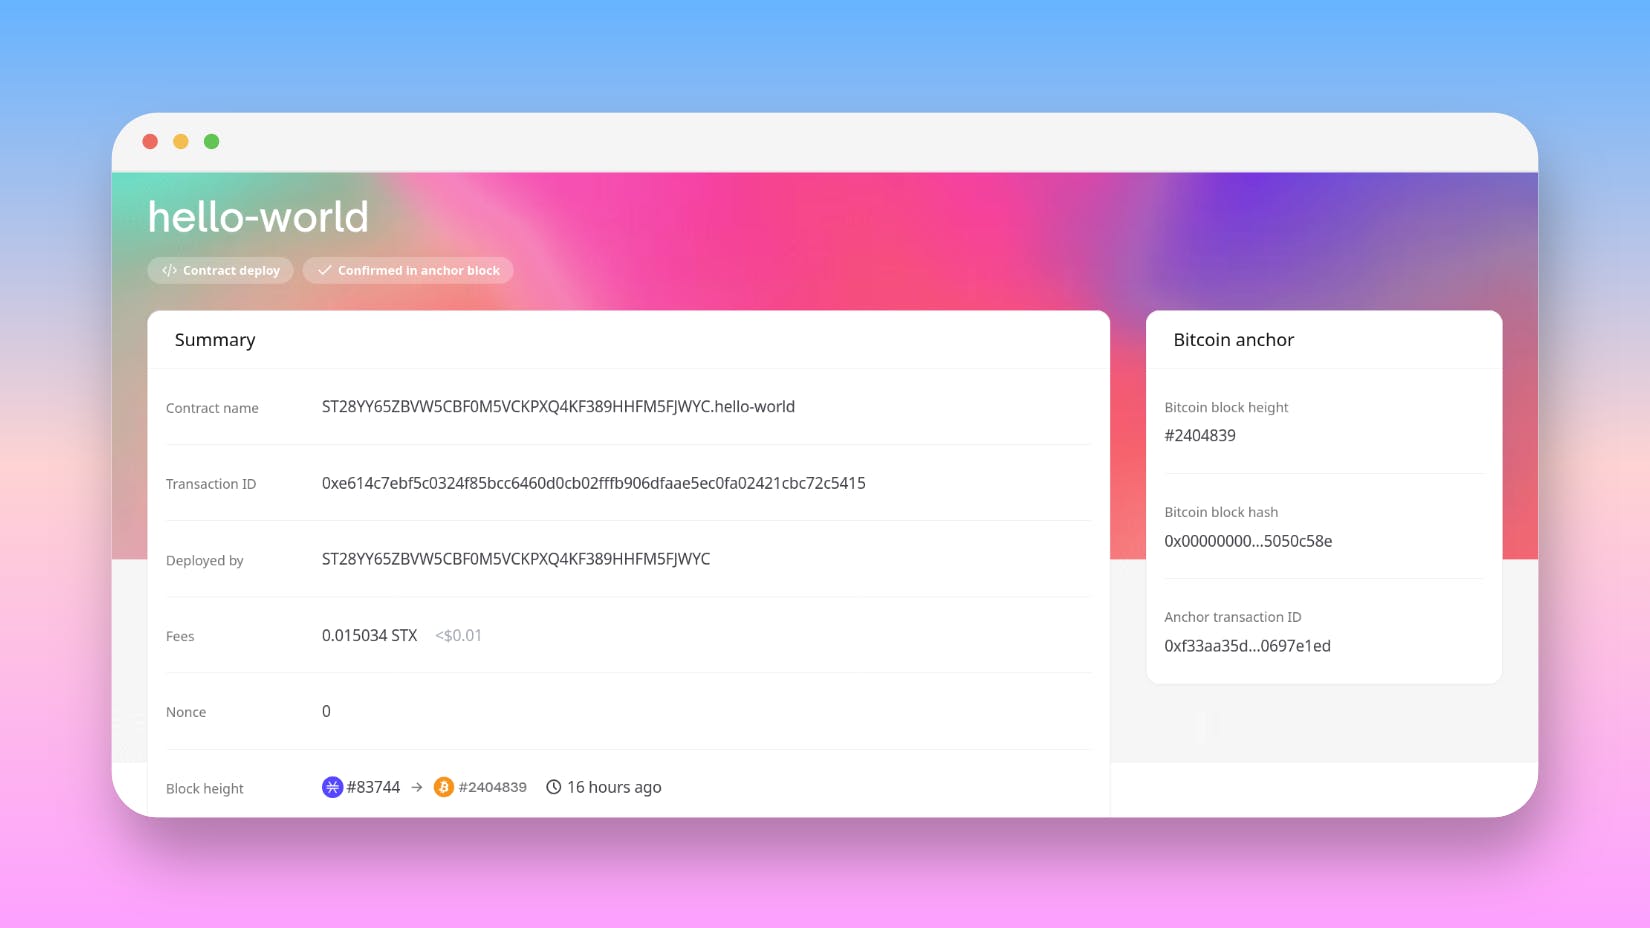
If you scroll down the page, you can view the contract's source code. Here is my contract (I added a few additional functions):
On the Mainnet
Configure Mainnet.toml
The first thing you'll want to do before deploying on the mainnet is to configure the Mainnet.toml file located in your project's settings directory. Add your mnemonic phrase and save the file.
Generate a deployment plan
Just like with the testnet earlier, we will be generating a deployment plan for our project. We will be generating another low-cost plan with the following command:
clarinet deployment generate --mainnet --low-cost
Add requirements to Clarinet.toml
If your contract has any features relying on another external contract, you will need to configure the requirements of your project's Clarinet.toml.
For our initial tutorial, this is not needed. However, if you plan on going beyond and creating your own contract, this can be very useful!
By default, if you followed this tutorial so far, your Clarinet.toml should look like this:
[project]
name = 'clarity-tutorial'
description = ''
authors = []
telemetry = true
cache_dir = './.cache'
requirements = []
[contracts.hello-world]
path = 'contracts/hello-world.clar'
clarity_version = 1
[repl.analysis]
passes = ['check_checker']

[repl.analysis.check_checker]
strict = false
trusted_sender = false
trusted_caller = false
callee_filter = false
Adding and using requirements
Although we will not be using this in the actual tutorial, I wanted to go over this just to explain how to add requirements to your contract. Requirements come in handy whenever you have a contract that may depend on features present within other contracts even outside of your project's initial contract.
For example, we will take a look at an example contract: bitcoin-whales
Navigate to the source code section and observe the first line:
(impl-trait 'SP2PABAF9FTAJYNFZH93XENAJ8FVY99RRM50D2JG9.nft-trait.nft-trait)
This implements a trait from an external smart contract.
To add a requirement, we can add the bitcoin-whales contract as a requirement for our project by running the following command:
clarinet requirements add SP2KAF9RF86PVX3NEE27DFV1CQX0T4WGR41X3S45C.bitcoin-whales
This would now update our Clarinet.toml to look similar to the below code:
[project]
name = 'clarity-tutorial'
description = ''
authors = []
telemetry = true
cache_dir = './.cache'

[[project.requirements]]
contract_id = 'SP2KAF9RF86PVX3NEE27DFV1CQX0T4WGR41X3S45C.bitcoin-whales'

[contracts.hello-world]
path = 'contracts/hello-world.clar'
clarity_version = 1
[repl.analysis]
passes = ['check_checker']

[repl.analysis.check_checker]
strict = false
trusted_sender = false
trusted_caller = false
callee_filter = false
If you had a contract and wanted to update the requirements, you could do so by running the clarinet deployment generate --devnet command. Additionally, you can replace the flag with whichever type of plan you'd like to generate. Just use --mainnet for mainnet, for example. This will remap any external contracts to chosen option of your choice (mainnet, devnet, etc).
Deploy to mainnet
Use the following command to deploy your contract to the mainnet:
clarinet deployment apply -p deployments/default.mainnet-plan.yaml
You should see a message mentioning that the mainnet plan will be applied. Review the details (It's similar to the one shown in the testnet deploy section). Enter y to continue with the deployment.
Open the Stacks Explorer for Mainnet and follow similar instructions listed above. On the deployment step, you will need to use the --mainnet flag to generate a proper deployment plan.
Congratulations on writing and deploying your first Stacks contract using the Clarinet CLI!