


It's crazy to think that it's been about 9 months now since I took my first steps into learning about Blockchain technology, the decentralized web, and non-fungible tokens. Over this time, I haven't stopped learning about fun new technologies and tools!
I've participated in so many different aspects of web3 (another name for the decentralized web) that I've accumulated several skills across the web3 space. I've bug tested technologies, developed on different Blockchains, completed multiple hackathons, learned a lot about community management, just to name some of my accomplishments.
Speaking of accomplishments, I am going to cover a tool that I recently fell in love with using: Kudos. This tool is perfect for celebrating accomplishments no matter how big and small.
In this article, we'll be going over what Kudos are, what they're used for, and demonstrate how to use create and distribute them in super simple to understand steps! At the end of this article, you can also claim a very special Kudos from me just for following this tutorial! You will also be able to click through the table of contents to easily jump to the section of your choosing, especially if you already have a wallet created.
With that being said, you can expect future articles covering other awesome technologies in the future. So, if you end up enjoying this article, you can follow me on Hashnode for other great content covering all things web3!
What are Kudos?
Kudos are a way to reward an individual or a community with non-transferable (also called Soulbound) tokens that they can claim for free. These tokens are typically supportive images that get minted to the Polygon Blockchain.
My thoughts on Kudos being Soulbound.
While I am not usually a fan of Soulbound tokens due to their nature of not being burnable, I think that the Kudos team have taken such a smart approach to how Kudos are distributed to recipients. Because you cannot send them directly to people, they must be claimed by each person who would like to add the Kudos to their collection.
Because of their approach to this, I think it's perfect, because it gives people the choice of whether they want to collect a Kudos or not. We'll go over this more in our tutorial as well. Collecting a Soulbound NFT should feel like a meaningful choice, and I think Kudos are a way of accomplishing that.
What are Kudos used for?
Think of Kudos as a badge of honor for accomplishing an awesome feat! For example, they can be awarded as a PoK (proof-of-knowledge) NFT that shows completion of a course. I have personally earned a few different Kudos over the several months that I've been learning about web3, but most recently I actually created my own from scratch and I set it up to be claimed by over 170 different unique wallet addresses!
Prerequisites
There are three prerequisites to get started with creating a Kudos: a wallet, adding access to the Polygon mainnet, and a community (we'll be going over all of these things). If you already have a compatible wallet, feel free to skip the wallet setup section! Additionally, if you already have the Polygon mainnet added, you can skip that section as well.
The first prerequisite: Creating a wallet.
First, we'll create a wallet, then we'll add the Polygon mainnet as a network. We'll need a compatible wallet like Metamask. Alternatively, you can also connect a WalletConnect-compatible wallet. If you don't have a wallet, we'll go over how to create one (it's totally free)!
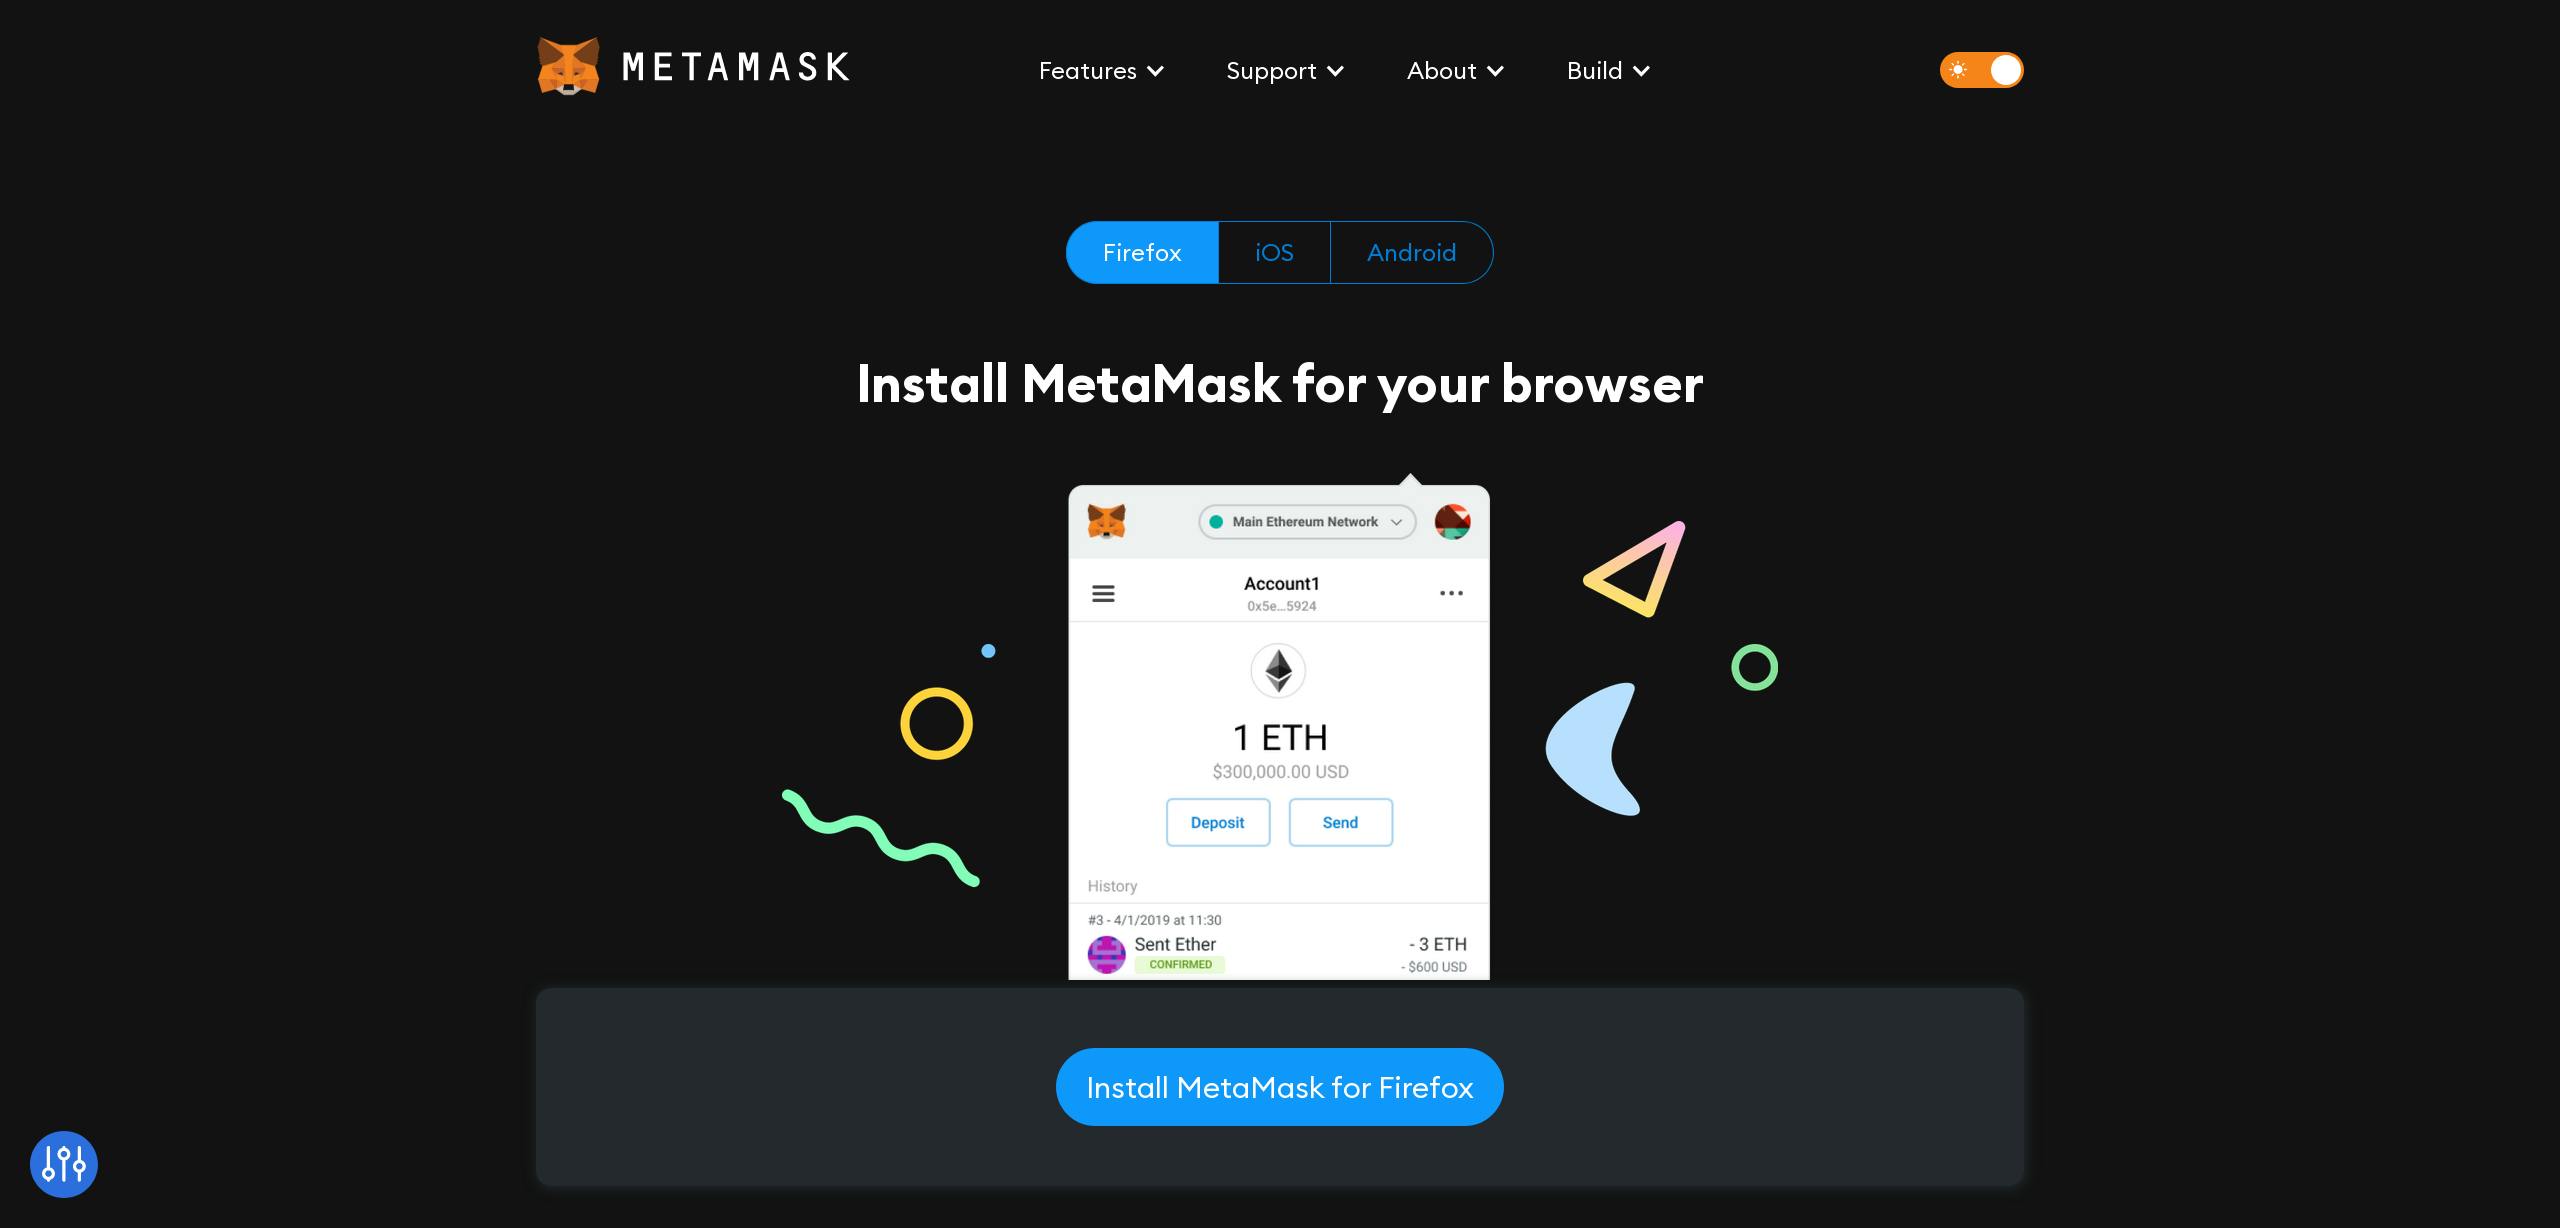 To get started, head to MetaMask’s download page on their website. You should see a page like the one shown above. Click “Install MetaMask for Your Browser” to begin installing the MetaMask browser extension. A new web browser window containing the extension store page will open.
 In the new window, we'll select “Add to Browser” to install the extension on our web browser. I highly recommend pinning this extension to your browser for easy access. (On Chrome, you can pin an extension by clicking the puzzle piece in the upper right-hand corner of your browser window and clicking the ‘Pin’ button.)
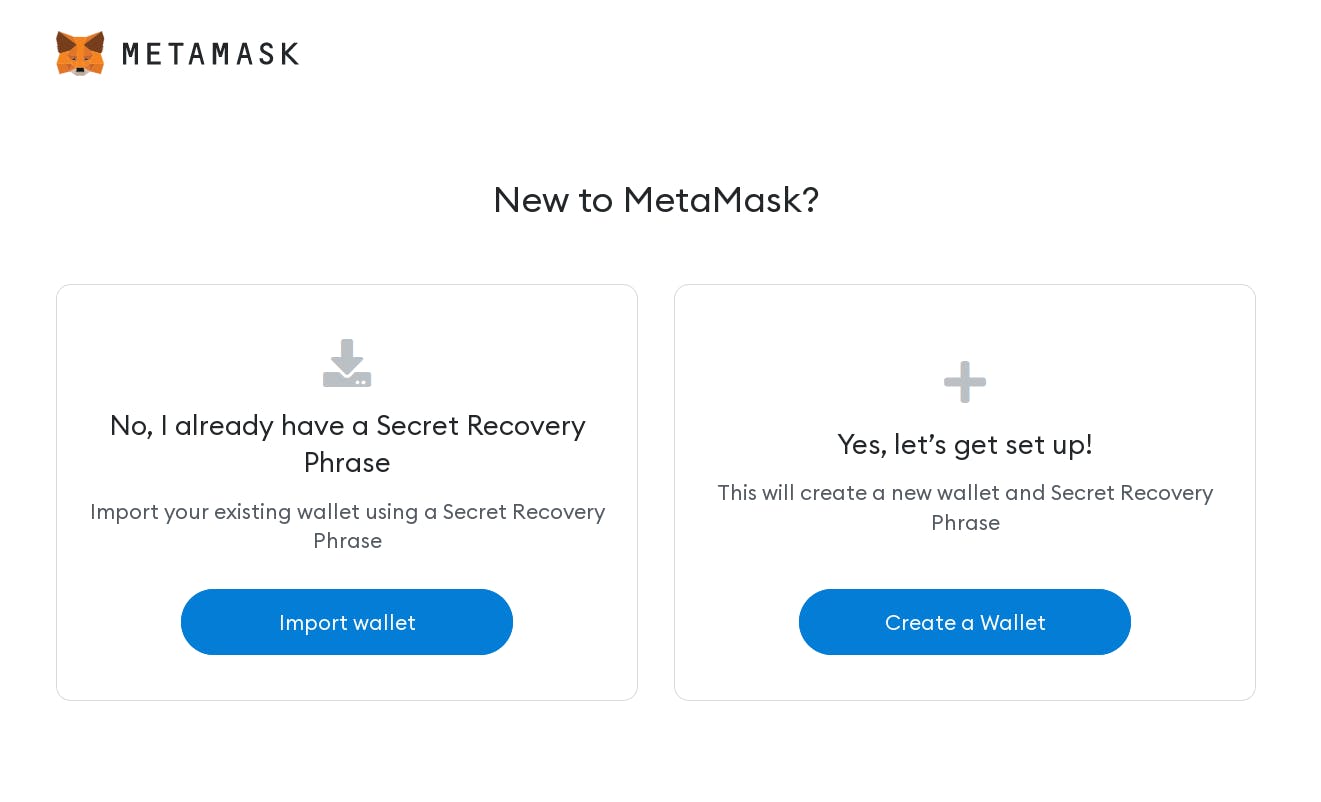 Once the extension installation is complete, a new window will open and ask if you're new to MetaMask. Select “Create a Wallet” from the two options in order to proceed to the next page of the installation process.
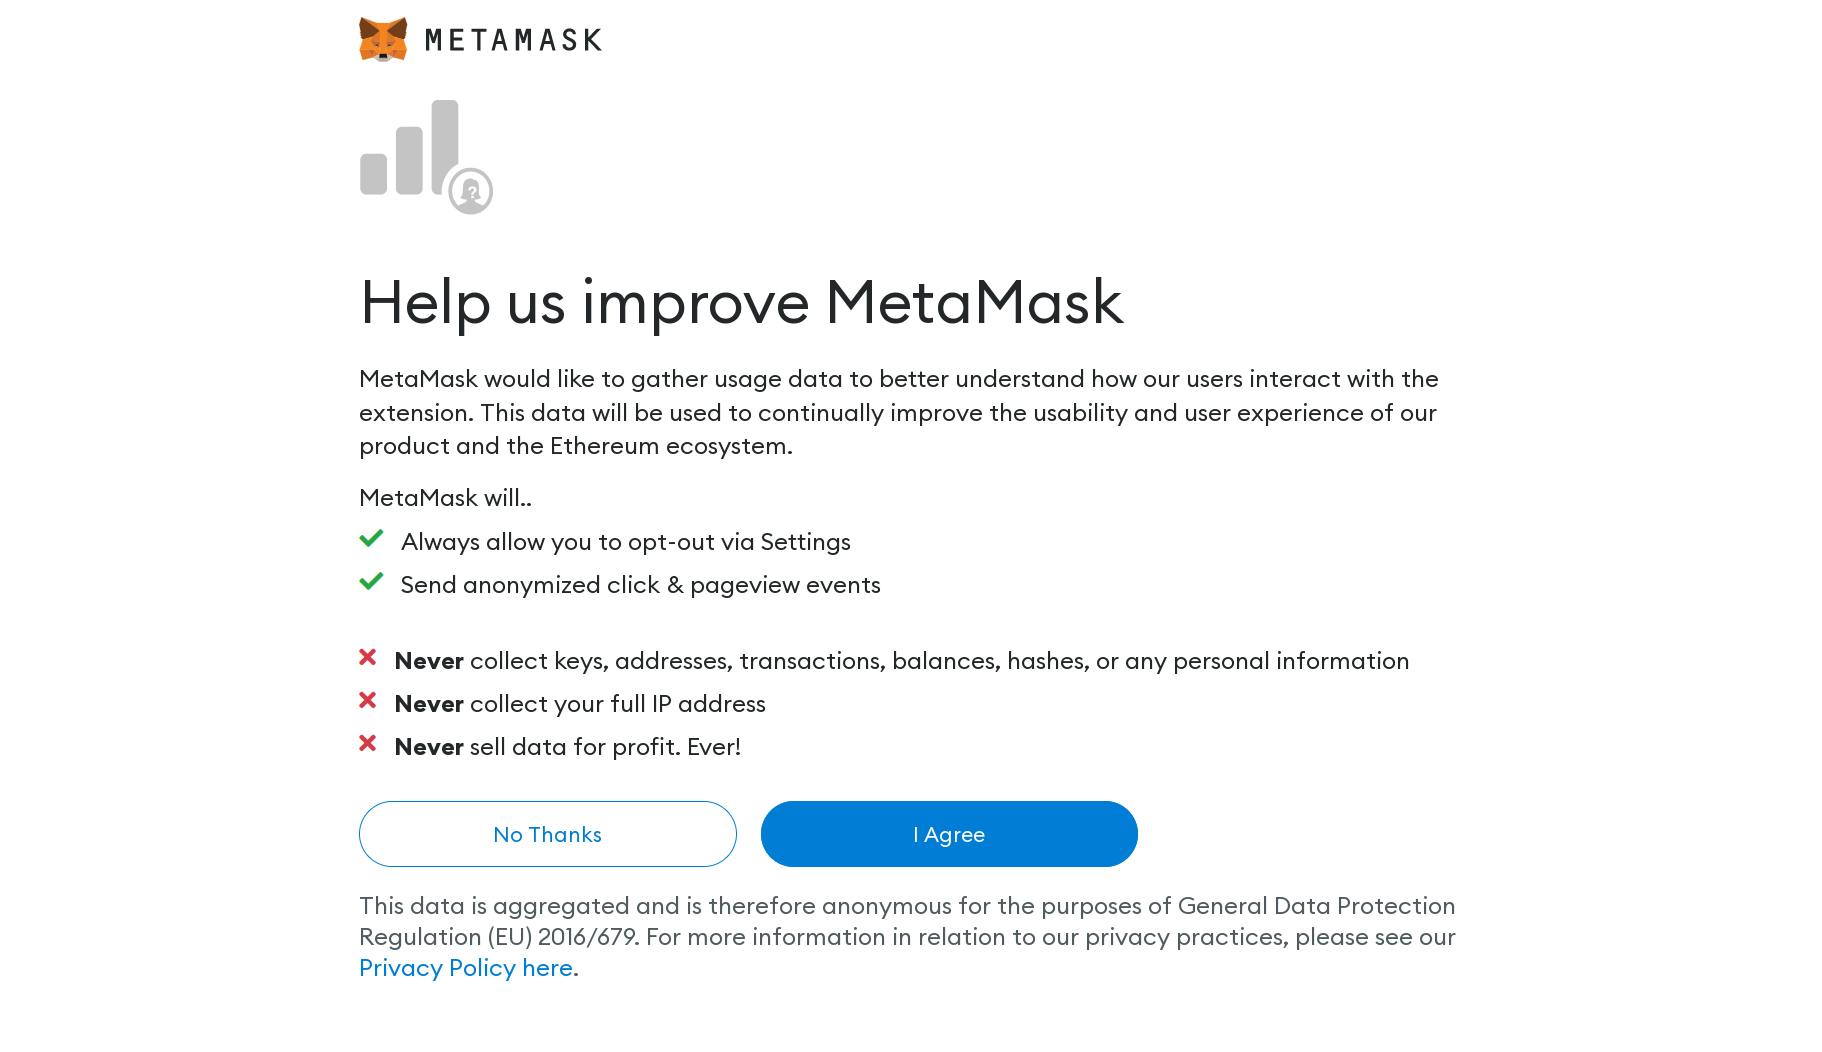 Next, you'll be presented with an option to opt-in or out of sending usage statistics to help improve MetaMask. Review the information listed, then select an option of your choosing. (Note: You can always opt-out via Settings.)
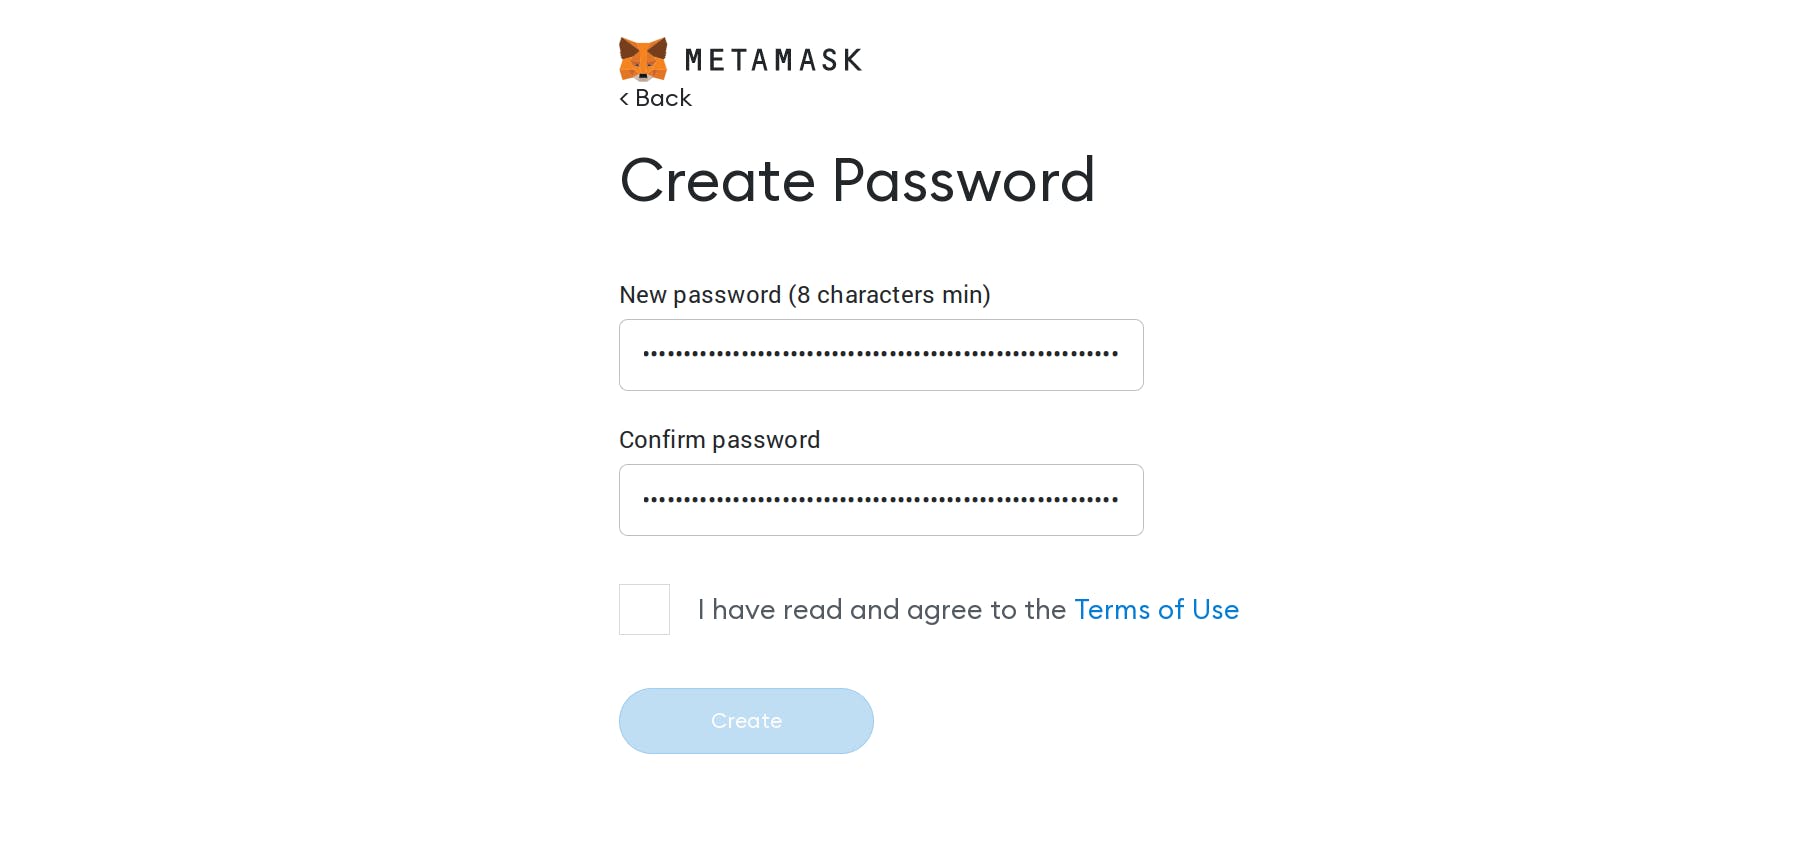 Once you’ve made your choice, the next thing that you will be prompted to do is create a password. This password will be required every time you need to login to MetaMask, so it’s important that you set it to something secure and easy to remember. Agree to MetaMask’s Terms of Use to continue. After that, press the “Create” button to proceed to the next step.
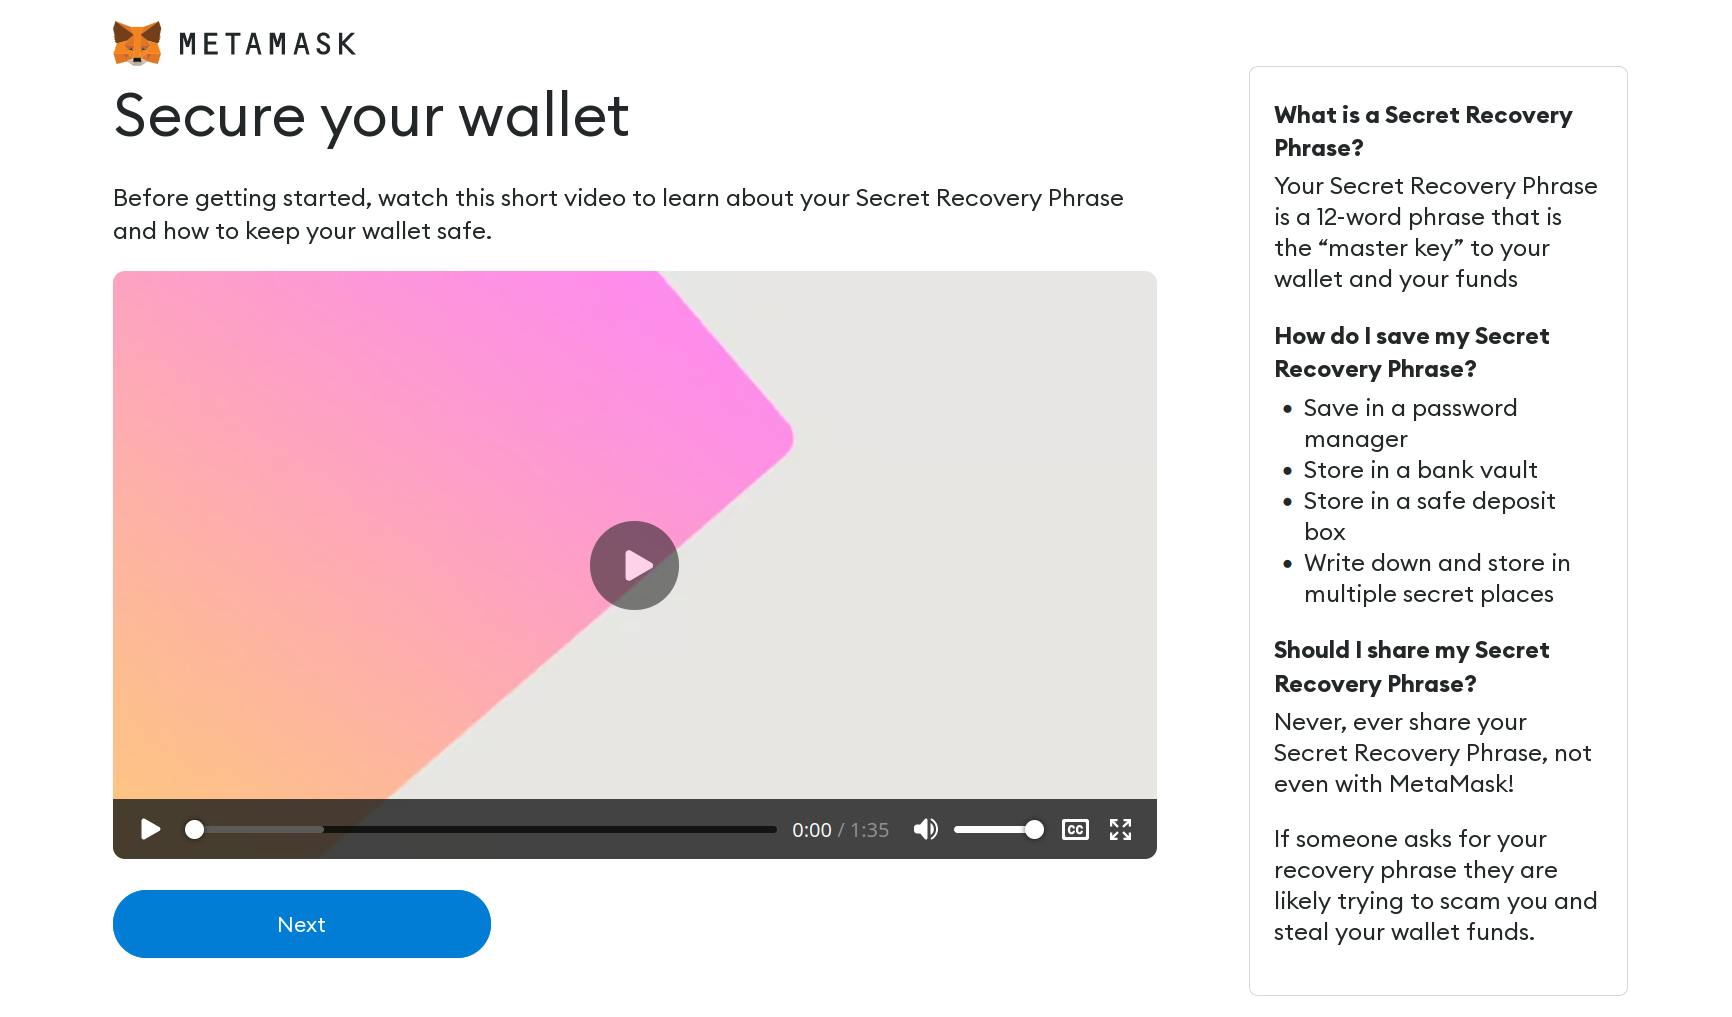 Now you'll see a page containing information about securing your wallet. The most important tip is to never share your Secret Recovery Phrase with anyone. A Secret Recovery Phrase is like a master key to your wallet and any assets that your wallet may have.
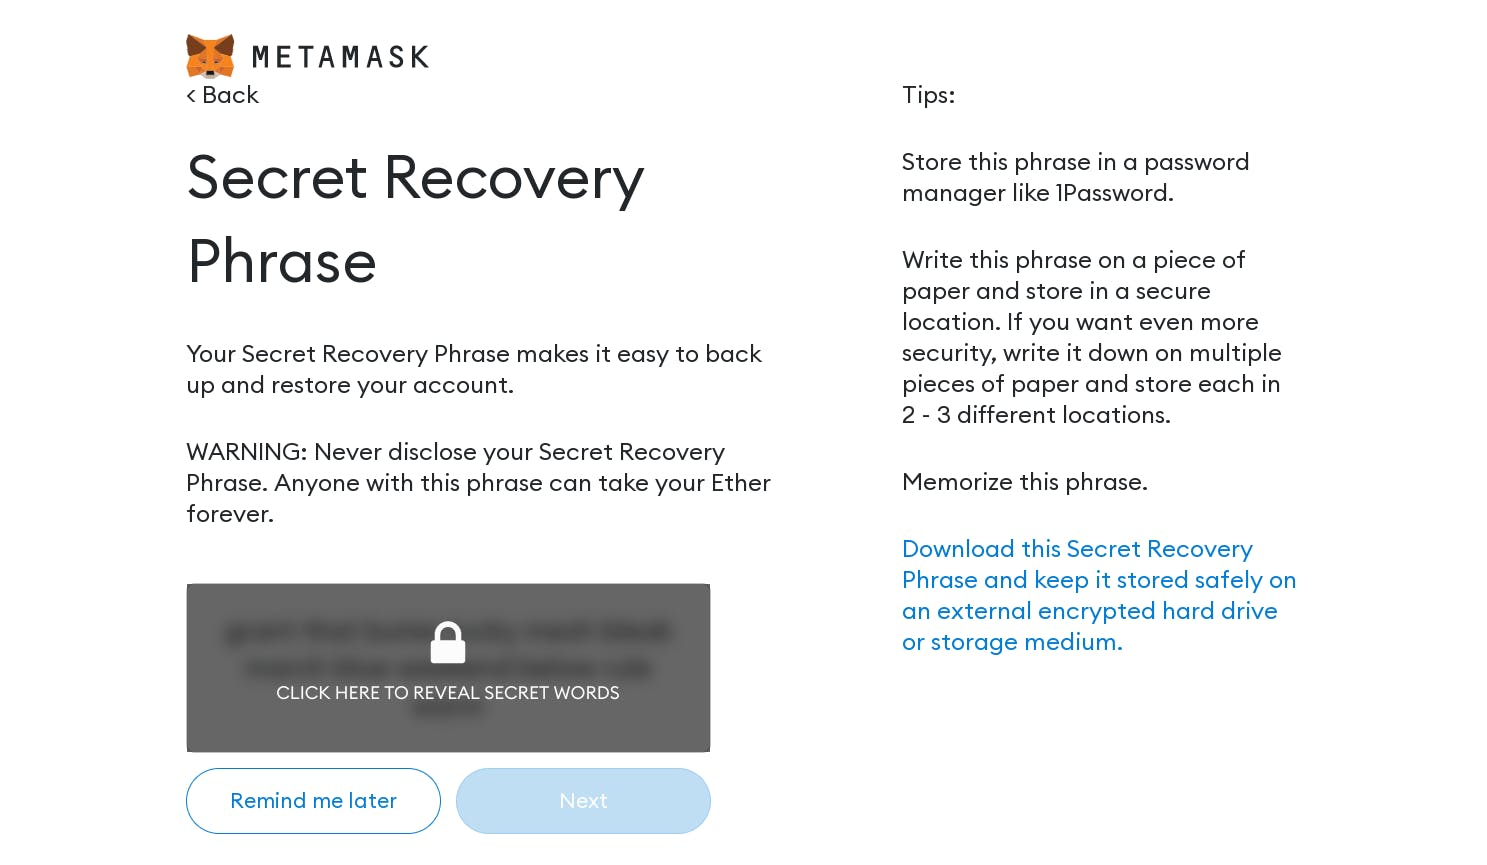 You will now be presented with your Secret Recovery Phrase after clicking “Click here to reveal secret words”. Write this down on paper and store it in a secure location. You will only be able to proceed to the next page once you have revealed your secret phrase. Optionally, you can click the blue text to the right that says “Download this Secret Recovery Phrase and keep it stored safely on an external encrypted hard drive or storage medium.”
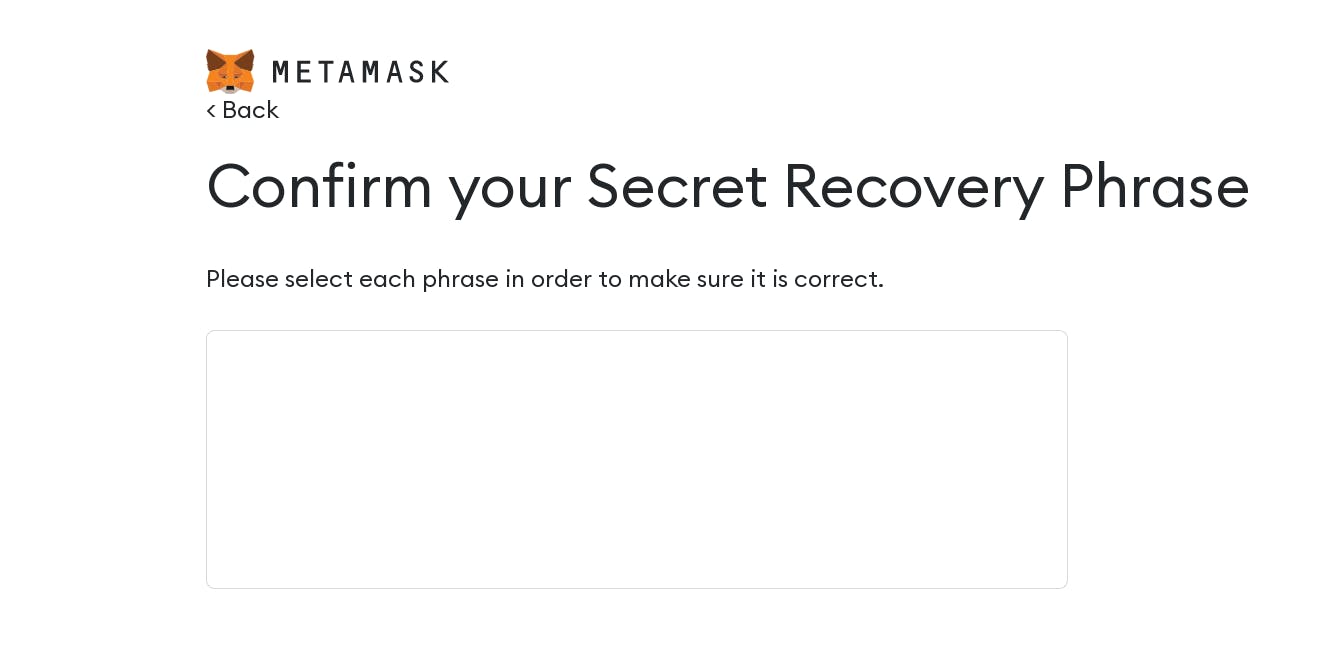 On the next page, you will be asked to enter your Secret Recovery Phrase in the exact order shown on the previous page. Simply click on the words in order to add them to the blank slots on the page. Once you’ve successfully entered your Secret Recovery Phrase, continue on to the next page.
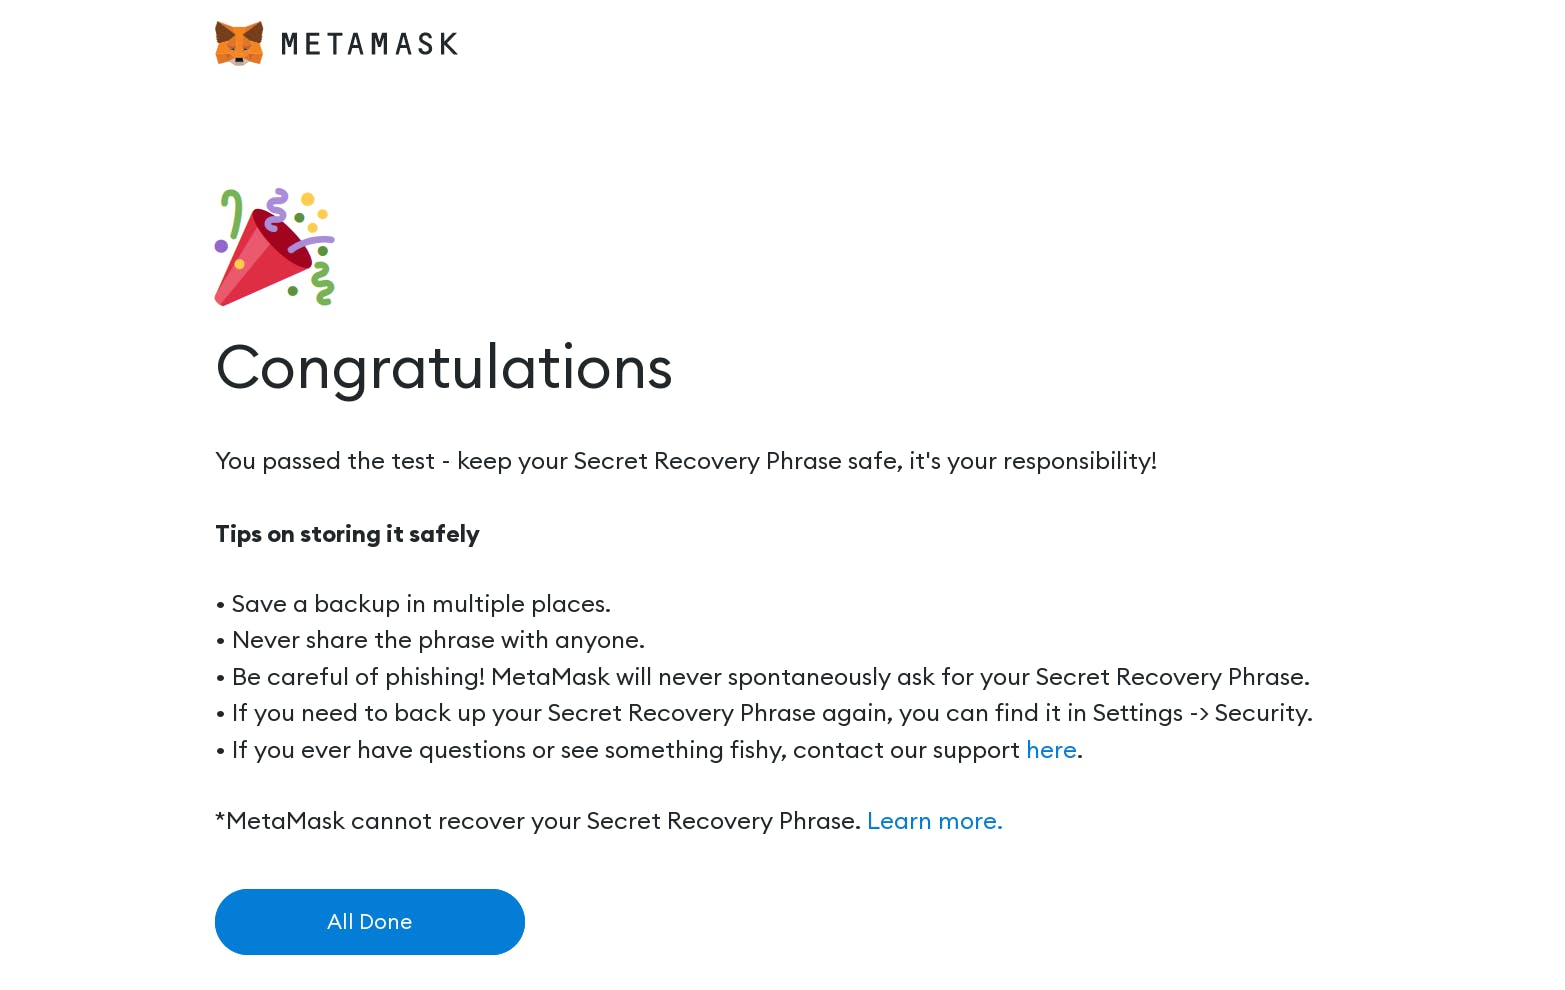 If you get to the “Congratulations” page, then you’ve successfully set up your MetaMask wallet! Click “All Done” to access your wallet! Now, we can move on to adding the Polygon mainnet network to our MetaMask wallet.
The second prerequisite: Adding the Polygon mainnet to MetaMask
Next, we'll be adding the Polygon mainnet to MetaMask. The reason why we're doing this is because any Kudos that we create or mint live on the Polygon blockchain.
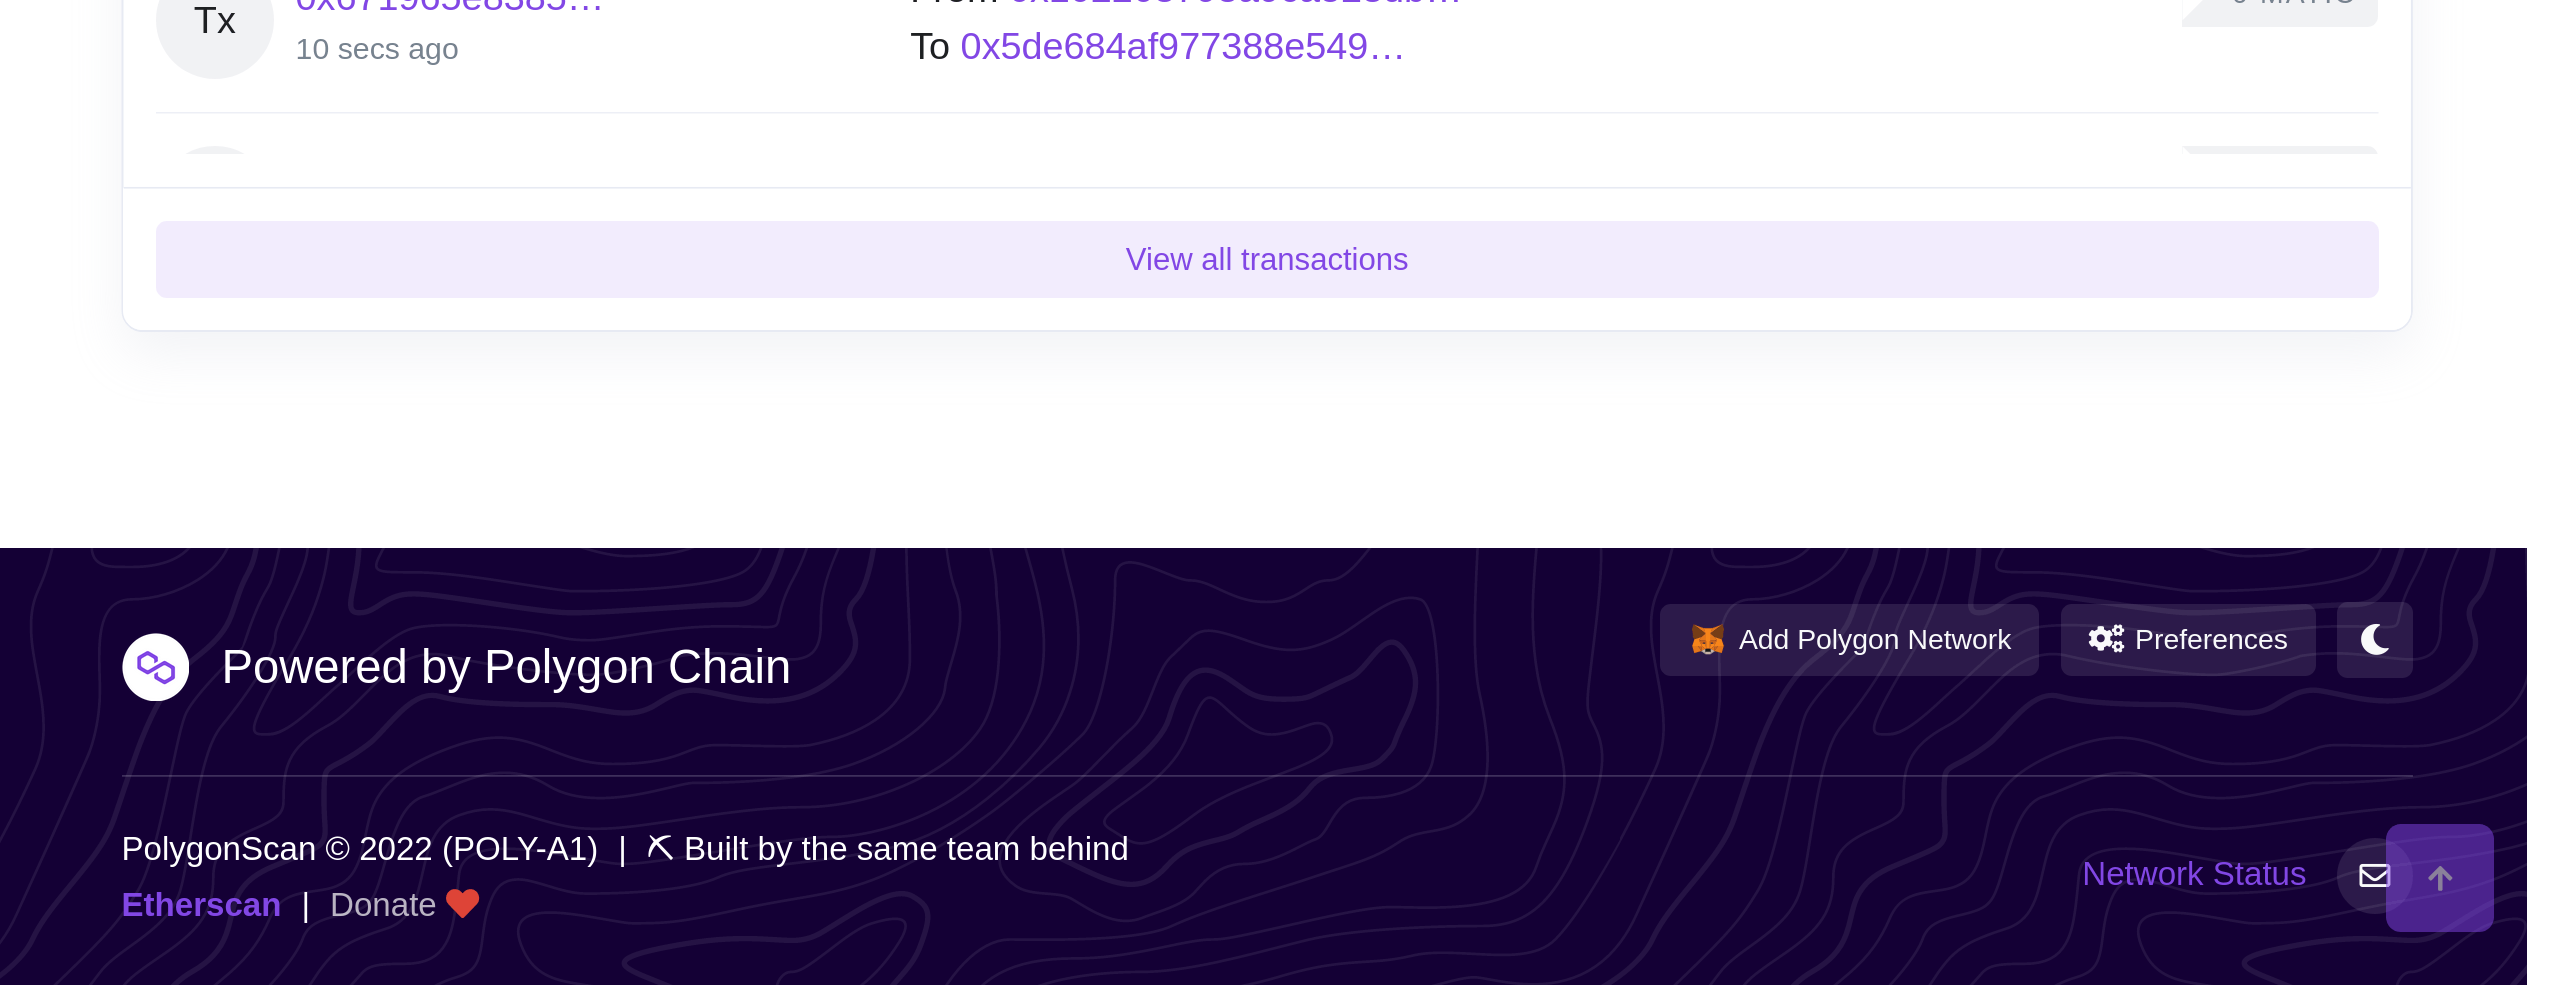
The first step: Head to the Polygon Blockchain Explorer. This is PolygonScan, a website used to explore transactions done across the Polygon mainnet.
The second step: Scroll all the way to the bottom of the website. There, you'll see the website's footer. In the lower right-hand corner of the website, you'll see a button that says "Add Polygon Network", click it - you'll receive a MetaMask popup next.
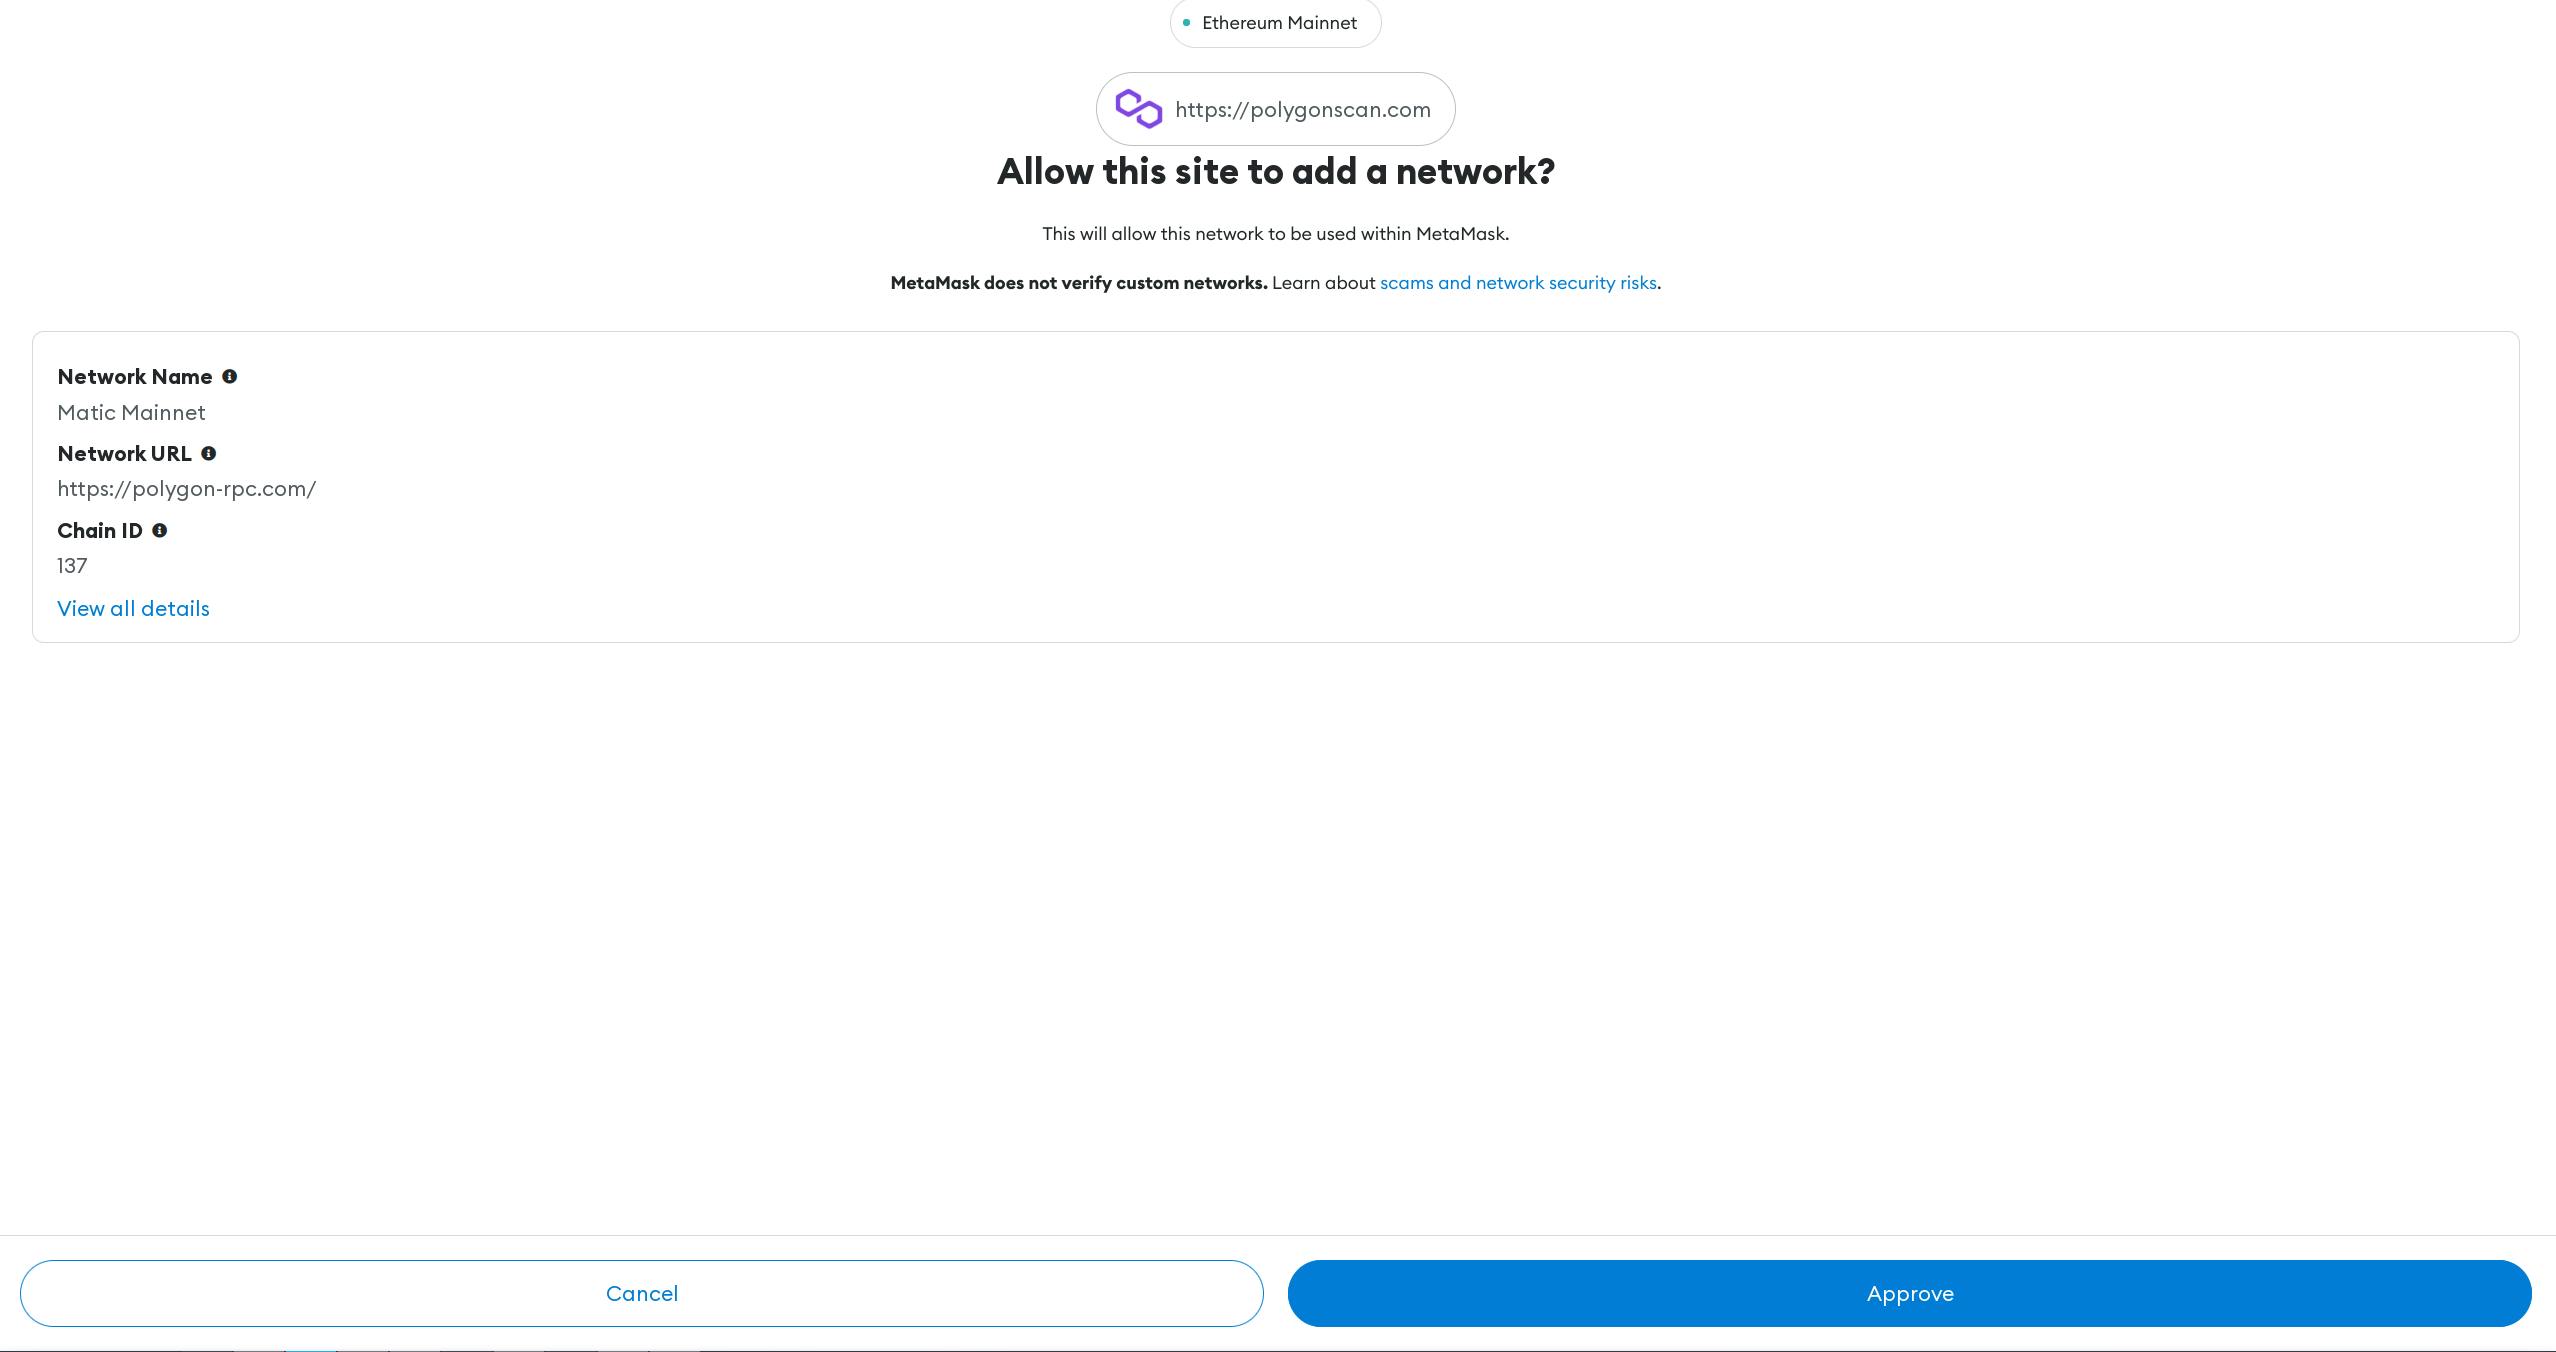
- The third step: In the new MetaMask popup window, it will ask you if you want to add the Matic mainnet (Matic is another name for the Polygon network). Select "Approve" to add the network to your MetaMask.
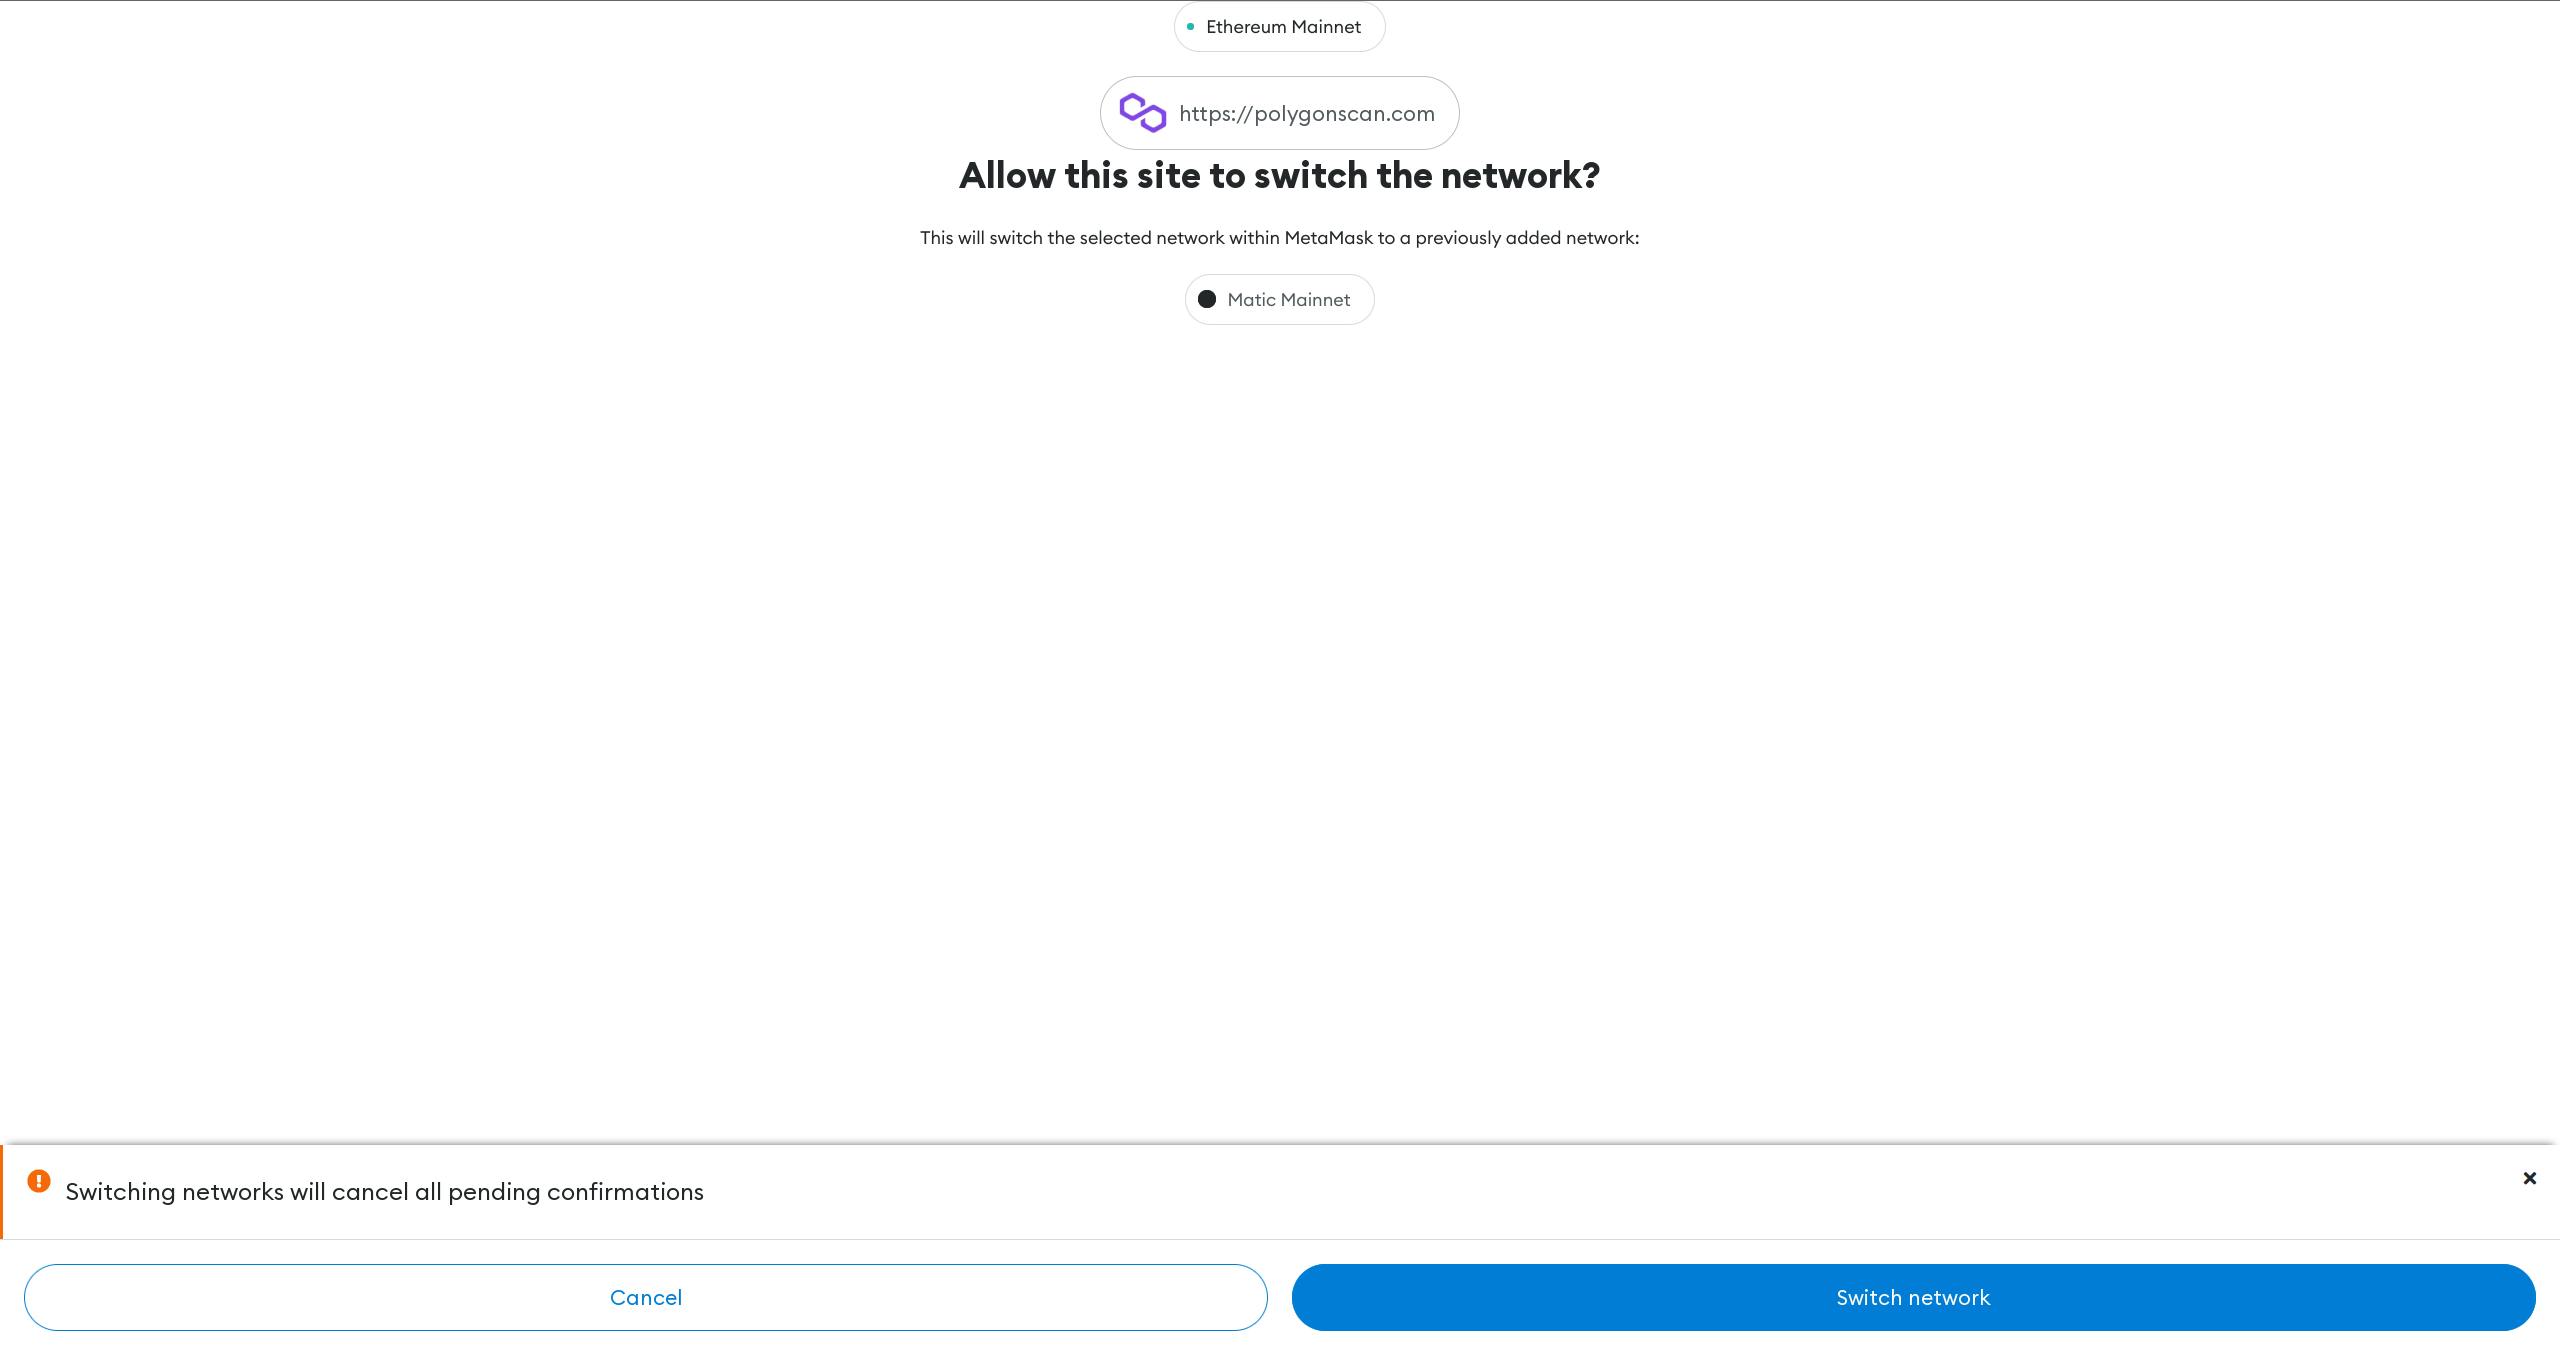
- The final step: Next, you'll get another prompt asking if you want to switch to the Matic mainnet, select "Approve" to swap your wallet over to the Polygon mainnet.
The third and final prerequisite: A community.
Currently, creating a Kudos involves the process of filling out a form and selecting from templates available on the site (or by uploading an image). However, there's one final requirement: a community. This can be a community that you are a part of. (For example: The Hashnode community!) If you have a community that you'd like to have added, you can fill out the form here.
When we talk about creating our Kudos, we will go over how to get your community listed, or how to use an already-existing community whenever its appropriate.
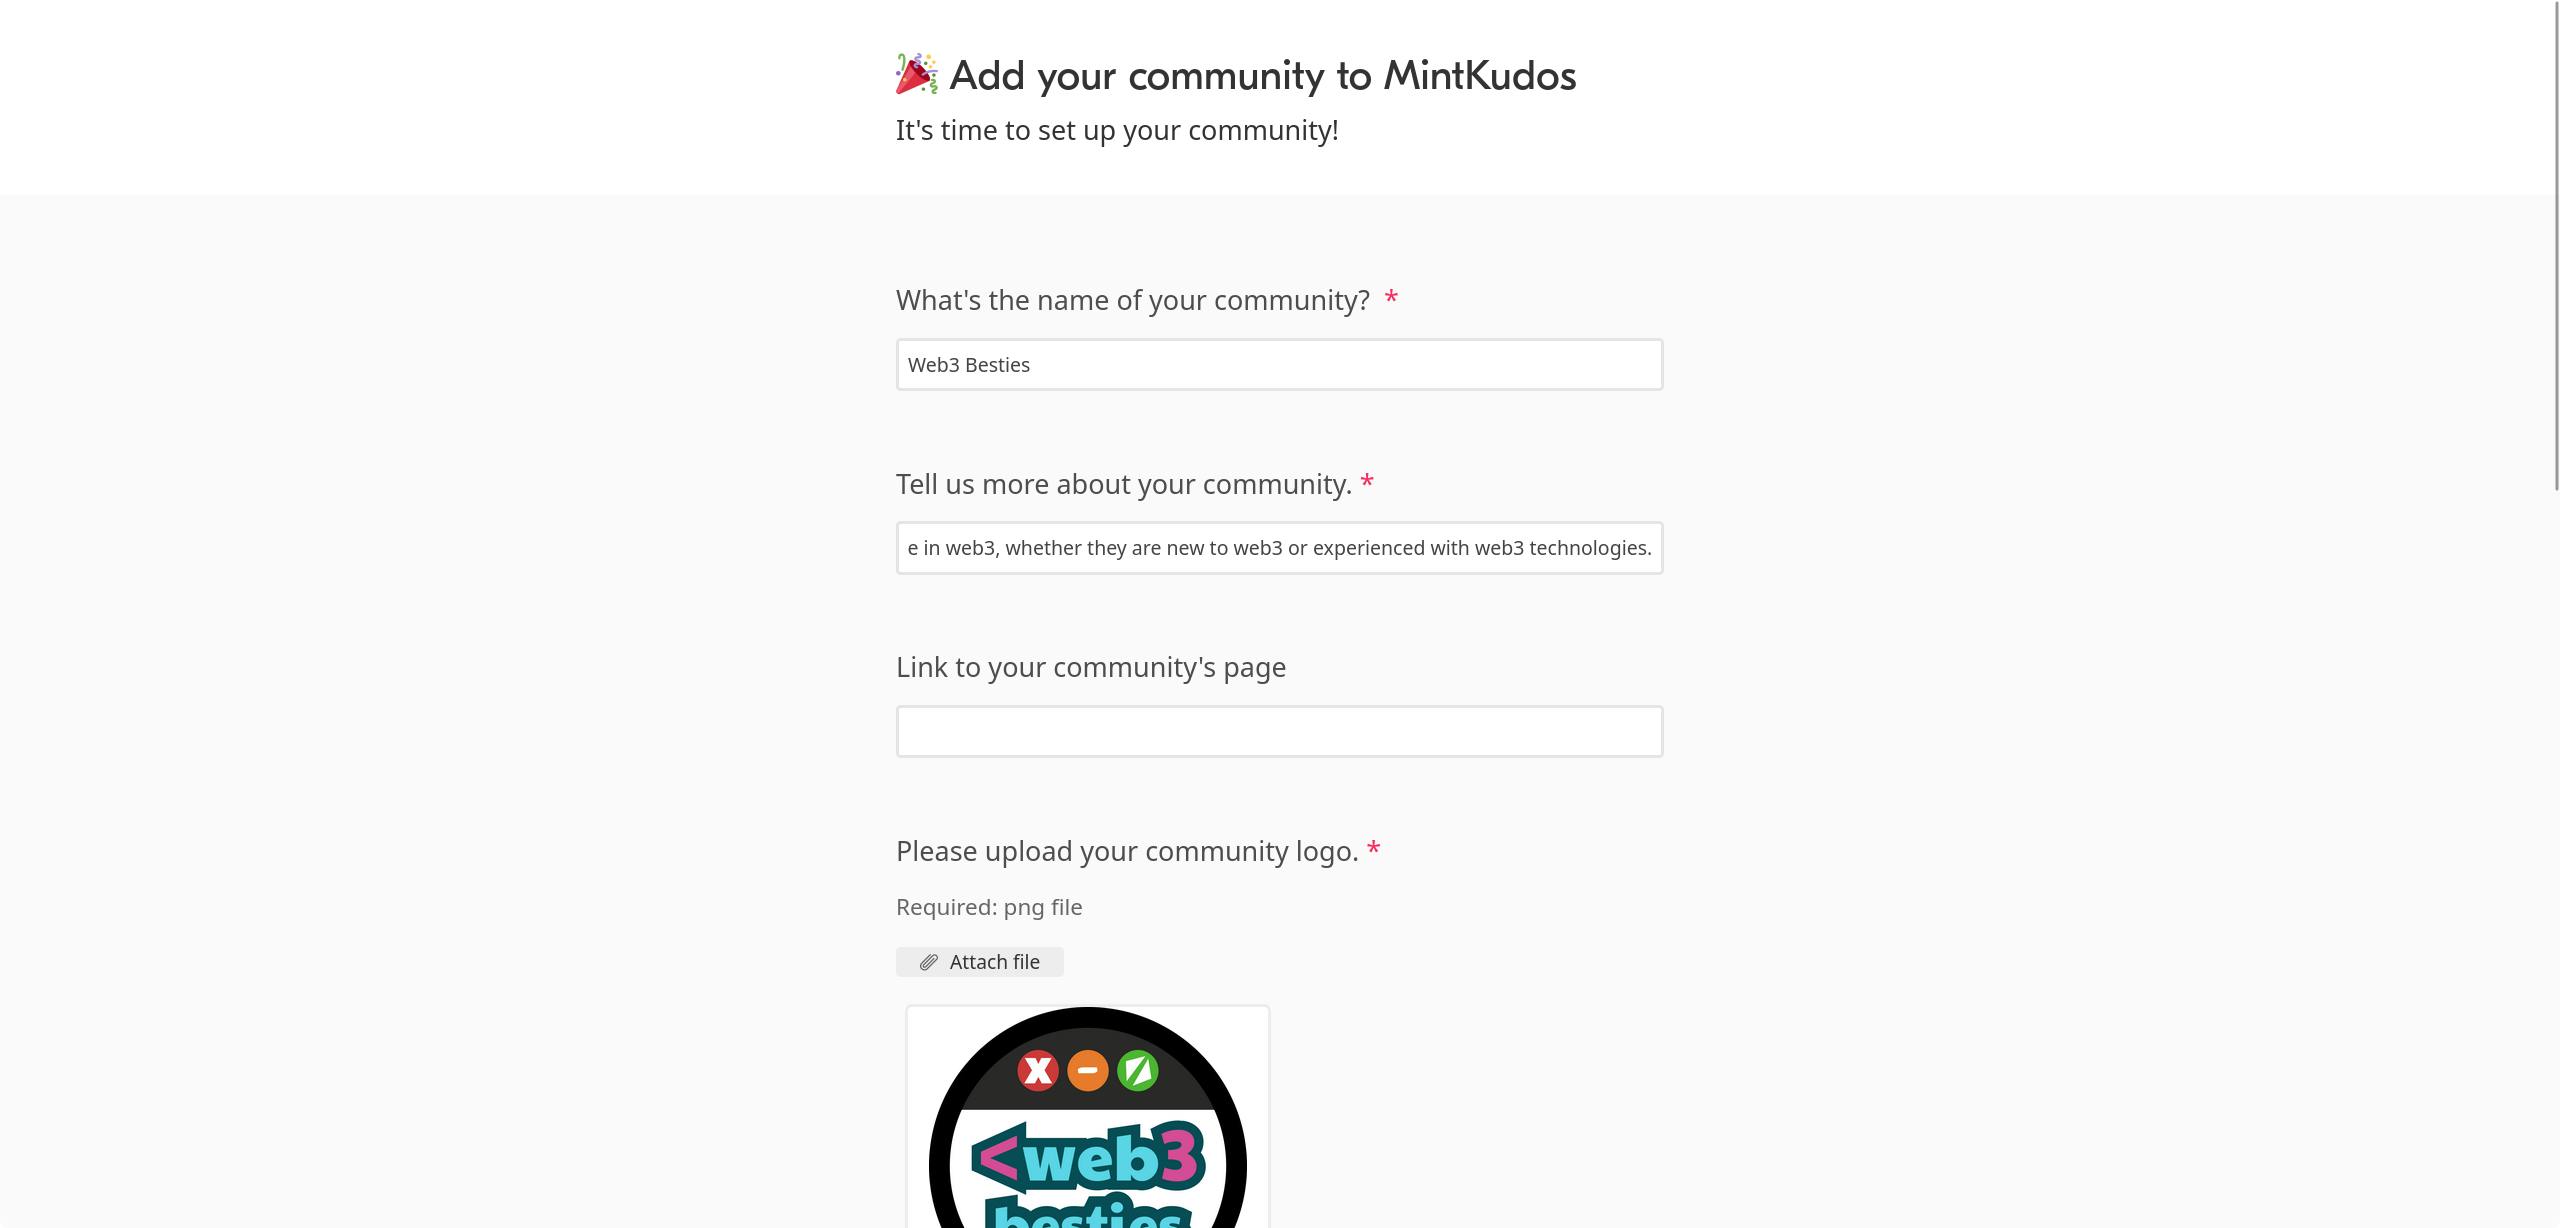
- Step 1: Provide your community's name and description. What's the name of your community?: If you haven't created a community yet, this may be the most difficult part of the form. Think of the purpose of your community and name it something related to that purpose. (form link)
I wanted to create an all-inclusive web3 community, so I went with the name Web3 Besties! This helped with Step 2, which was the community description.
- Step 2: Describe the purpose of your community. Tell us more about your community: This is the description for your community. It will show up when people search the communities tab on the Kudos website. For my description I decided on: "It's a community for anyone in web3, whether they are new to web3 or experienced with web3 technologies."
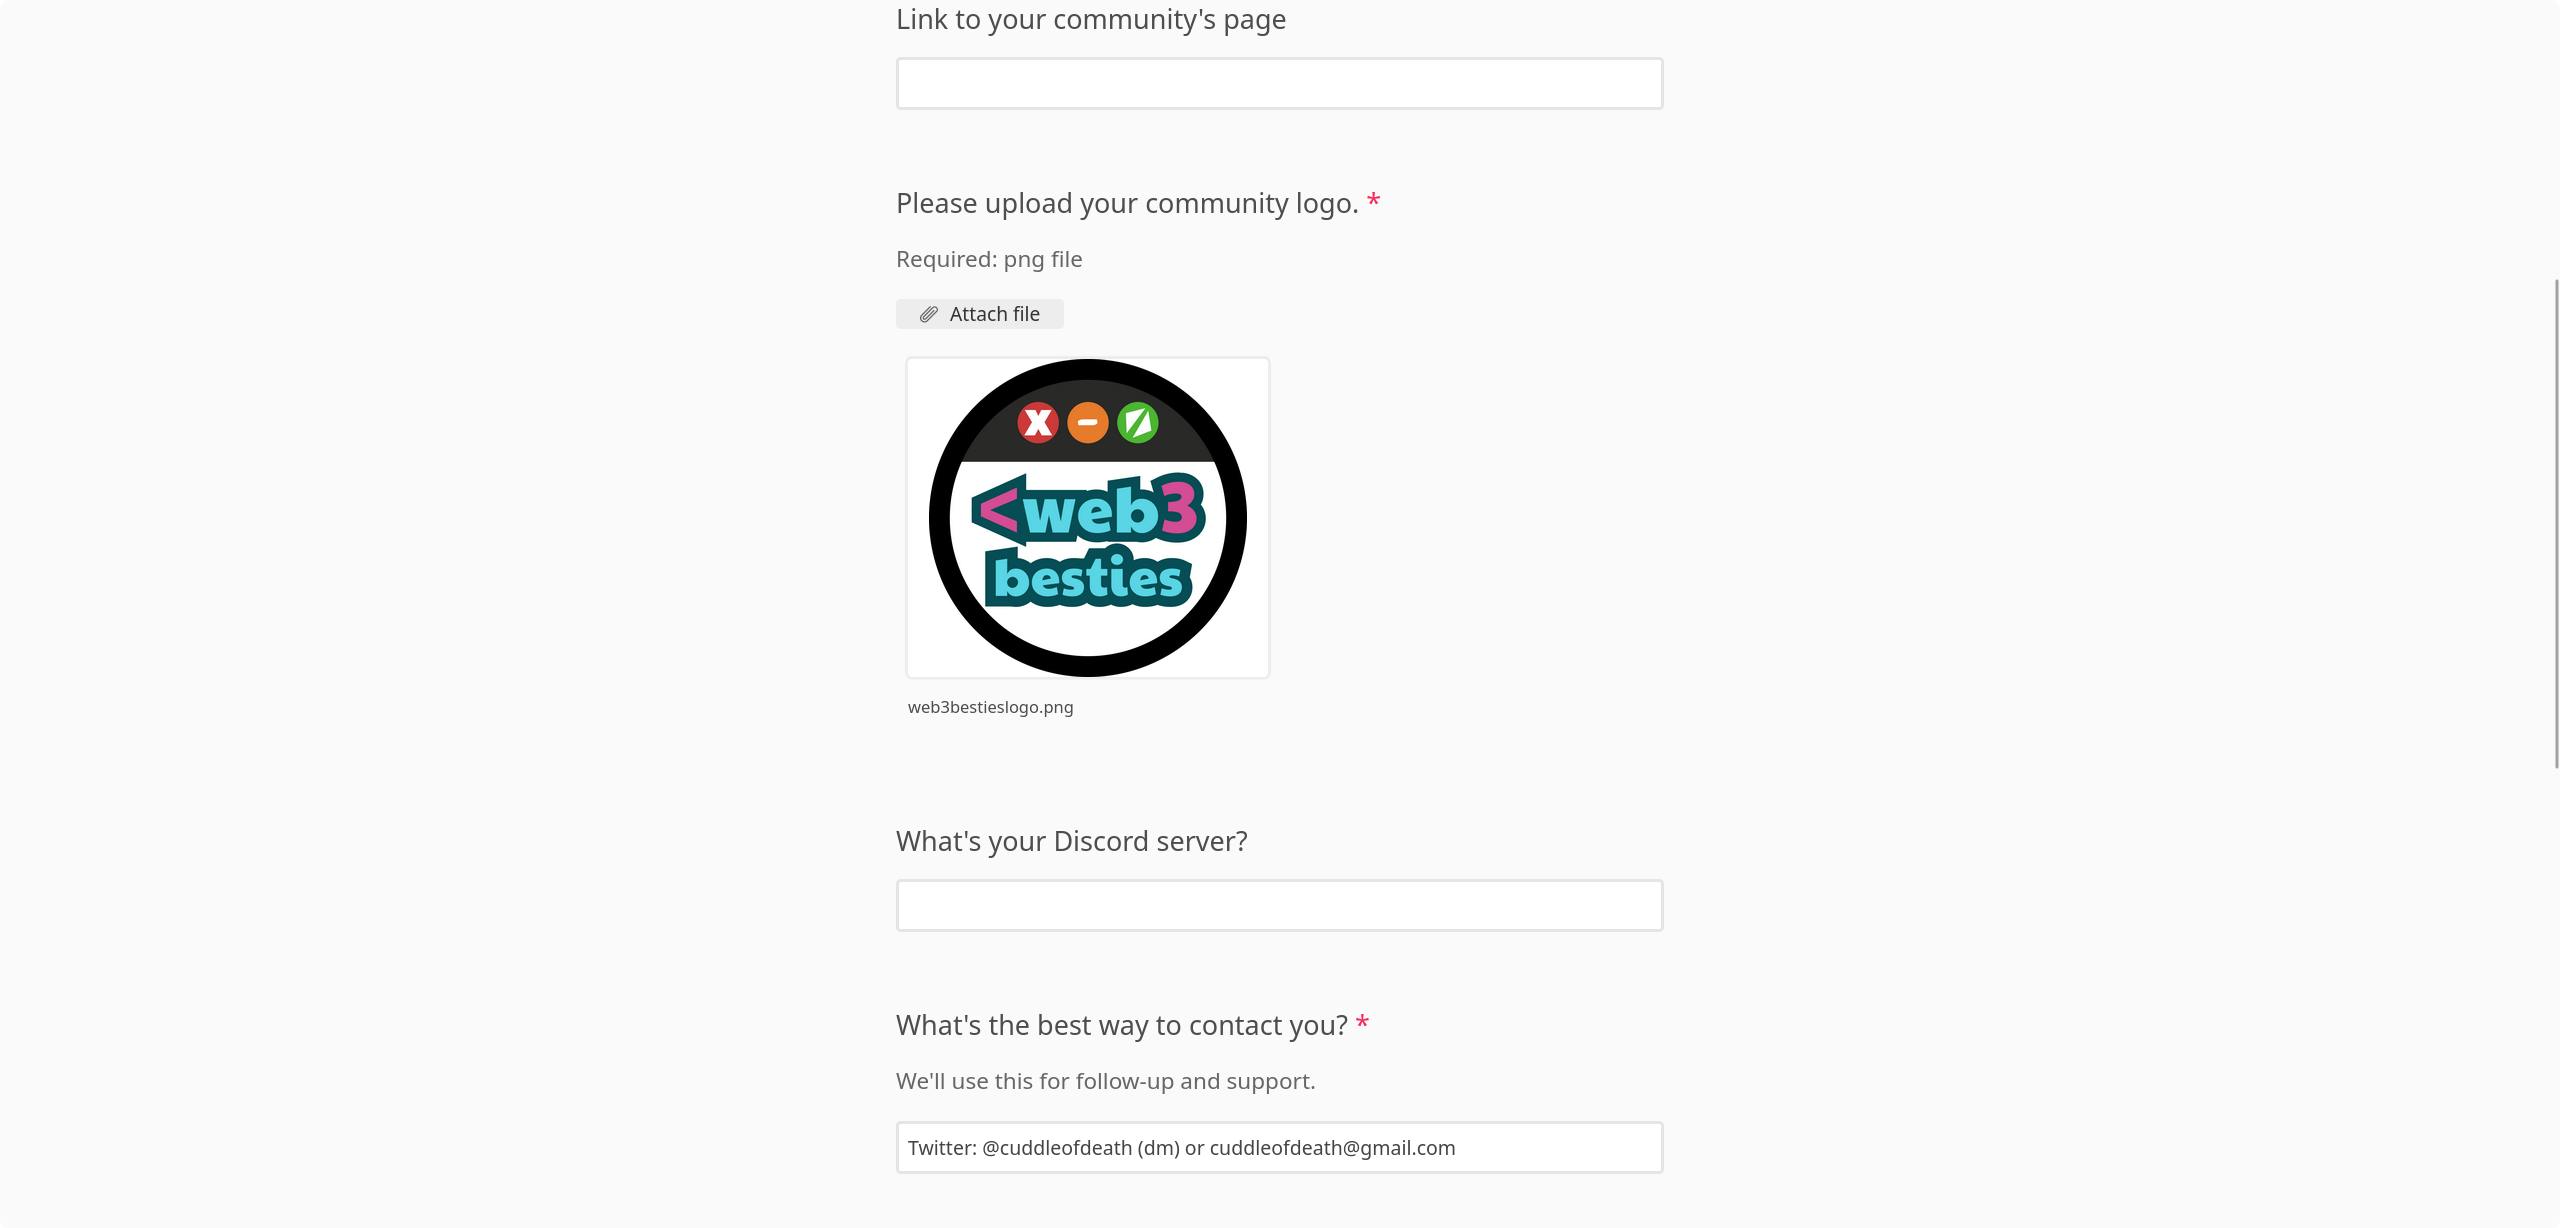
- Step 3 (Optional): Provide a link to your community's website! Link to your community's page: This could be a link to your community's website if you created one, a twitter account created just for your community, etc. This is an optional step, and I chose to skip it when I filled out the form, as the Web3 Besties community does not have a website (yet).
Step 4: It's logo time! Please upload your community logo: Upload your community's logo here. It's important to note that this logo will be shown on the community list if it gets approved, so make sure to pick one that best represents your community!
Step 5 (Optional): Share your community's Discord server! What's your Discord server?: If you have a Discord setup for your community, you are free to post the link here if you'd like. However, it is not required. I did not have a Discord server created for Web3 Besties at the time I filled this form out, so I chose to leave it blank.
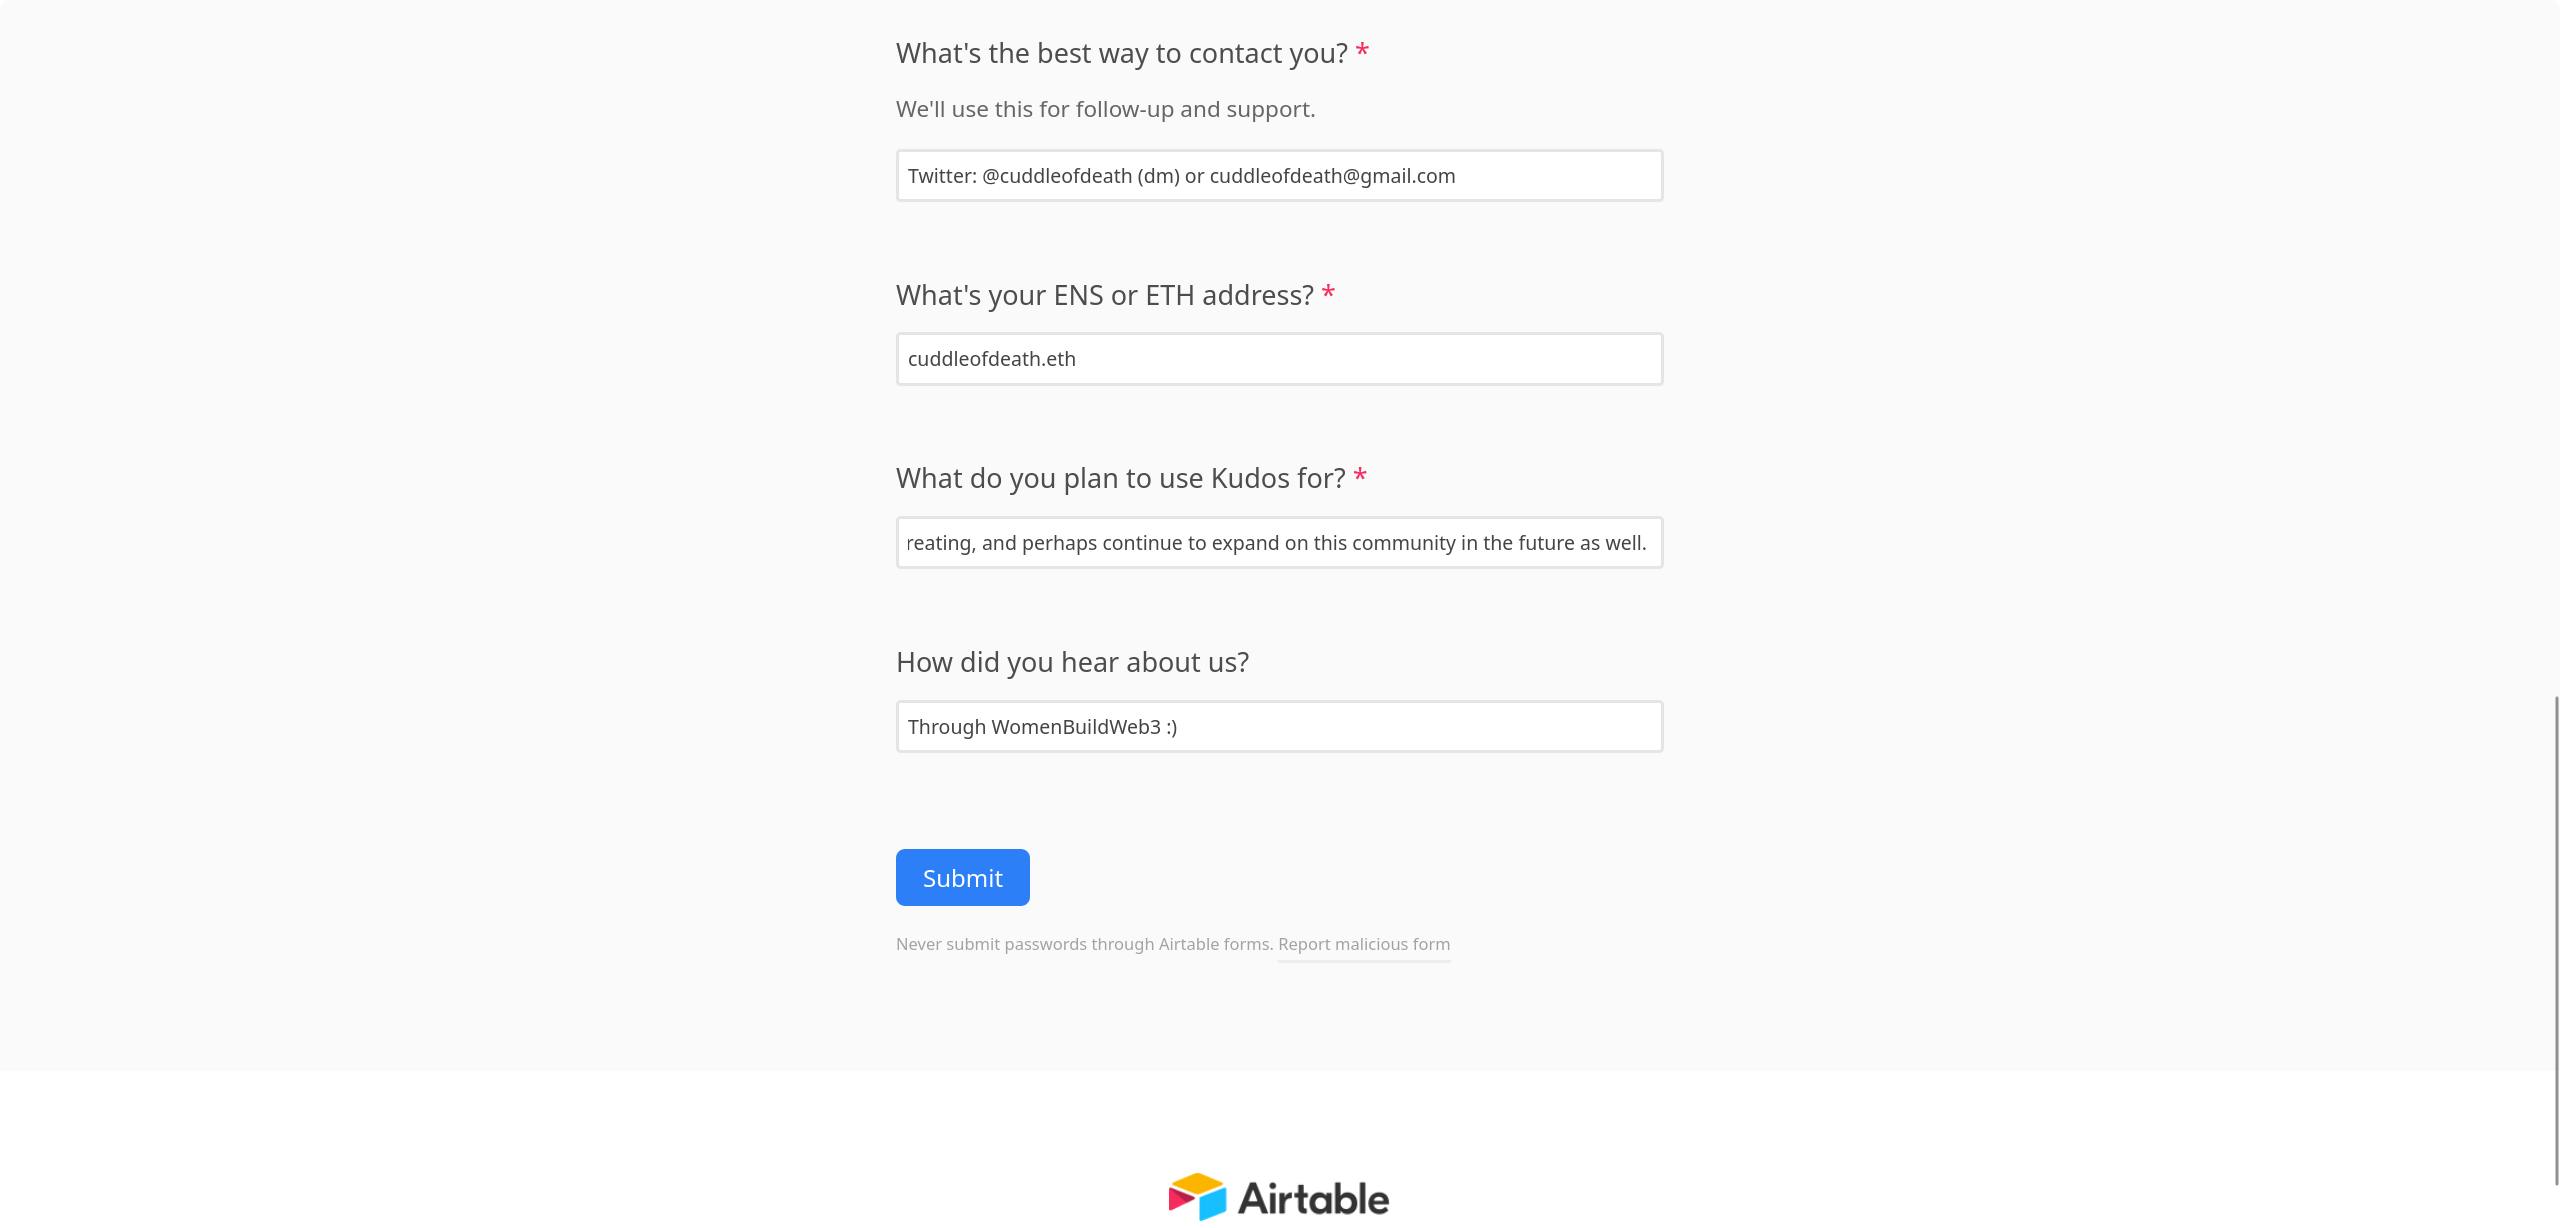
Step 6: Provide contact information What's the best way to contact you?: In this field, you'll want to make sure that you provide details of where you'd like to be contacted for support. In my case, I prefer Twitter dms or email.
Step 7: Provide your wallet address. What's your ENS or ETH address?: You will want to make sure that this wallet is one that you plan on accessing when creating Kudos for your community. It will be added to the allowlist for your community. Make sure to provide a valid wallet address here, or create one as defined in the earlier steps of this tutorial.
Step 8: Explain why you want to use Kudos. What do you plan to use Kudos for?: You'll want to provide a bit of details here with what you plan on using Kudos for. I wanted to have a fun way to award a community for completing tutorials, like the one you're reading right now, and other awesome things.
- Step 9 (Optional): Let the team know where you heard about them! How did you hear about us?: In my case, I had heard about Kudos from a DAO that I am a part of called Women Build Web3. I created a Kudos in June and allowlisted over 200 unique addresses. Ever since then, I have really enjoyed the overall process of creating and distributing Kudos!
If you heard about Kudos from me, feel free to put "CuddleofDeath" in this box if you'd like! You can now submit the form and check back within a few days to see if your community has been created!
We're done with prerequisites! Woohoo!
With all of that being said, we've reached the end of the prerequisites. You'll never have to do this setup again unless you uninstall the wallet extension, switch operating systems, or some other major change.
How to create a Kudos!
Now that we've got our wallet setup, we can begin creating an epic Kudos to show off to the world! The process is super simple and pretty straight-forward, which is something that I absolutely love. Let's get to creating!
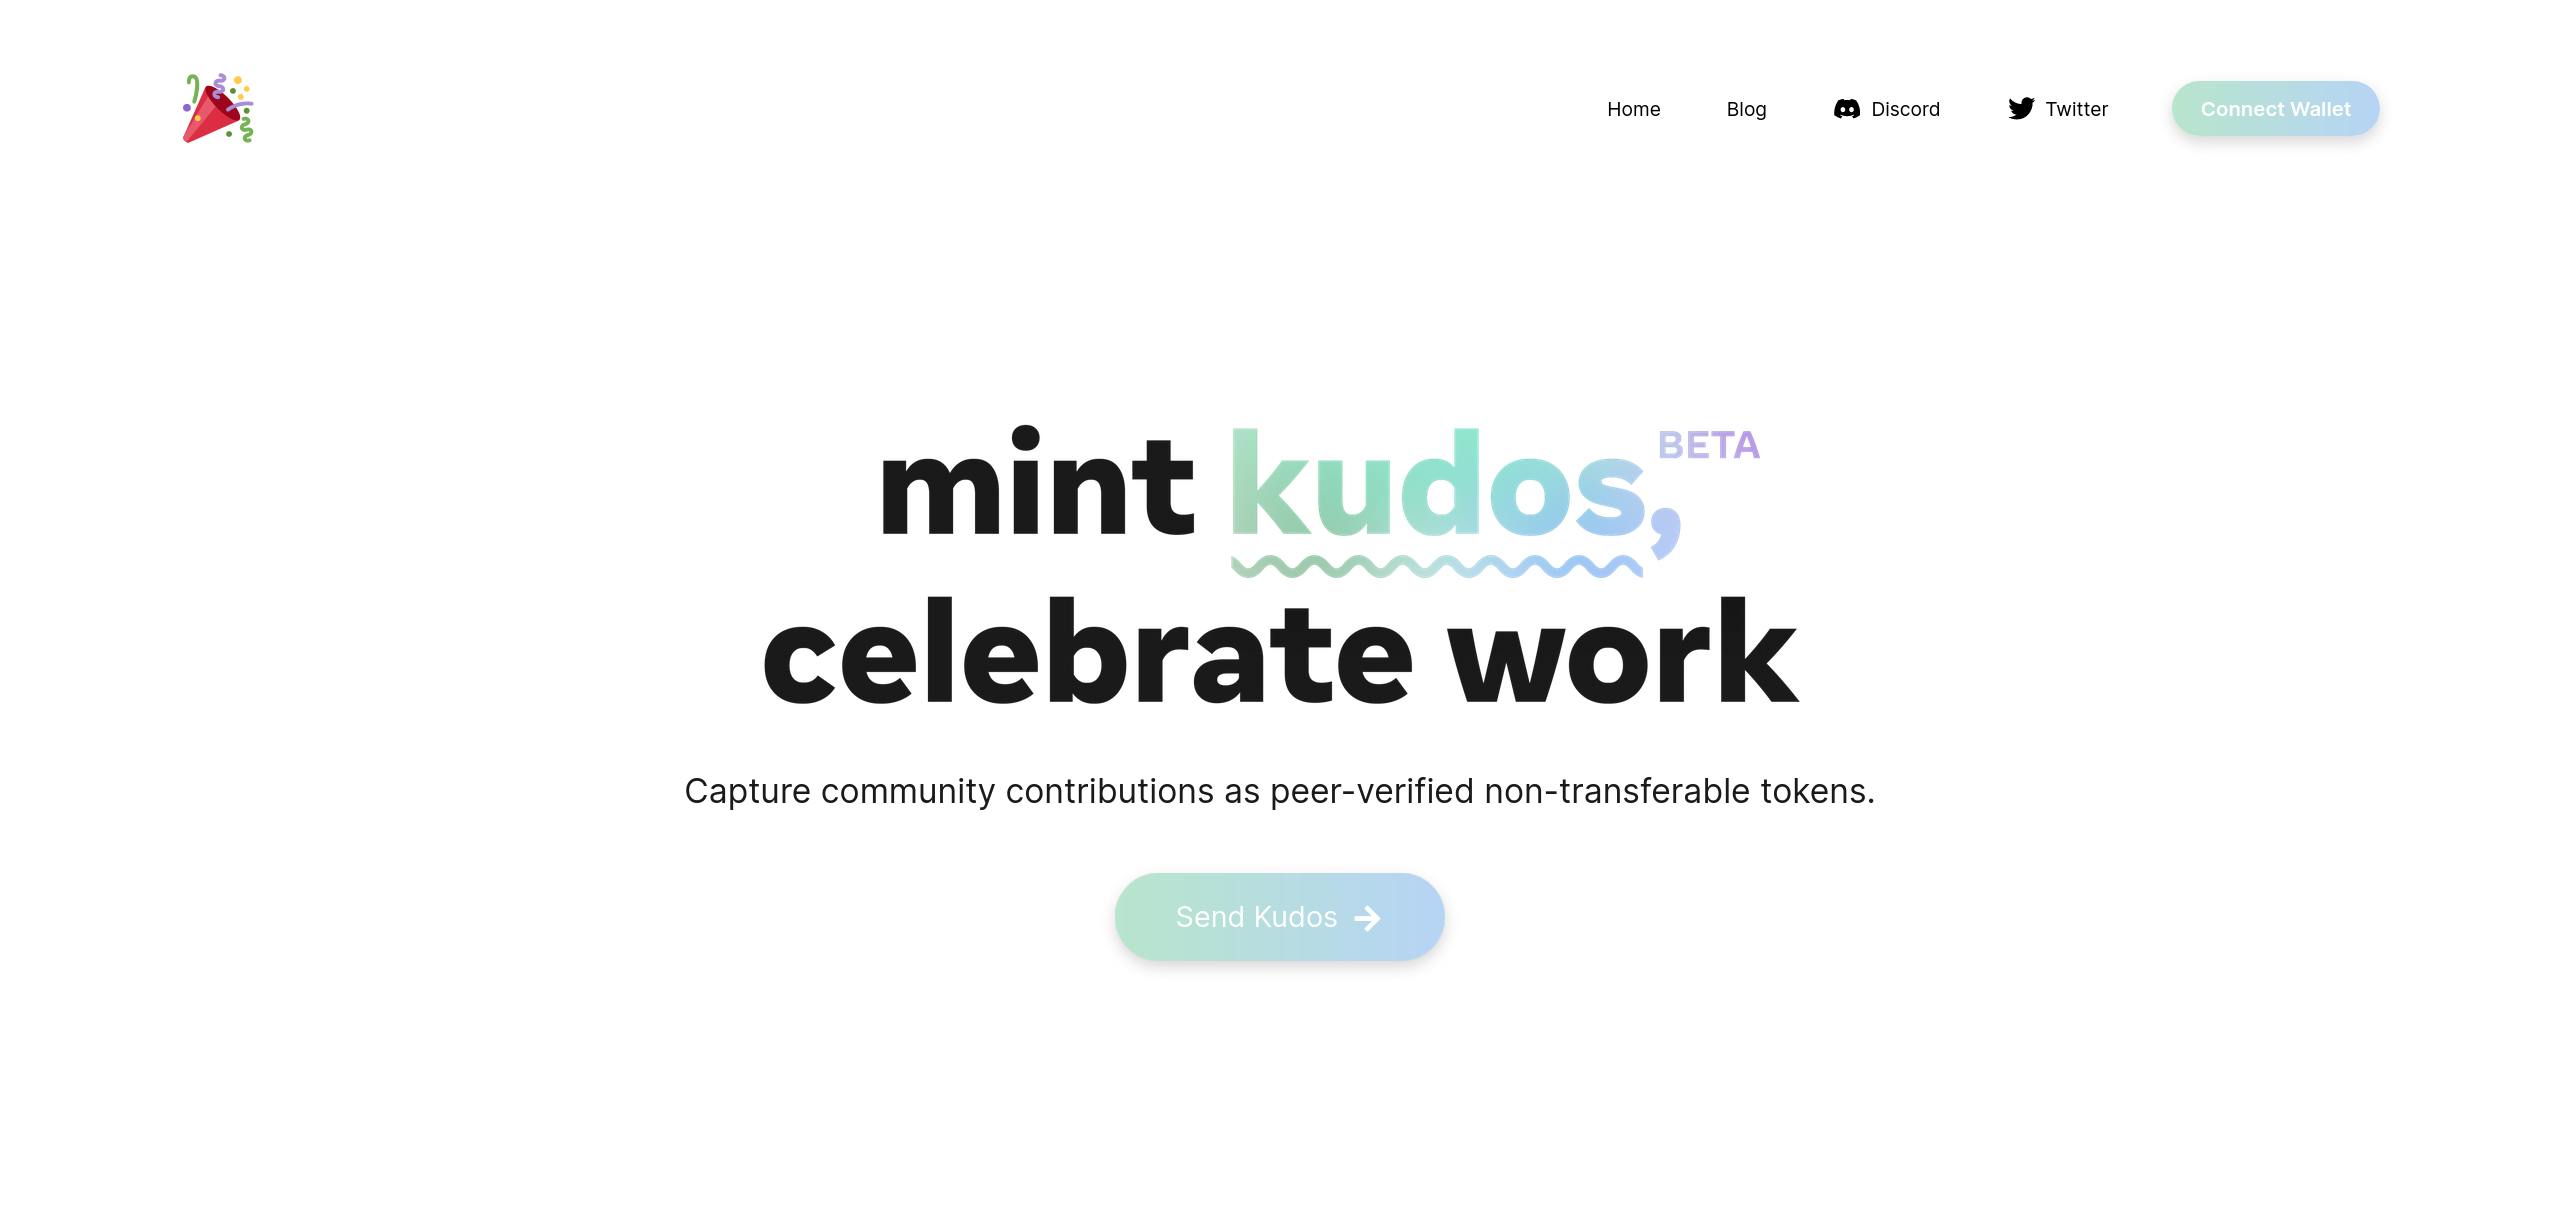
Step 1: Go to the website.
To get started with creating a Kudos, head over to the website here. You'll notice that the website has a clean look and a welcoming vibe to it, making it easy to navigate. We're going to need to connect our wallet in order to create our Kudos.
Step 2: Connect your wallet.
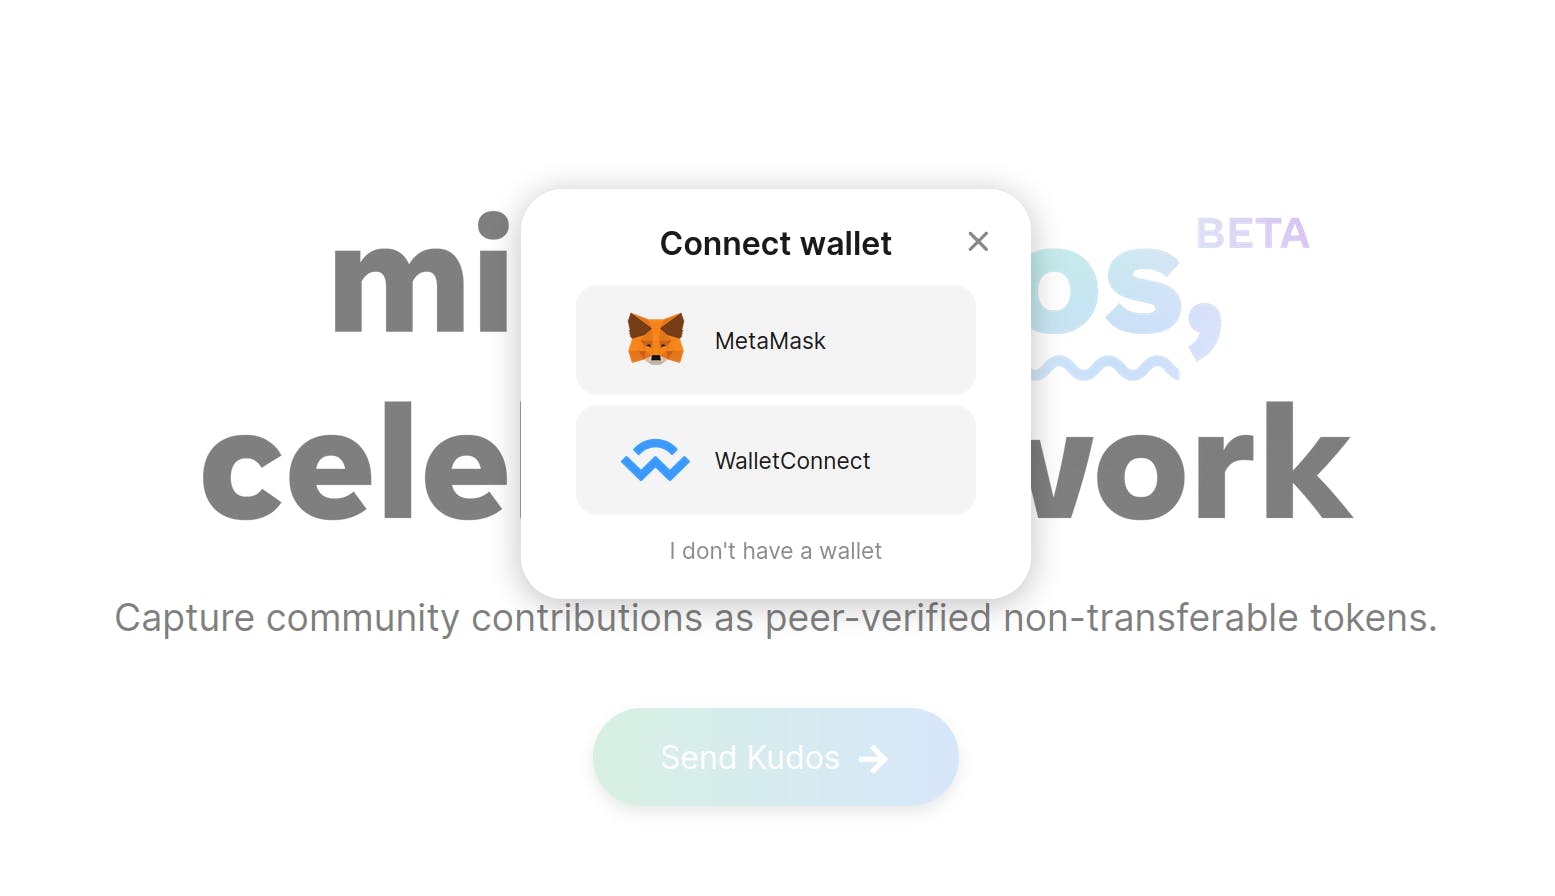
You can connect your wallet by clicking the "Send Kudos" button in the center of the website. Alternatively, you can also click the "Connect Wallet" button in the upper right-hand corner of the website as well. Both of these buttons perform the same function. You'll be asked to connect either a MetaMask or a WalletConnect-compatible wallet. For this tutorial, we'll be connecting the MetaMask wallet that we created earlier!
Step 3: Follow the popup instructions.
After clicking and selecting to connect our MetaMask wallet, we get a popup in our MetaMask. Read through carefully and accept each prompt to proceed to the Kudos creation page!
Step 4: Fill out the details for your Kudos!
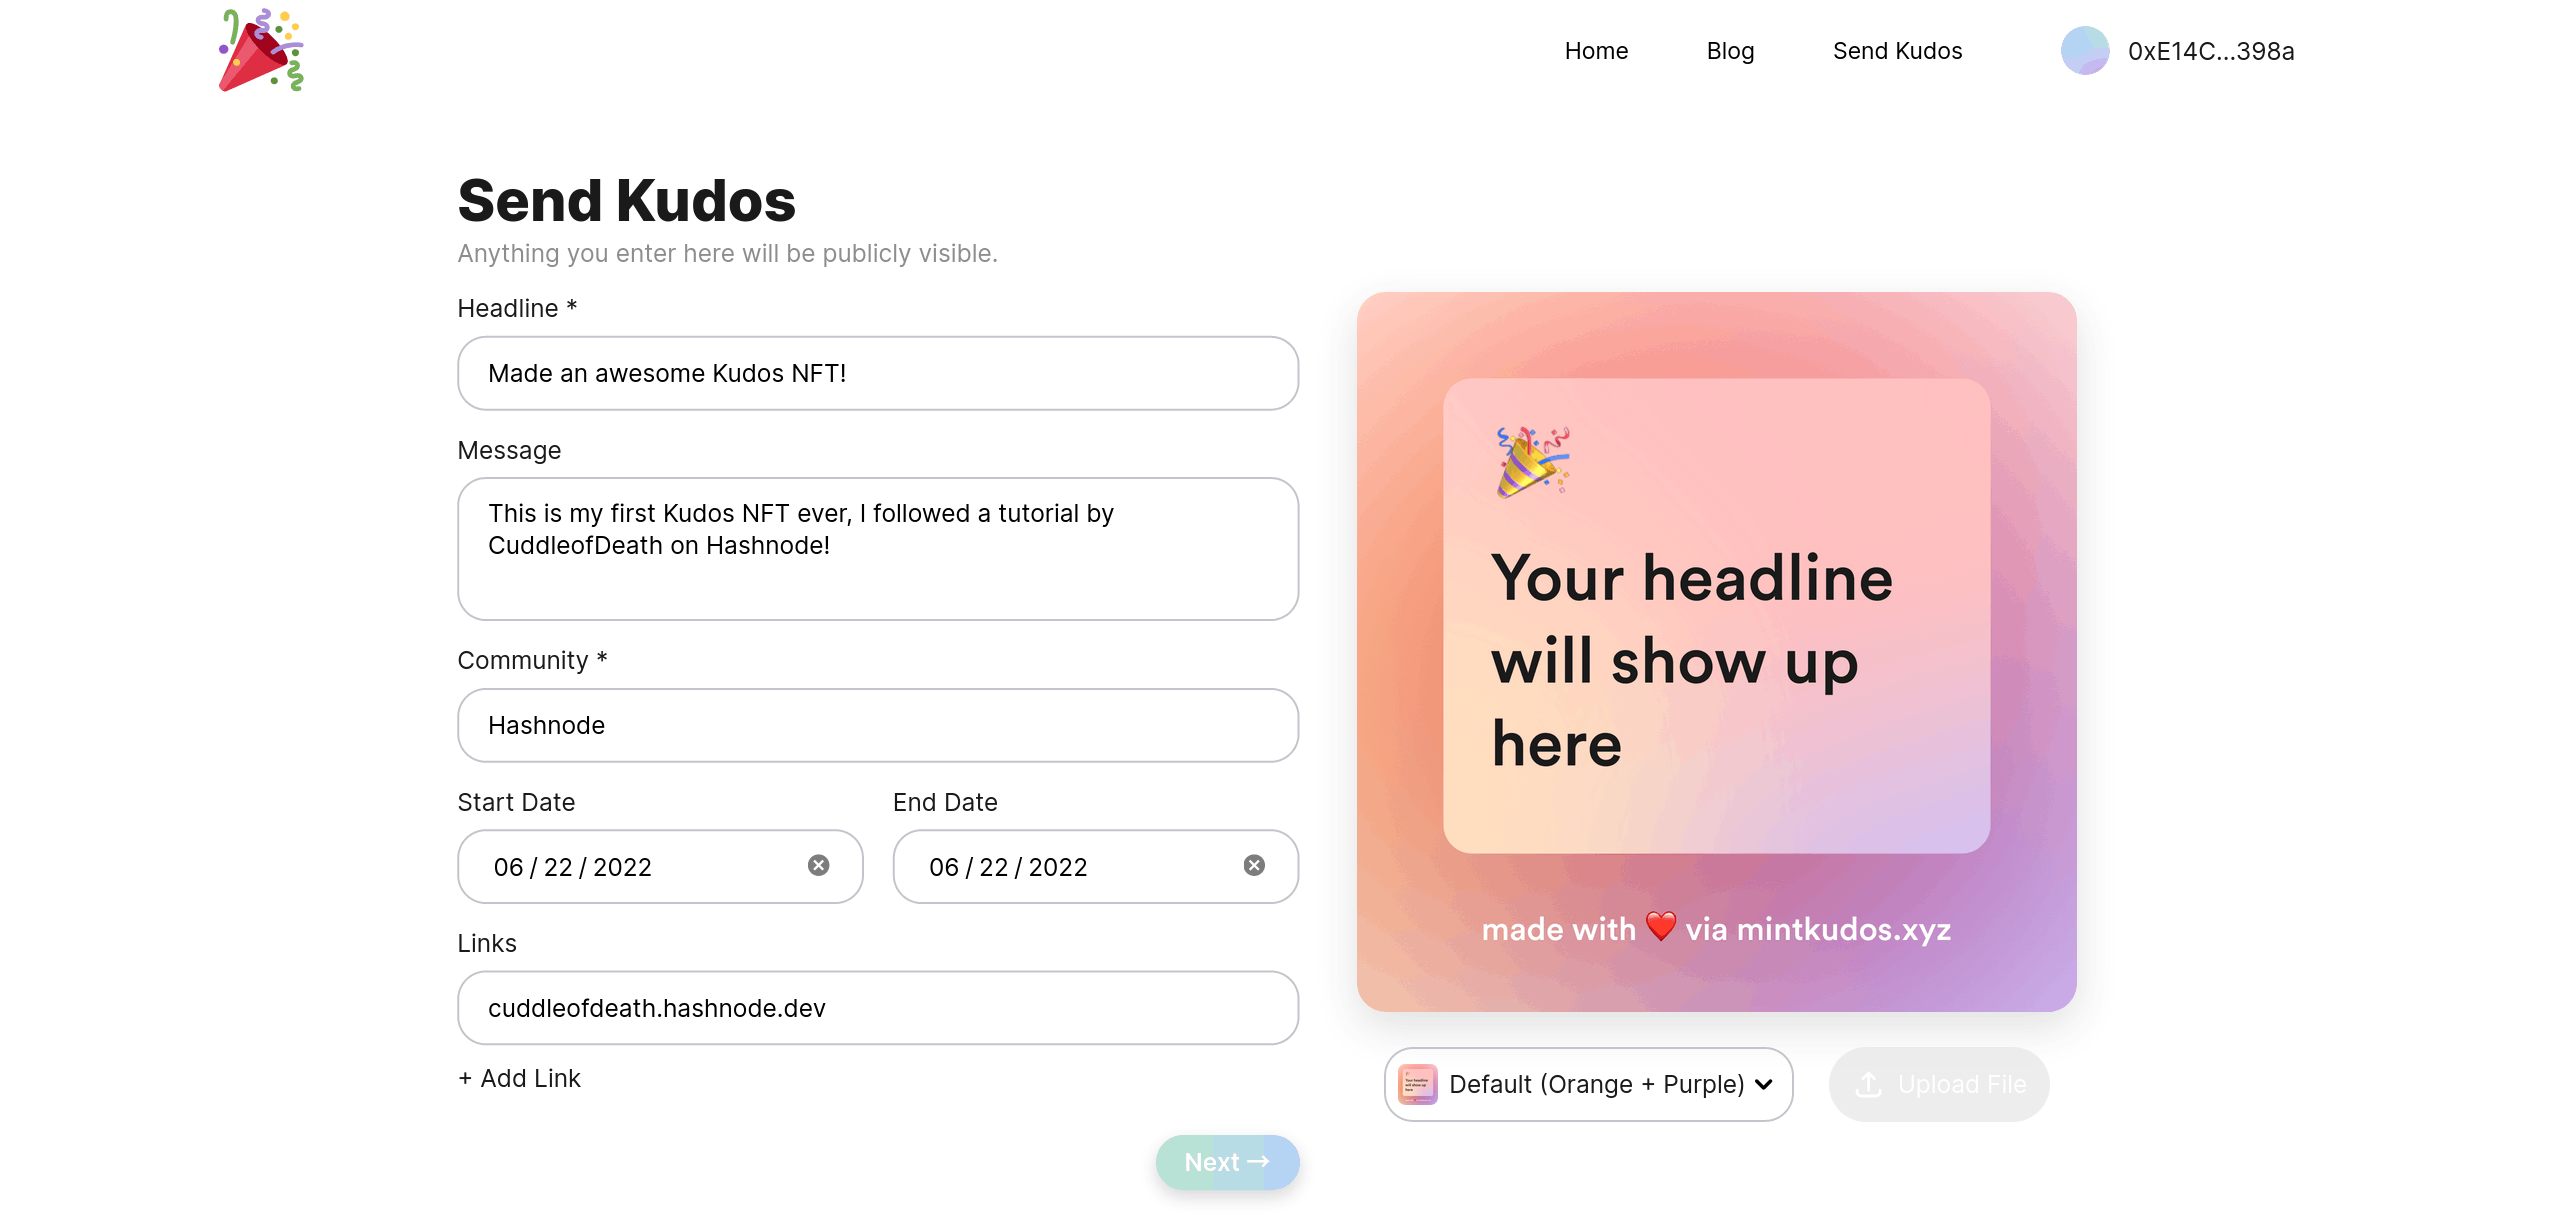
This is where all of the magic happens! There are several fields to fill in on this page. Let's go over what each of those fields are asking for, so that we fill everything out correctly!
- Headline: Your headline will show up in the center of the NFT.
- Message: This is the message that will be minted onto the Polygon blockchain and will be tied to your NFT's metadata.
- Community: This is the community that the Kudos is meant for.
- Start Date: The date that the event or accomplishment took place on.
- End Date: The end date of the event or accomplishment that took place.
- Links: Any relevant links, like a link to an event website for example. You can add multiple links if you'd like.
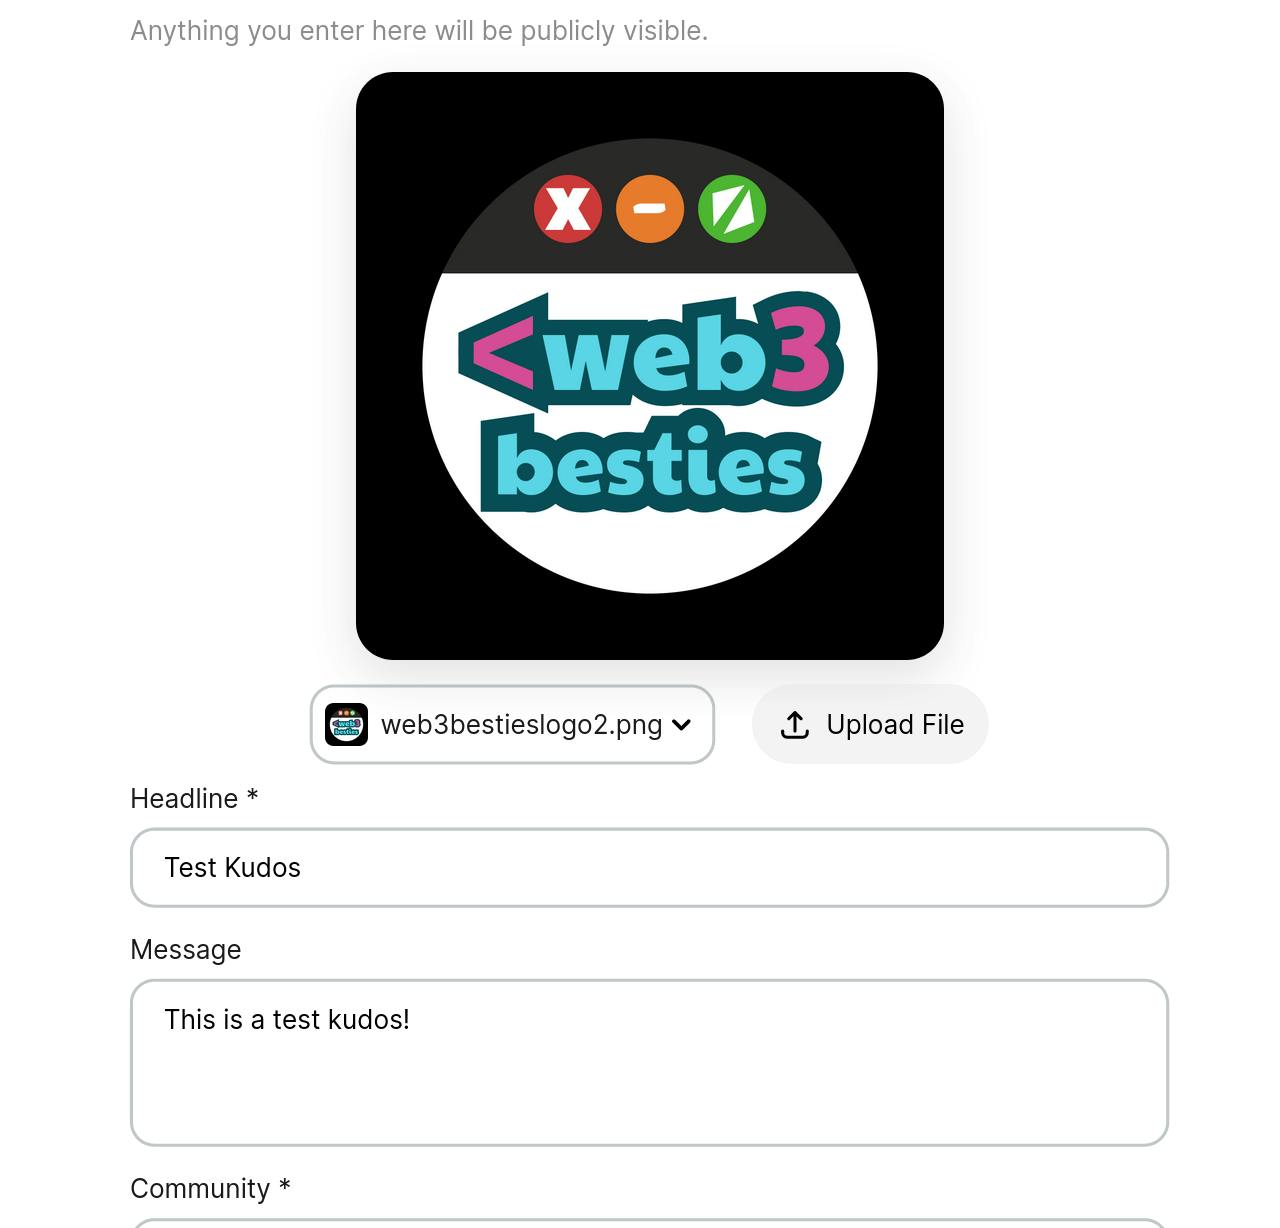
Additionally, you'll notice that you can change the color options right underneath the Kudos image to the right. It defaults to "Default (Blue + Green). If you filled out the community creation form listed earlier in the article and got accepted, your wallet address should be allowlisted for the community that you created. If it is, you will notice an "Upload File" button next to the option to change the color of your Kudos.
After you've filled out all of the details, click the "Next" button to proceed.
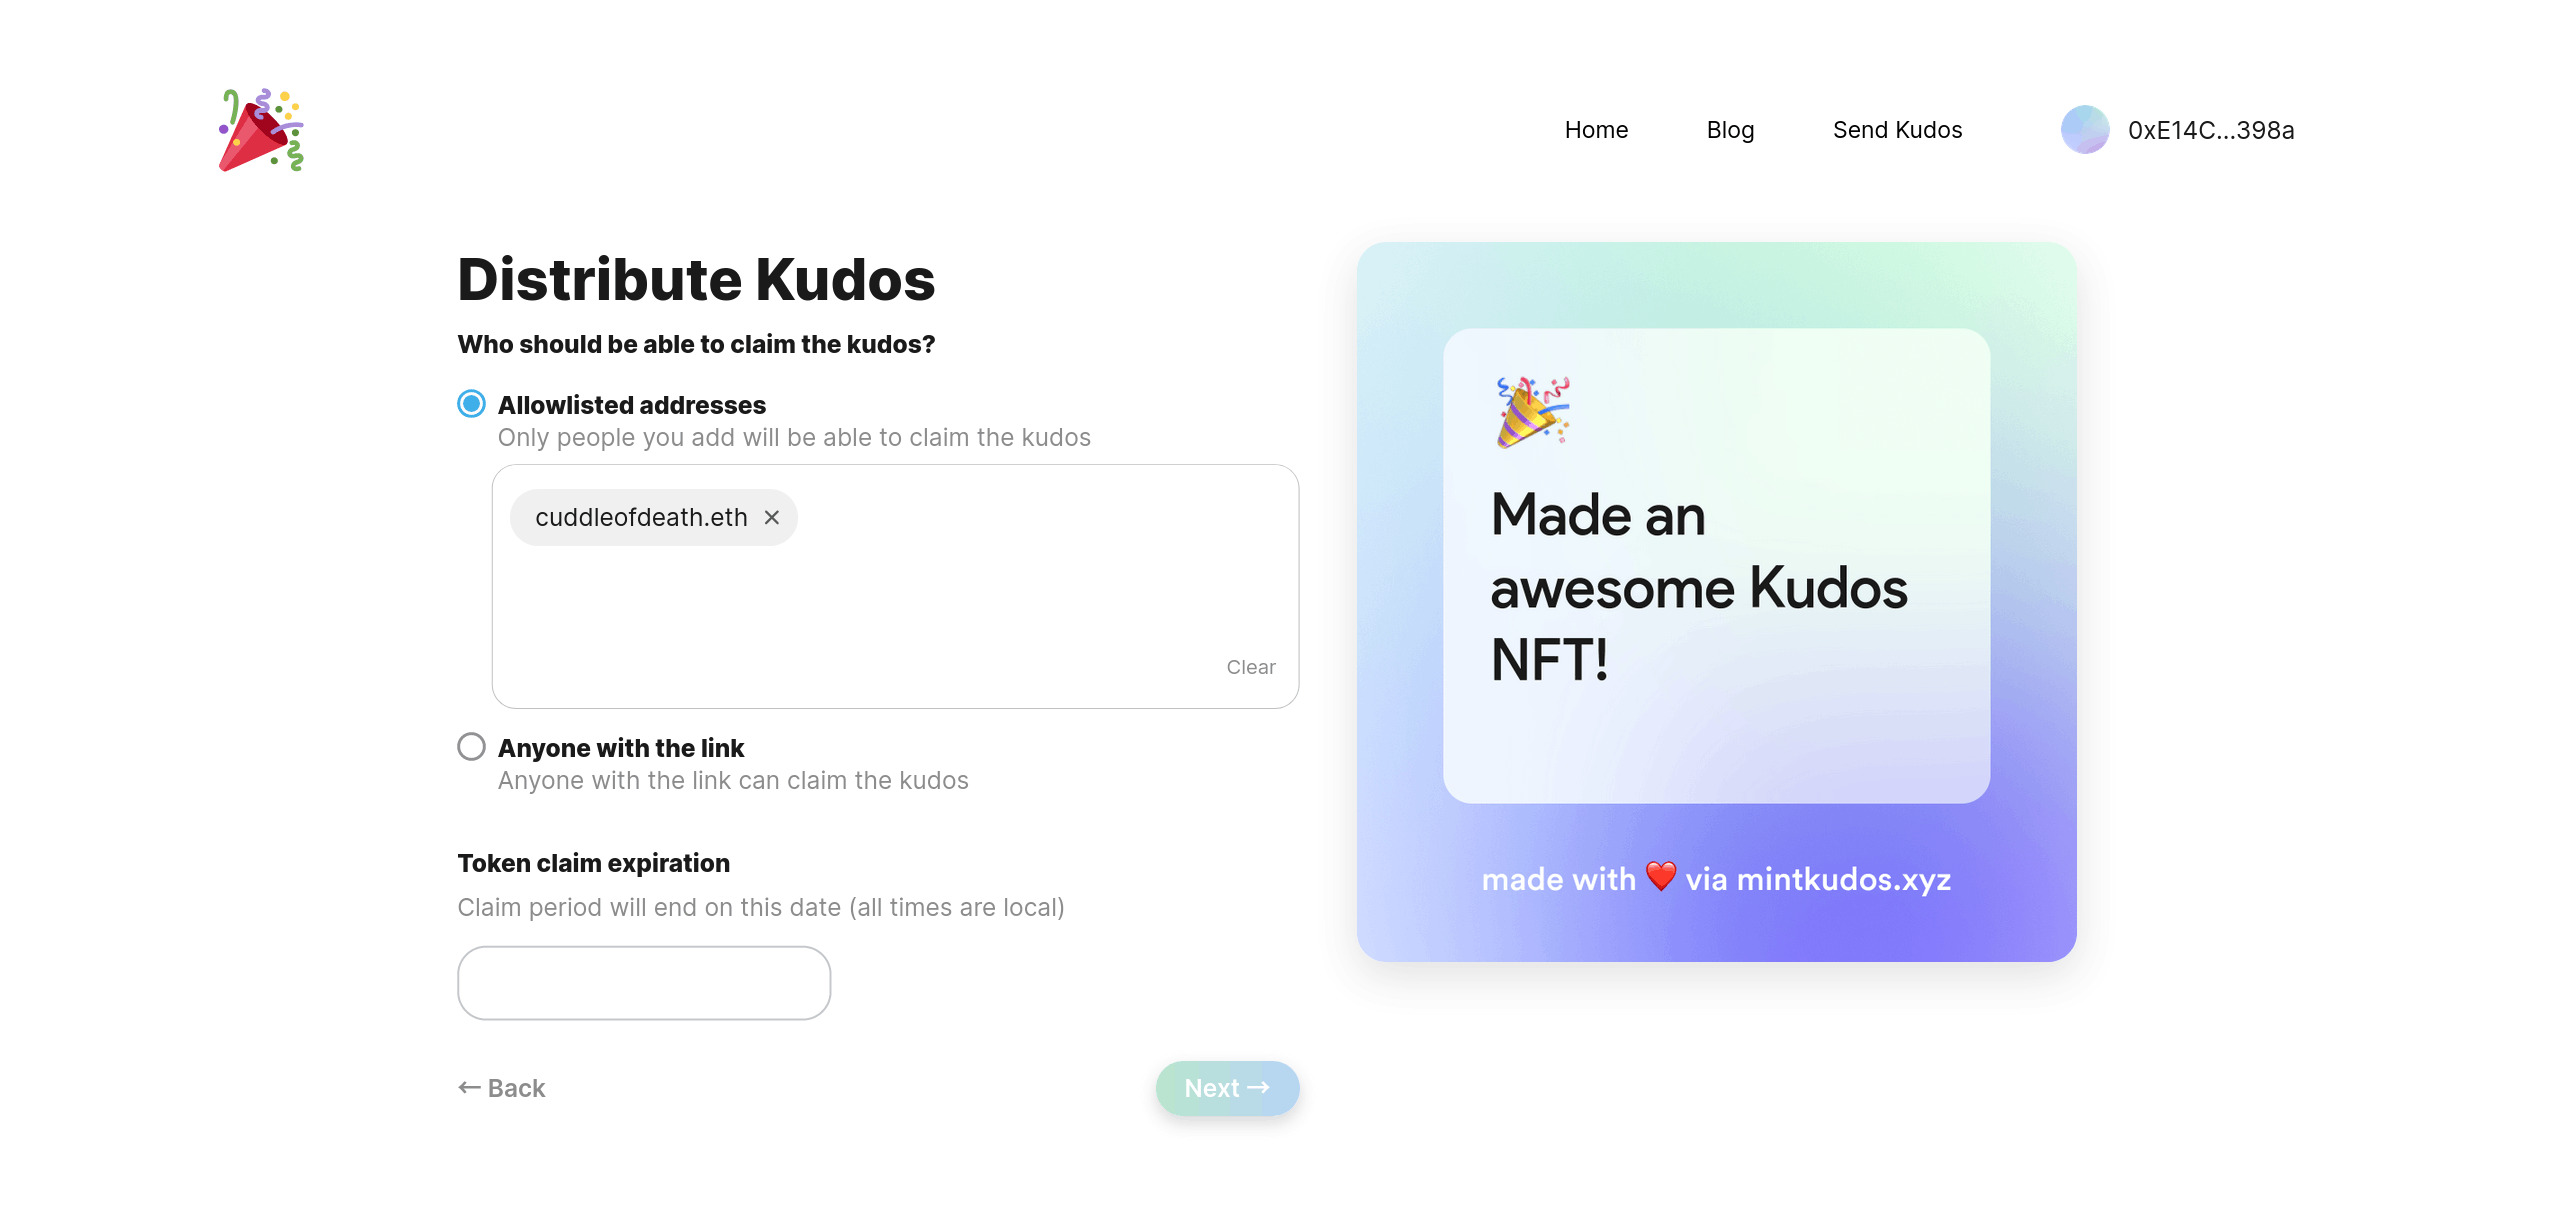
Step 5: Choose to how people can claim your Kudos
We have a few interesting options here, I'll briefly go over the details of each of them so that you can determine what claiming method is best for your needs.
- Allowlisted addresses: These are the wallet addresses of the people that can claim the specific Kudos that you allow them to.
Anyone with the link: This means anyone who has access to the claim link can claim this Kudos.
Token claim expiration: If you want the claiming window of your Kudos NFT to expire after a certain period of time, you can set it to expire on a certain date. Leaving it blank will make it so that people have an unlimited amount of time to claim it.
Click the "Next" button to proceed.
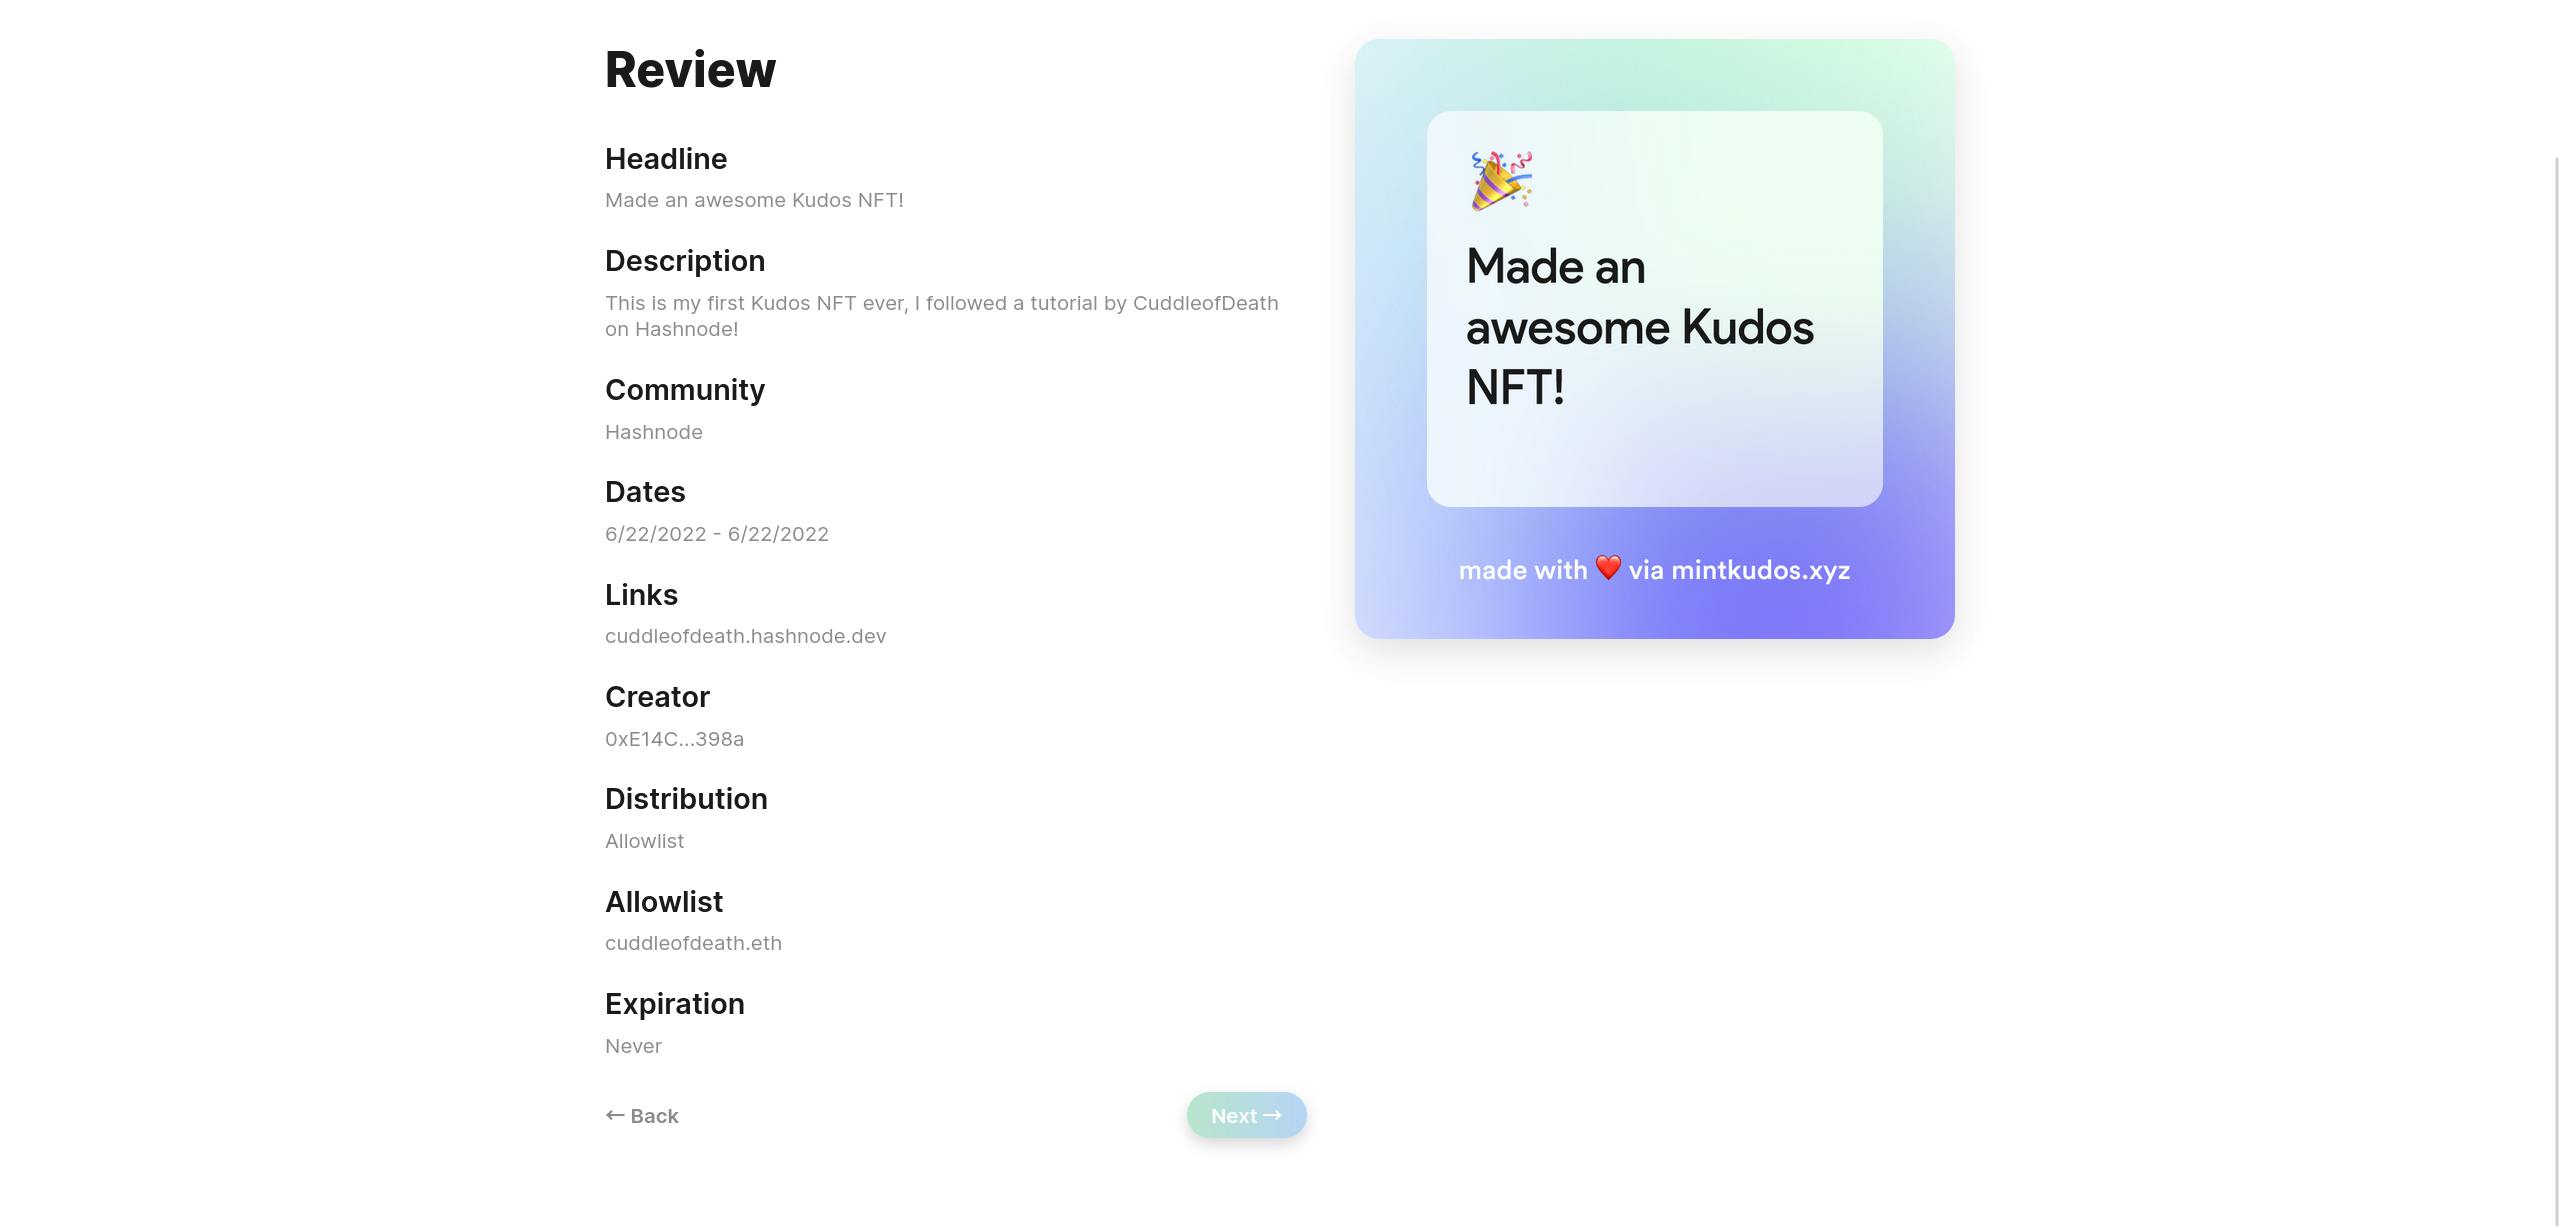
Step 6: Review
This is where you'll be able to do a final review of everything that you've defined for your Kudos. Review the information and make sure that it's correct. If you're happy with everything, click the "Next" button to proceed.
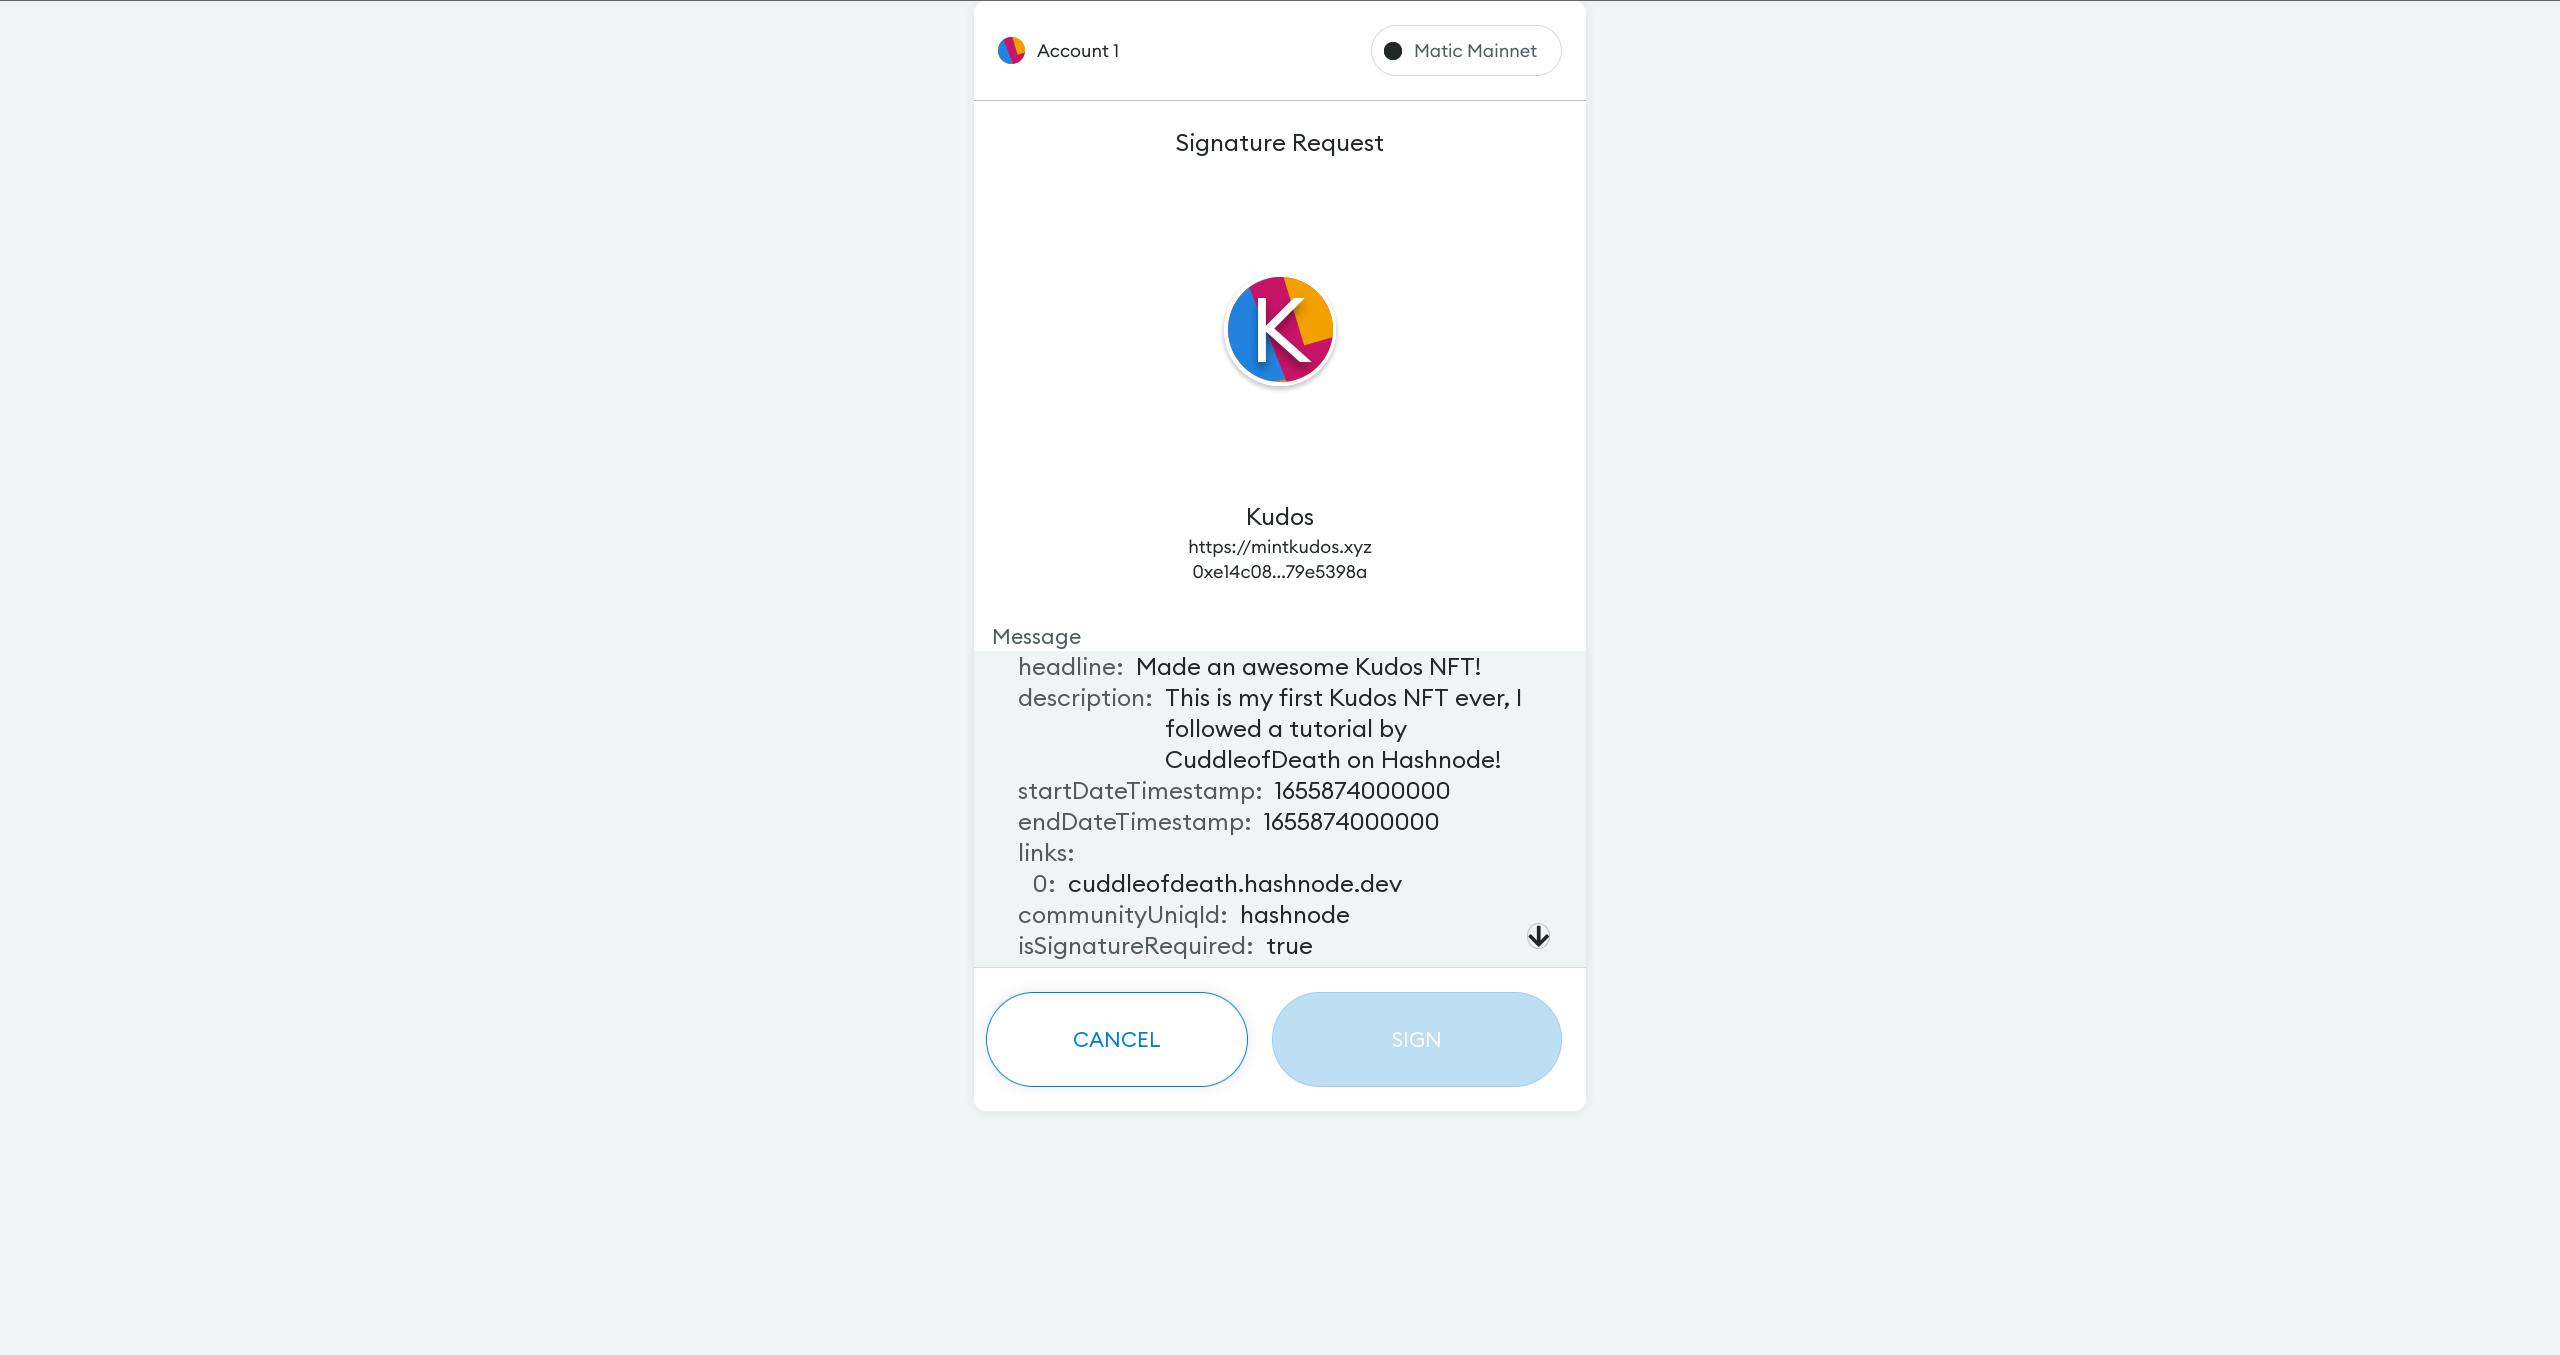
Step 7: Sign the transaction with your wallet
Press the down arrow to get to the end of the metadata shown on the screen and then click the "Sign" button to sign the transaction. Don't worry, it's totally free!
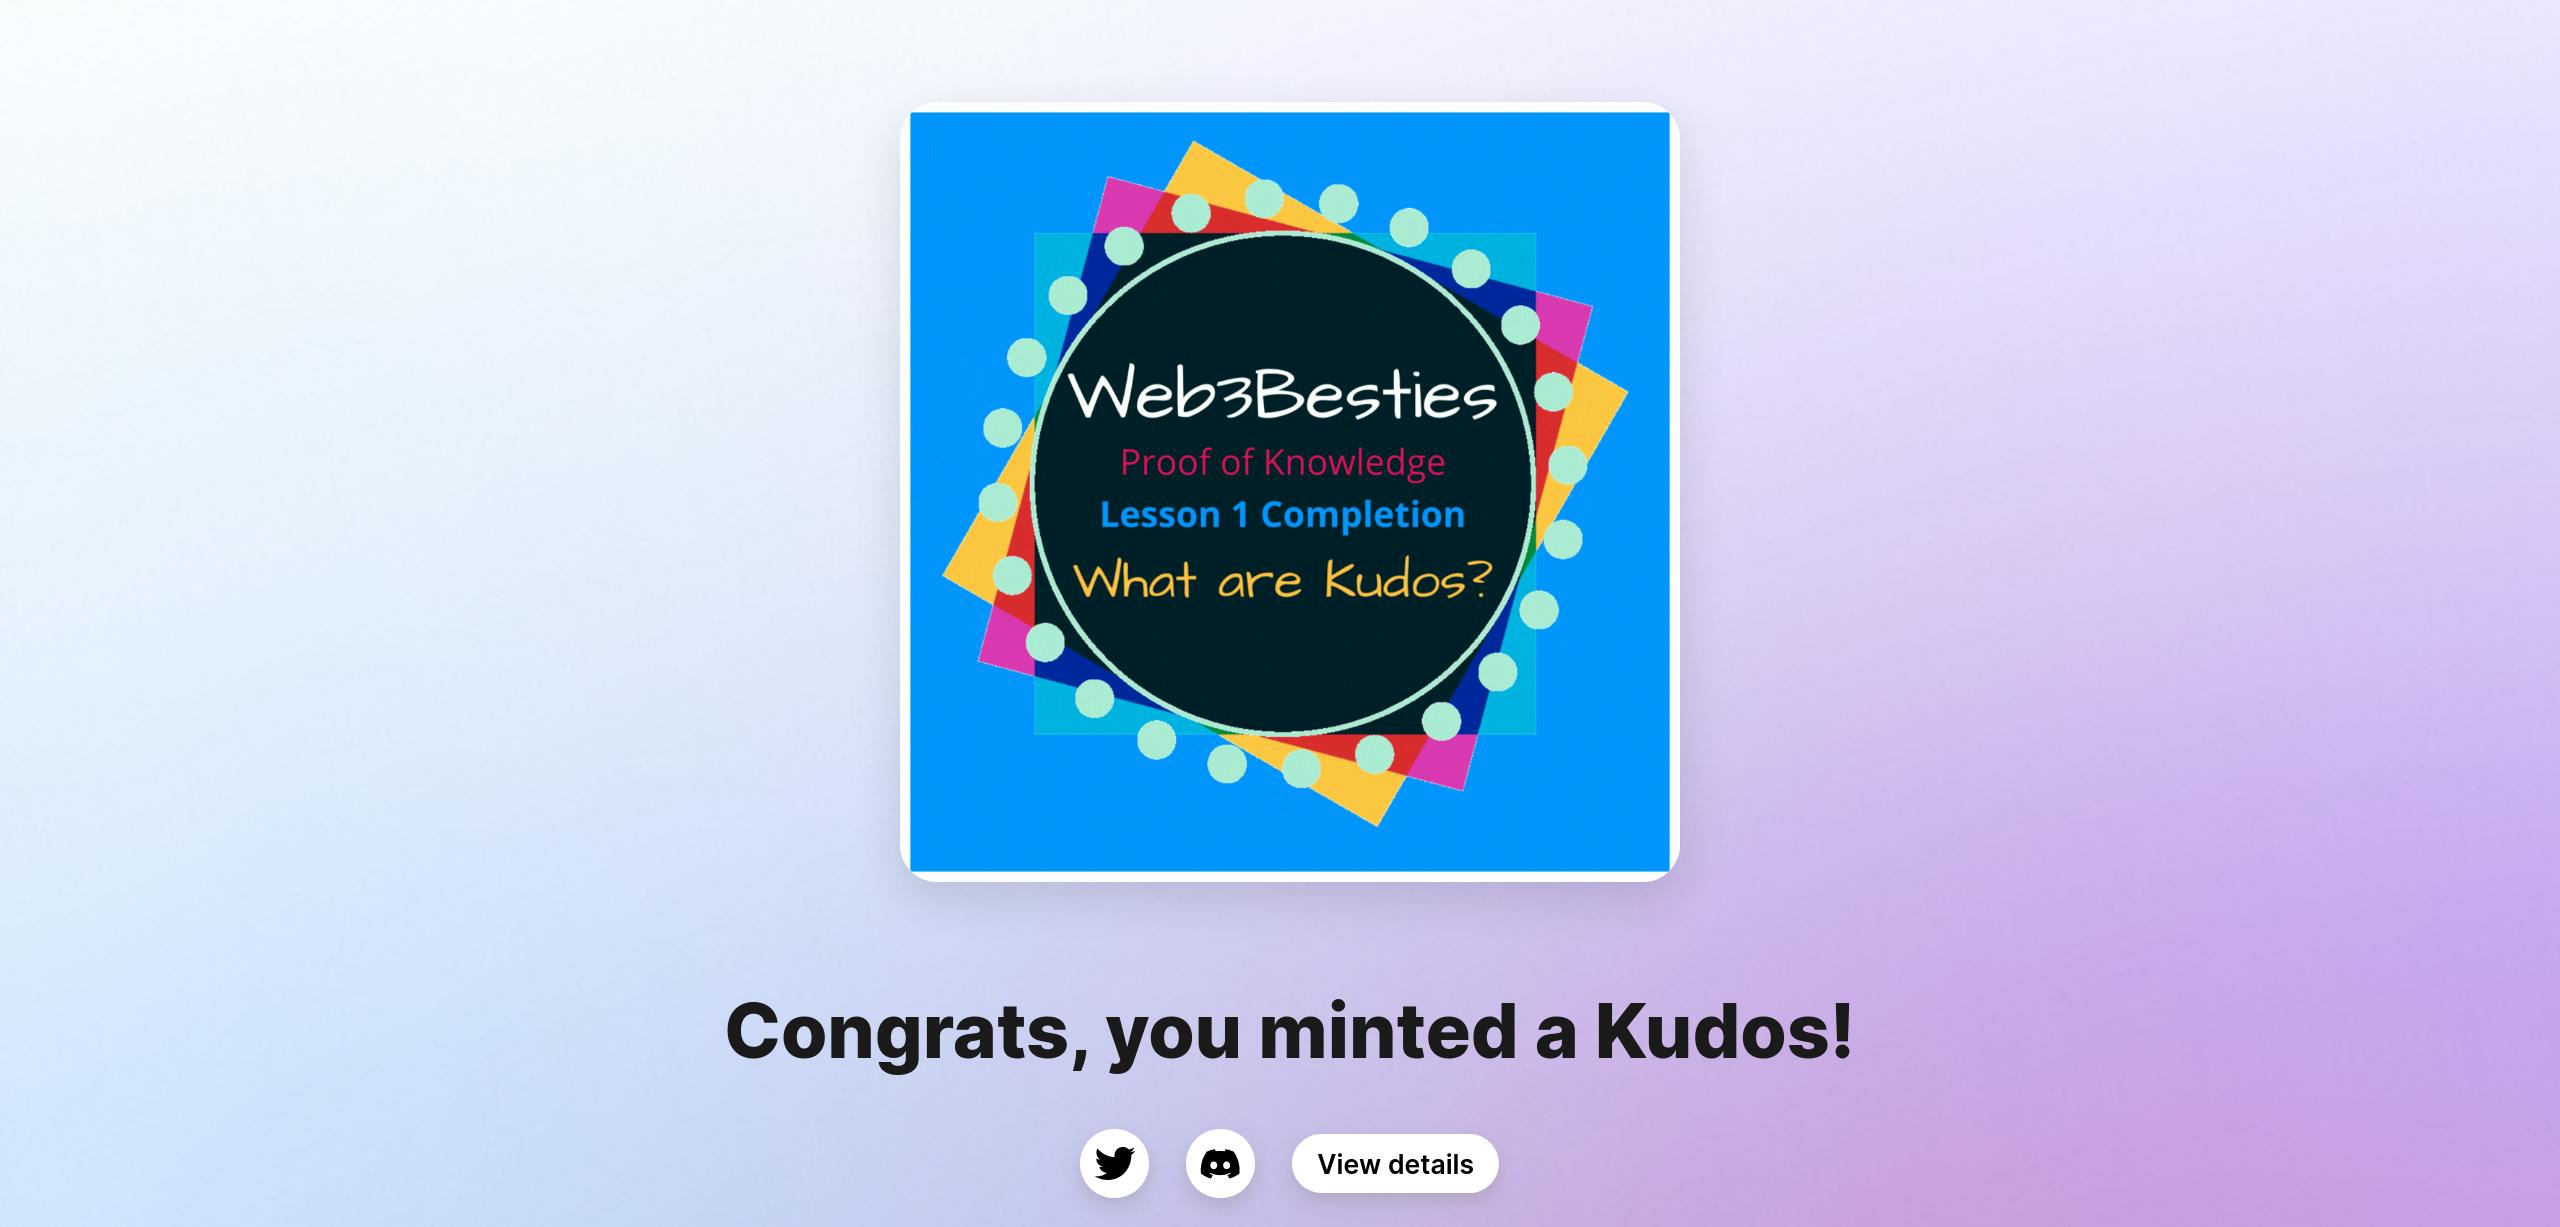
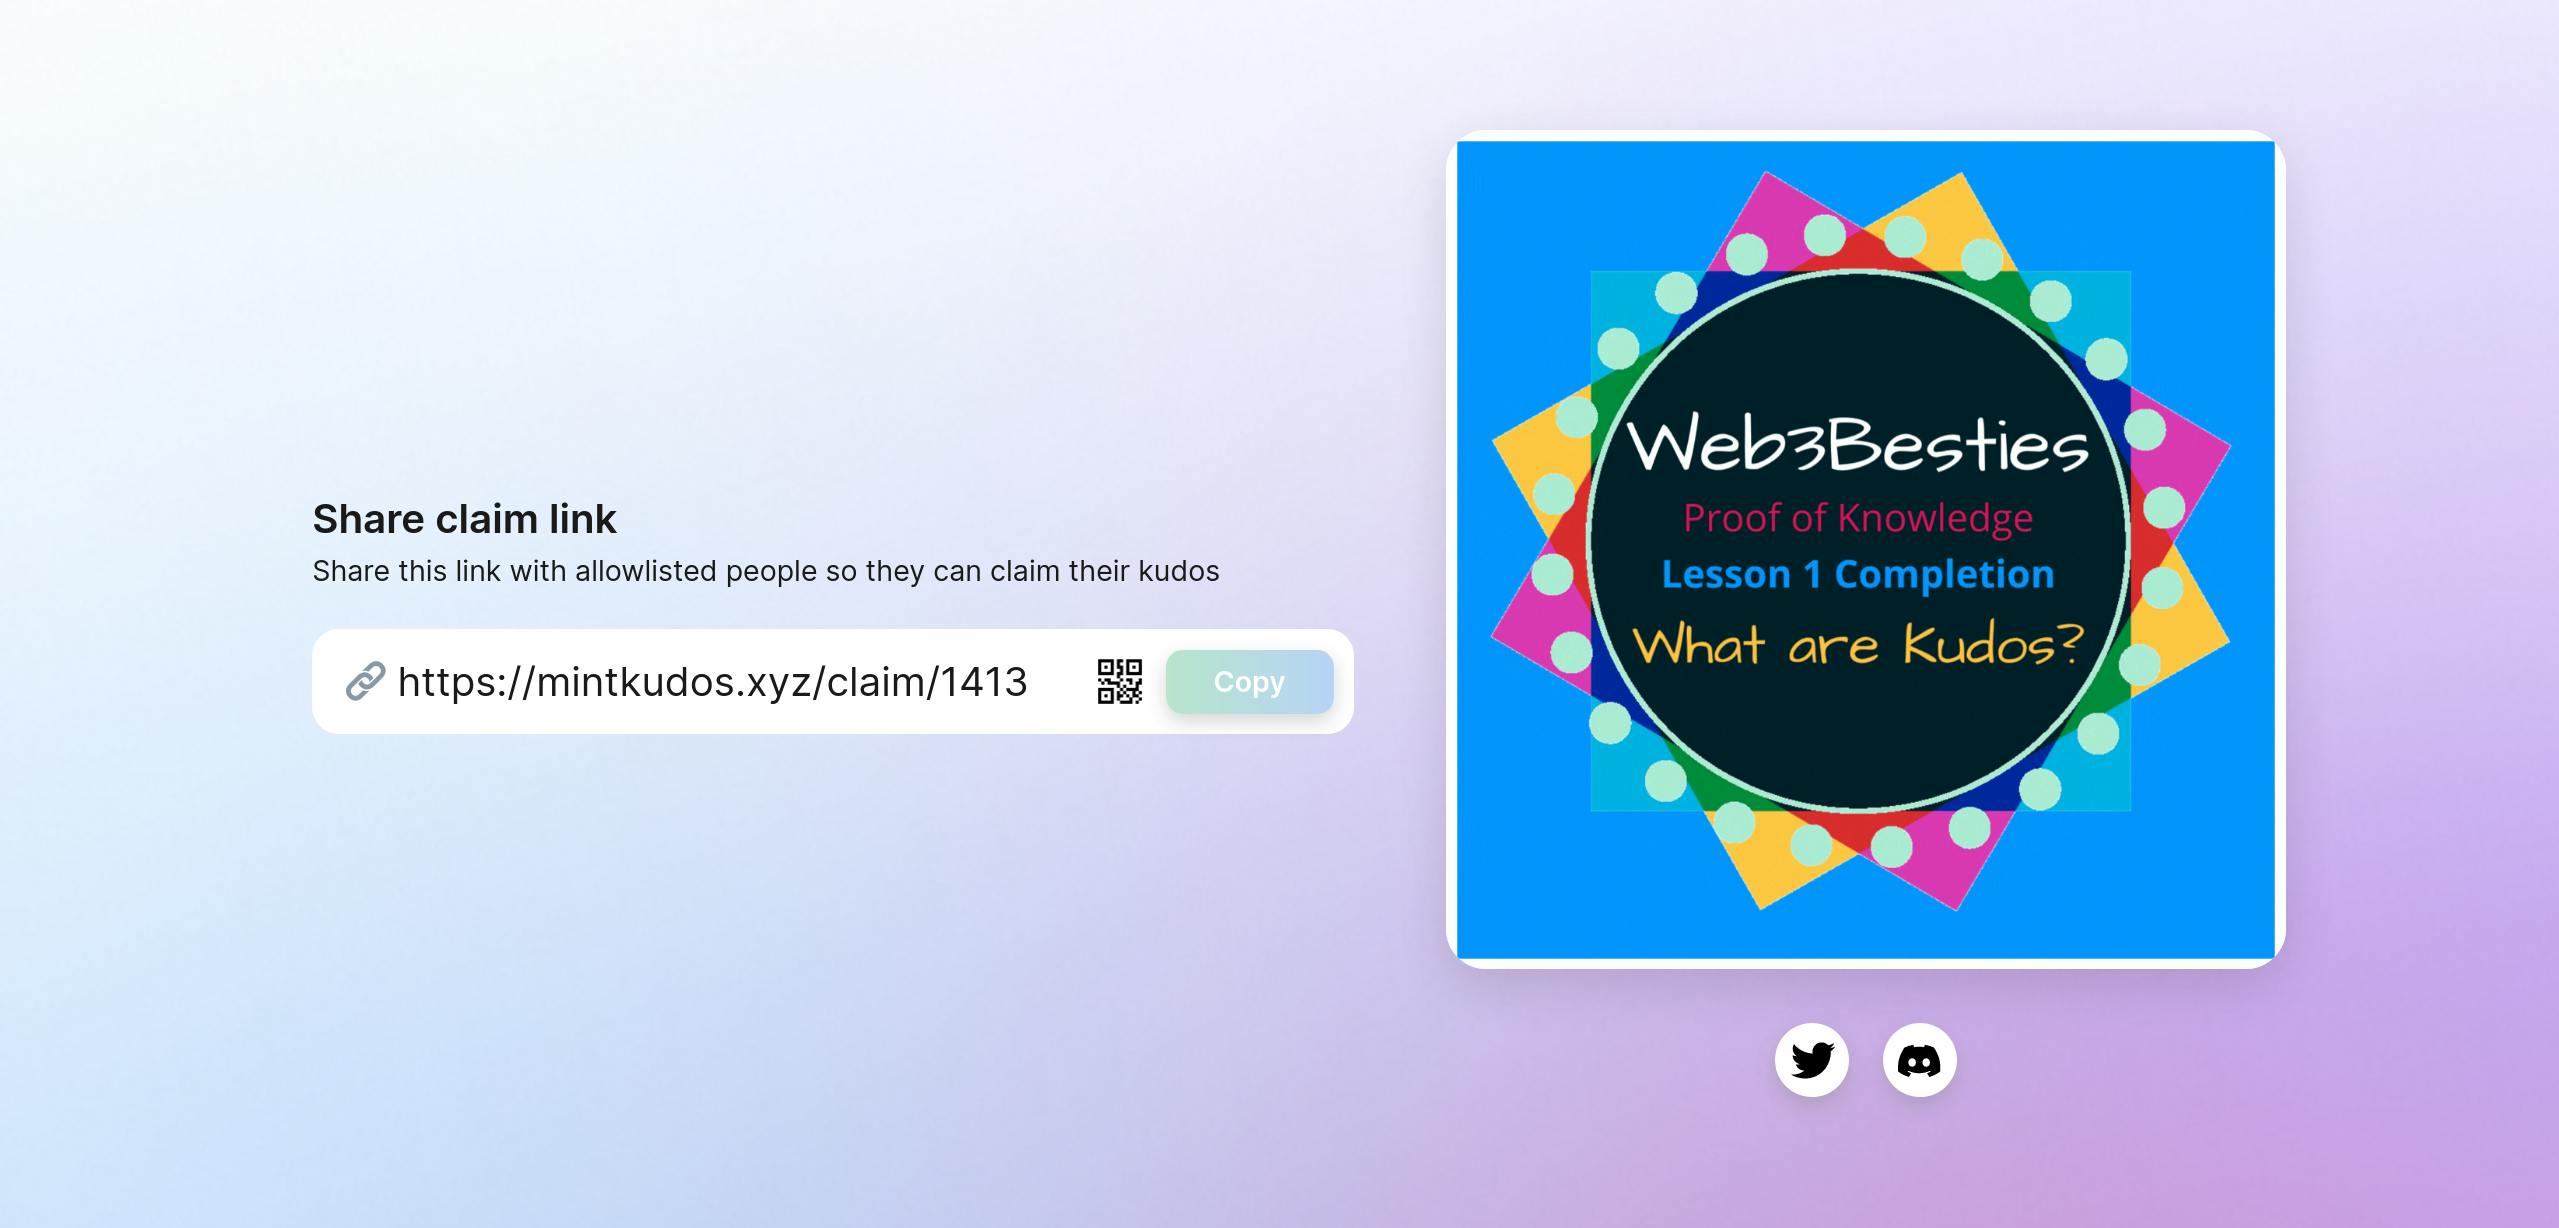
If done successfully, you'll see something like the photo above. It will say, "Congrats, you minted a Kudos!" and include a button to "View Details". Click "View Details" to get access to your claim link! You can share this link with your target audience so that they can choose to claim it if they'd like.
OMG FREE STUFF!!
I love the idea behind Kudos and the process involved in creating one, minting it, and distributing it. I am very pleased with this tool and I definitely see myself continuing to use it as to distribute meaningful rewards.
Thank you for reading the first issue in the Proof of Knowledge series. We'll be covering more awesome web3 tools and technologies in the future!
As a token of my appreciation and as a reward for reading this tutorial, you can claim this awesome Kudos that I created specifically for the first lesson in our Proof of Knowledge series! You can claim it here to any wallet with the Polygon mainnet added!

Special Thanks
Special thanks to Catherine Chang/@unhappiimochii, one of the co-founders of Kudos, for helping me come up with the perfect name (Web3 Besties) for my community.